French Onion Burger with “German” Potato Salad
I was inspired to make this burger after a recent trip to Shake Shack (see next post) and thought I should make myself a great burger at home. The idea of the French Onion burger is actually a play on this amazing burger they have at a gastropub chain in the Los Angeles area called Father’s Office. The burger reminded me of French Onion soup, and gave off a very bistro vibe. They paired their burger with shoestring fries, and allowed no substitutions, but I’m pairing mine with potato salad. Mine is a twist on a traditional German potato salad, but incorporates many of the same flavors. Perfect for a picnic since there’s no mayo, but also great to make a whole bowl for yourself. I even use leftover potato salad to mimic a hash and top it with some chunks of avocado, a squirt of sriracha sauce, and a couple of fried eggs for brunch the next day.
Burger Ingredients
2/3 pound of ground beef—I used 75/25, which means the meat blend is 75% beef and 25% fat. I wouldn’t go with anything less than 80/20 because your burger may then dry out. If you do decide to use lean or extra lean ground beef, or something a naturally lean meat like turkey, then I would suggest cutting the meat with some ground bacon, just ask the butcher to do it for you, or pulse in the food processor.
Granulated garlic
Caramelized onions
1 small avocado, ripe
Arugula
2 packets of Laughing Cow Swiss Cheese (French Onion flavor)
Gruyere cheese
1/3 of a French baguette or 1 mini baguette—this would also be good with a seeded Italian roll or Ciabatta. I liked the baguette because the who burger seemed very French to me. If making multiple burgers, feel free to use a whole baguette
Potato Salad Ingredients:
5-6 small red potatoes, halved
5 medium Golden potatoes, cut into chunks—this recipe uses what I had in my pantry, but you can use about 2-3 pounds of any kind of waxy potato (my favorite is Yukon Gold)
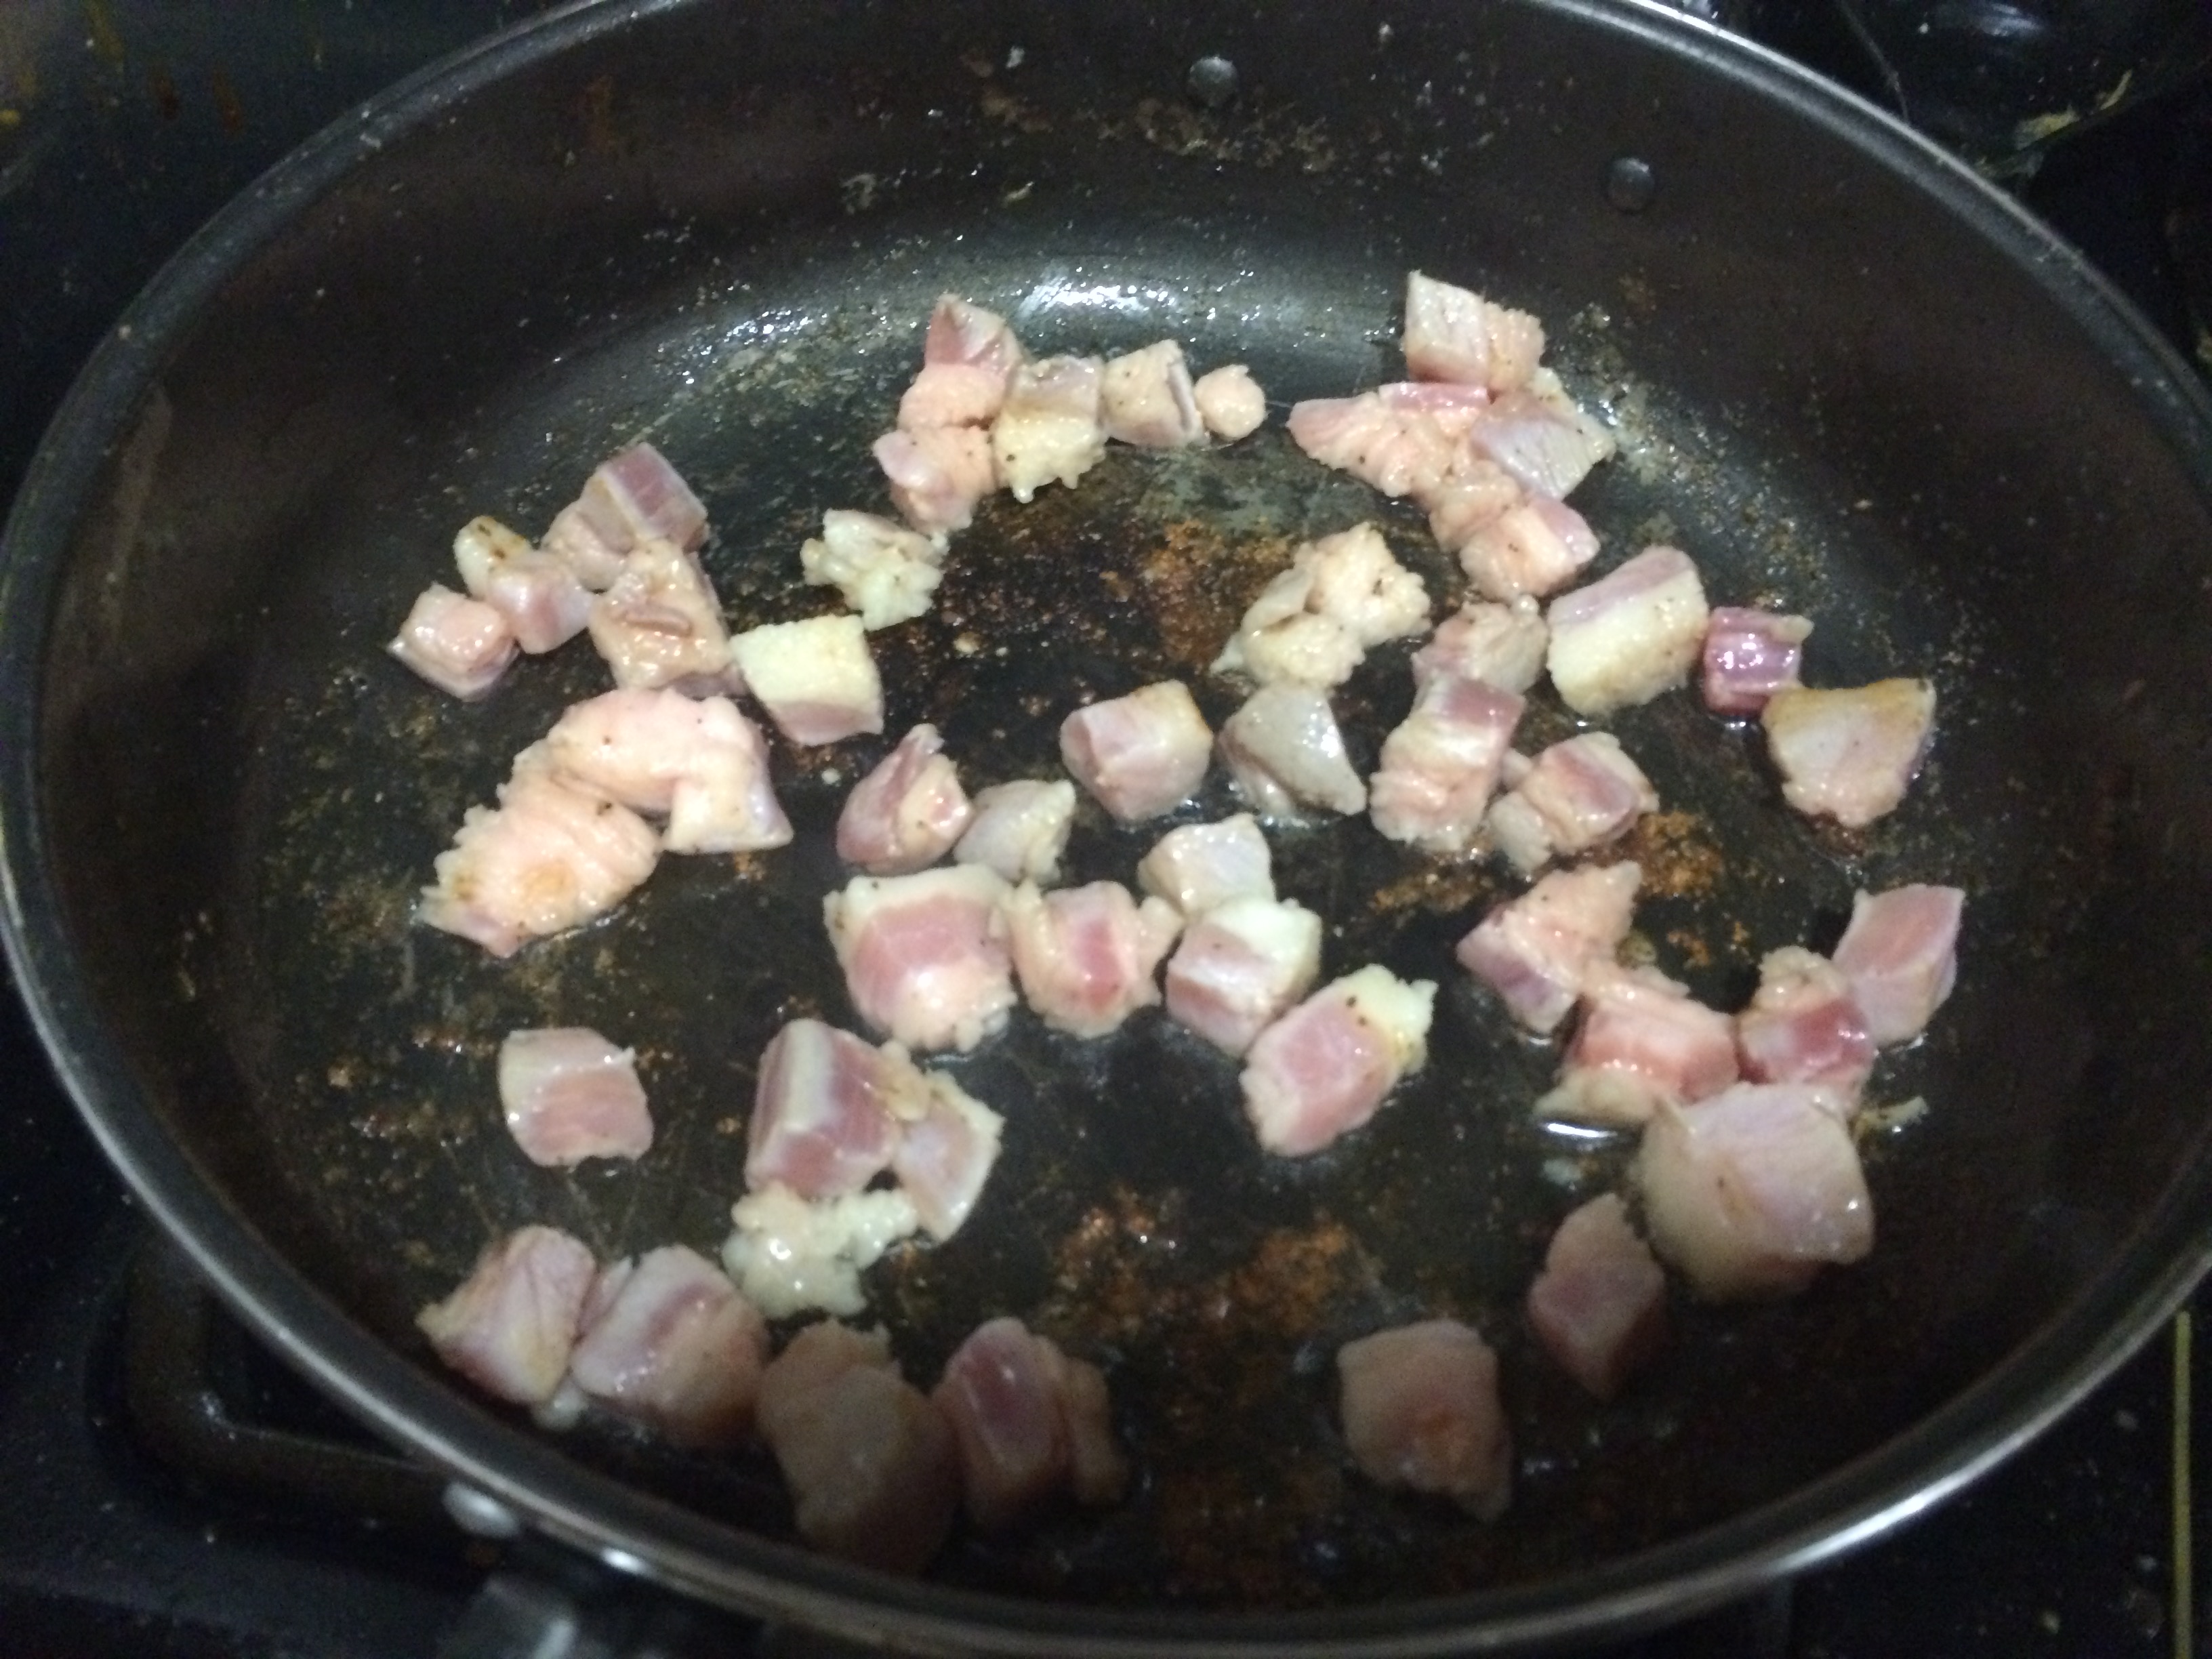
1 cup of salt pork or pancetta, cut into cubes
2 medium shallots, chopped fine
3 cloves of garlic, minced
½ cup of apple cider vinegar—traditional recipes usually call for white vinegar, but I feel that the apple cider vinegar is a little sweeter and has a little bit more of sour taste
2 tablespoons and 1 teaspoon of sugar
1 heaping tablespoon of whole grain dijon mustard
1 tablespoon of fresh parsley, chopped
3 tablespoons of olive oil
To Make the Potato Salad:
- In a large pot, place the potatoes and enough water to cover them with a good amount of salt.
- Heat the potato pot on high heat until they start boiling, then reduce heat to medium to medium-high heat and continue on a low boil for at 15 minutes
- Test the potatoes with a knife. If the knife slides in easily then they are done. Don’t worry, you can always just taste one if you’re unsure
- Drain the potatoes and set aside
- In a large sauté pan, heat 1 tablespoon of oil on medium heat until hot, but not smoking

- Add salt pork to the pan and use a wooden spoon or rubber spatula to spread the cubes in a single layer—this will help them brown evenly and prevent burning. Stir every couple of minutes
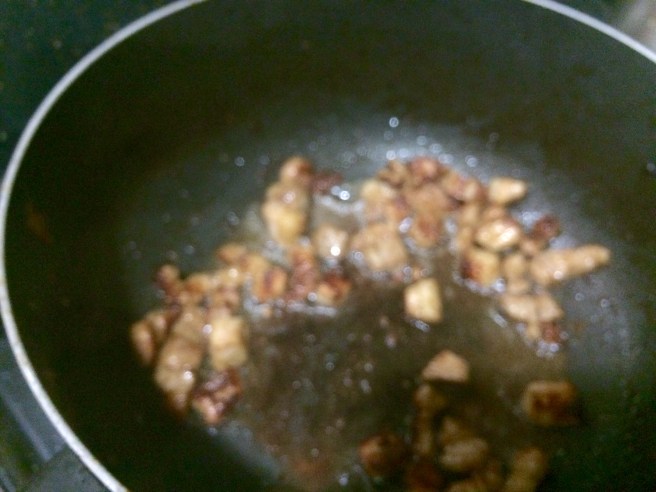
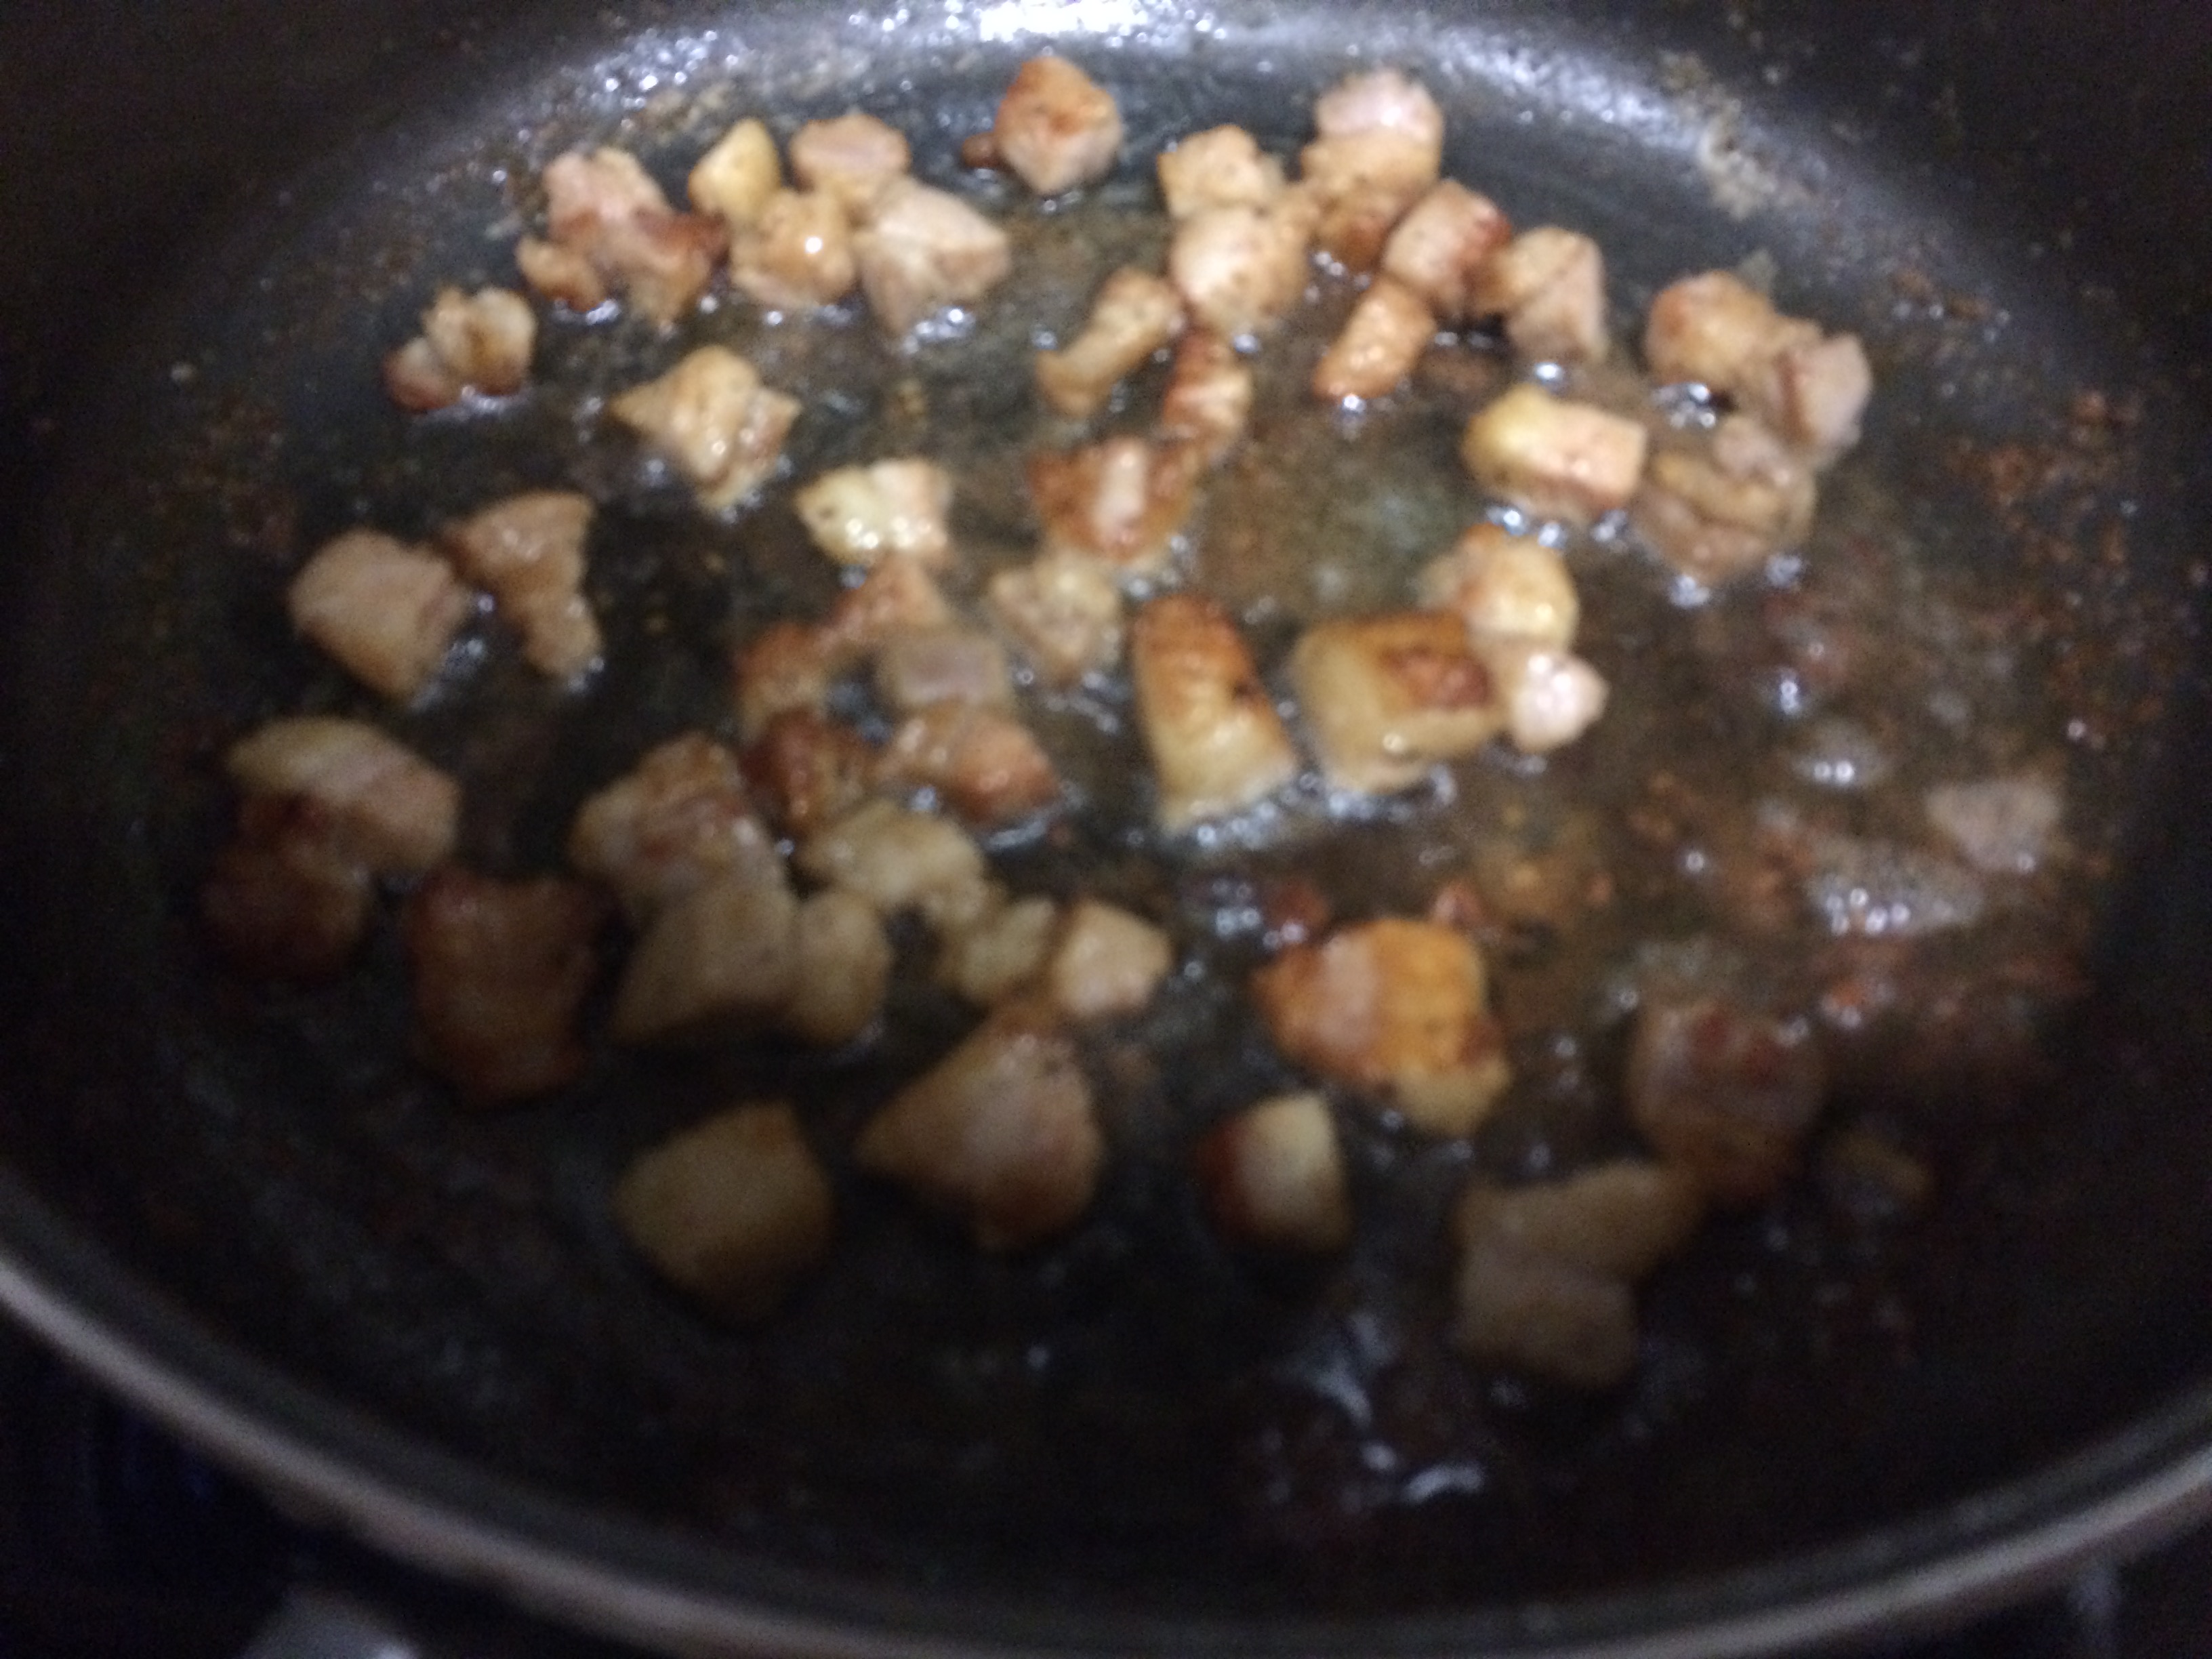
- When all of the pieces are browned all over, remove from the pan, but leave the fat from the pork in the pan—flavor! Drain the pork on a piece of paper towel. While you prepare the rest of the ingredients the pork will crisp up
- In the same pan, add the shallots and garlic
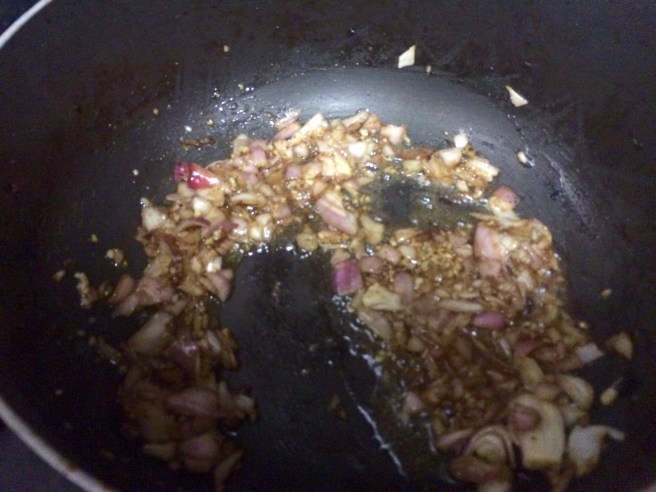
- Add 1 teaspoon of salt and black pepper each, and 1 teaspoon of sugar
- Cook the shallots and garlic until browned and fragrant—your nose will let you know 😉
- Once they’re browned, deglaze the pan with the vinegar
- Reduce for 1-2 minutes on medium-low heat, then add the mustard and parsley. Stir to incorporate along with another pinch of salt and pepper

- Add 1 tablespoon of olive oil, and stir the sauce/vinaigrette
- Turn off the heat
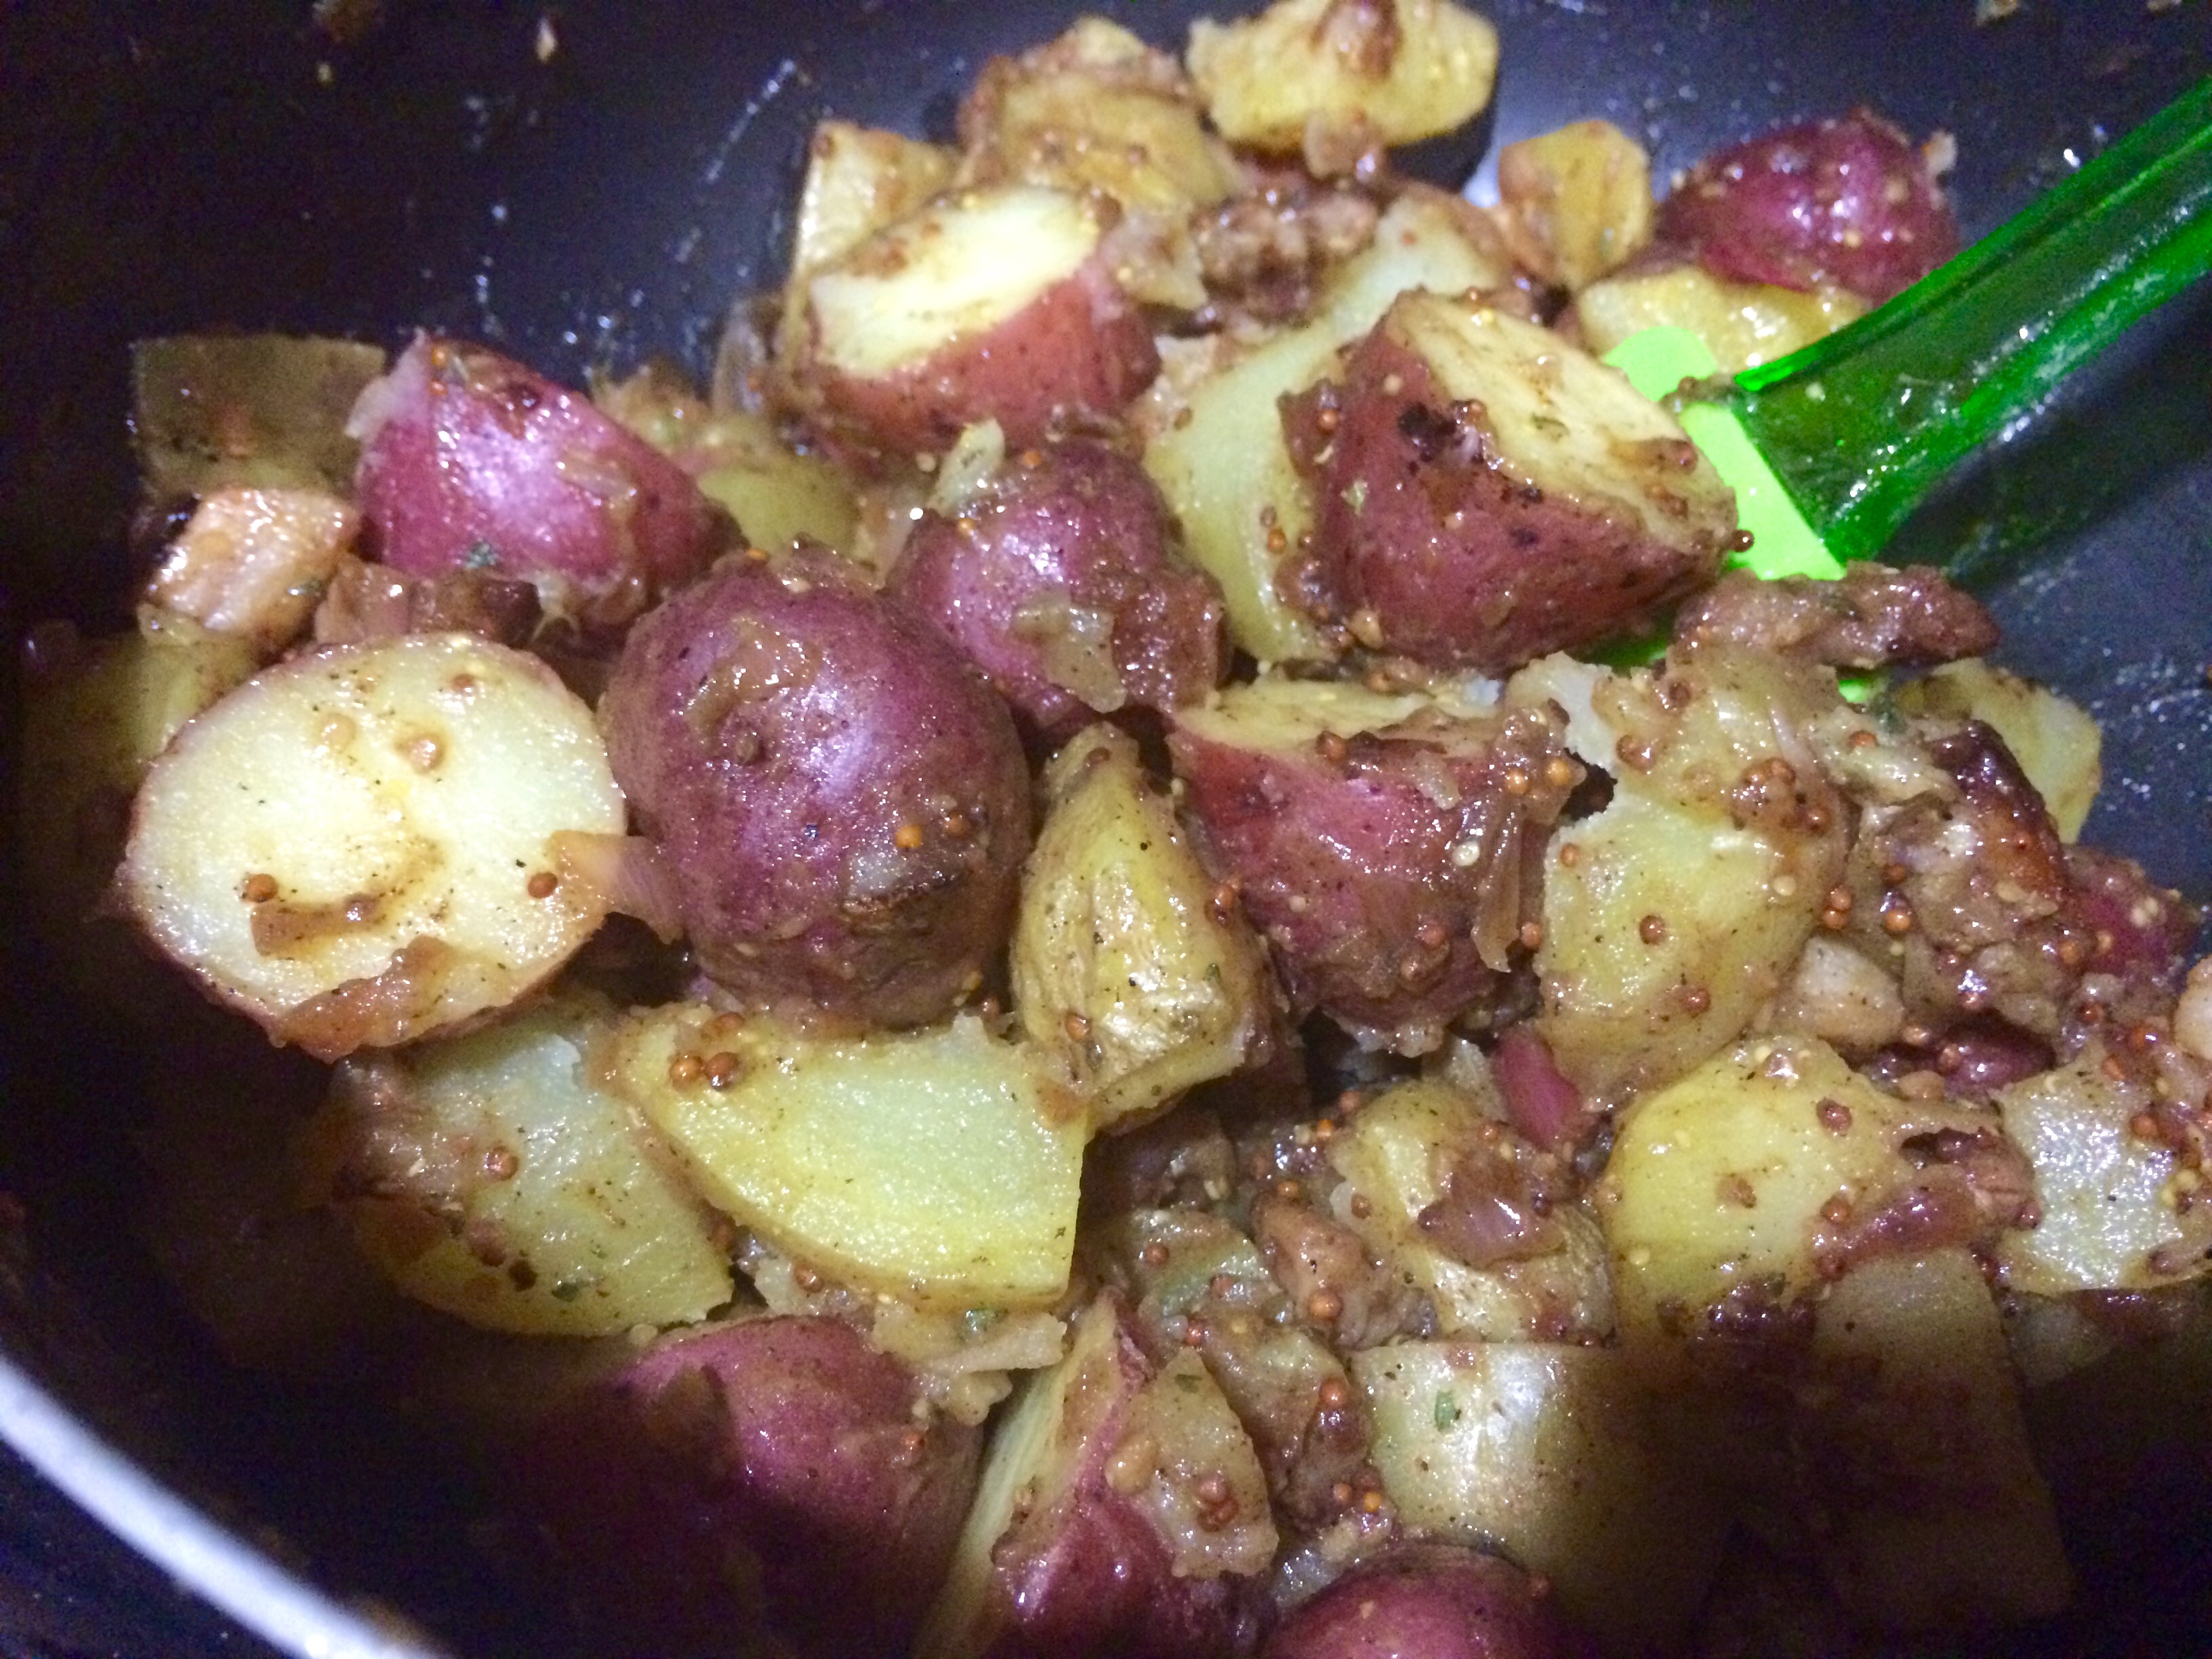
- Add the potatoes and the pork back to the pan, and toss with the vinaigrette to coat all of the potatoes while they’re still warm

- Let the potato salad sit while making the burger—this potato salad could be made a day in advance. Traditionally German potato salad is served warm, but it’s great at room temperature or even cold


To Make Caramelized Onions:
- Heat your oven to 350 degrees
- In an oven-proof pot with a lid, or a dutch oven, coat the bottom of the pan with olive oil and add 2 pats (1/8 tablespoon) of butter
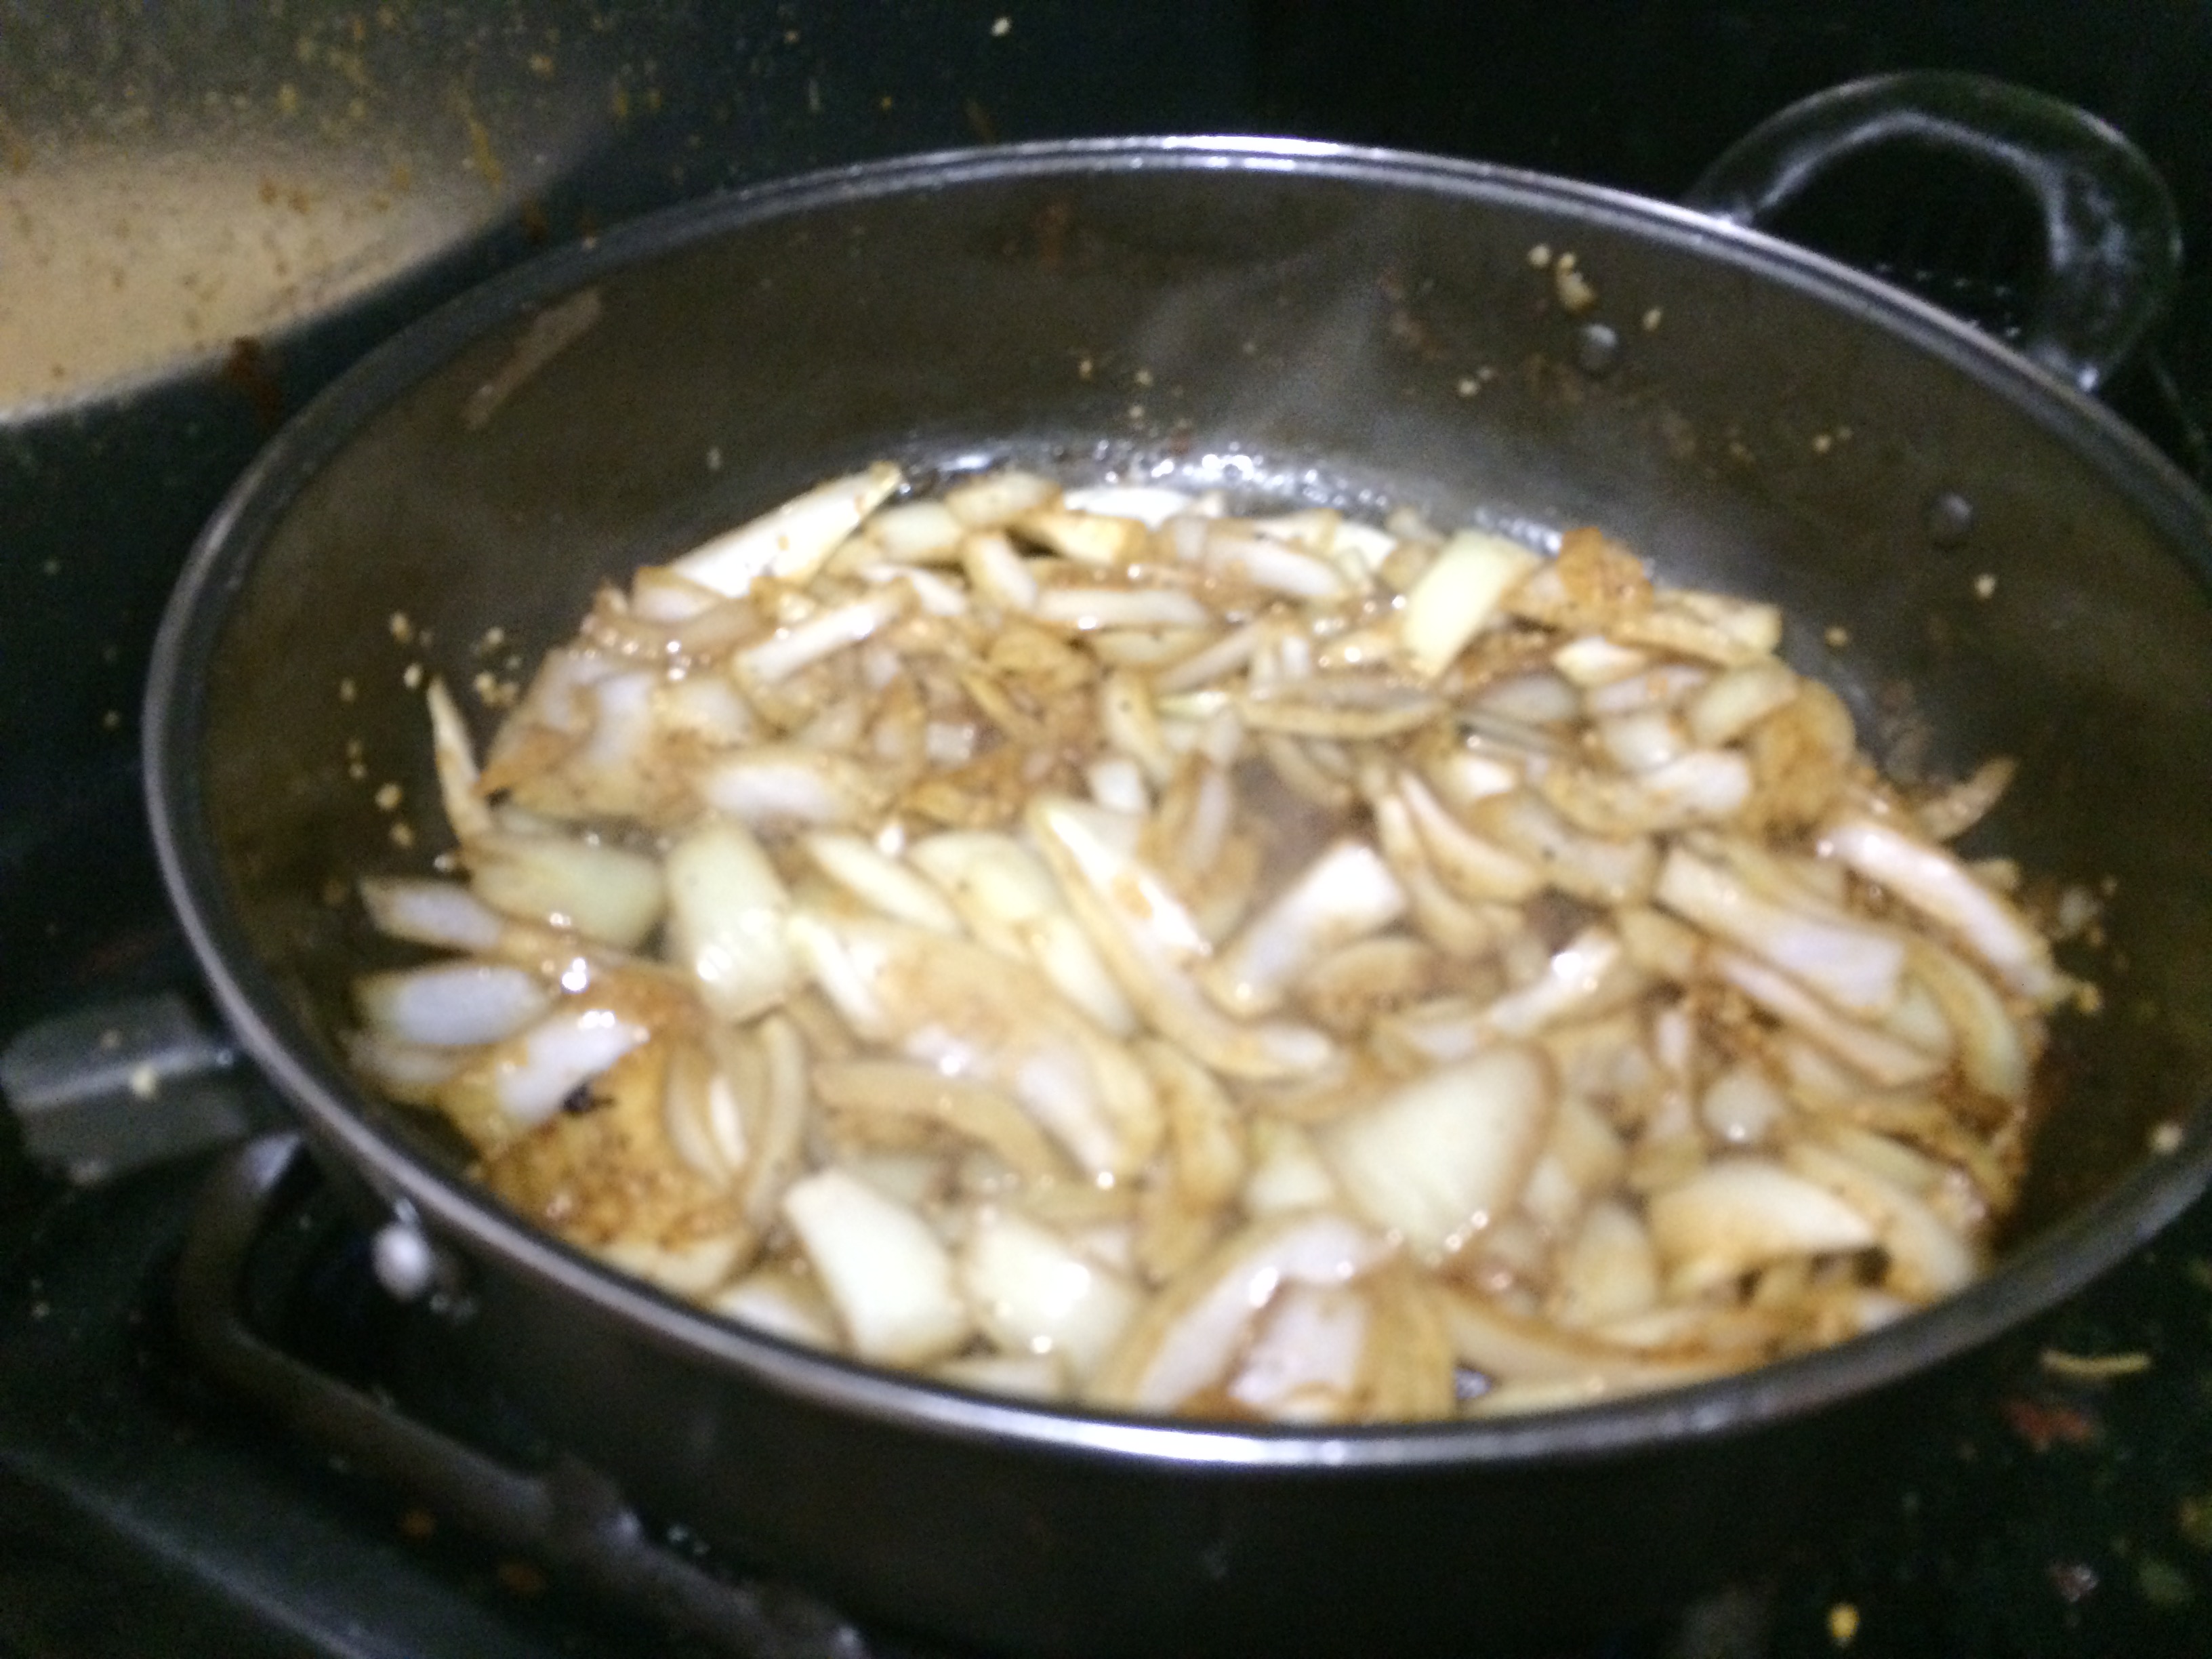
- Add the onions and cook, uncovered, on medium heat for a few minutes until they start to sweat
- Once the onions start to turn golden, cover and put the pot in the oven
- After 20 minutes, stir the onions and add 1 teaspoon each of black pepper and salt
- Cover and put onions back in the oven for an additional 20 minutes
- Add 2 tablespoons of sugar and stir the onions
- Cook for an additional 30 minutes
- Uncover, stir, and cook for an additional 10 minutes
- Take the onions out of the oven, they should be brown and caramelized—leave the oven on for the burger afterwards though
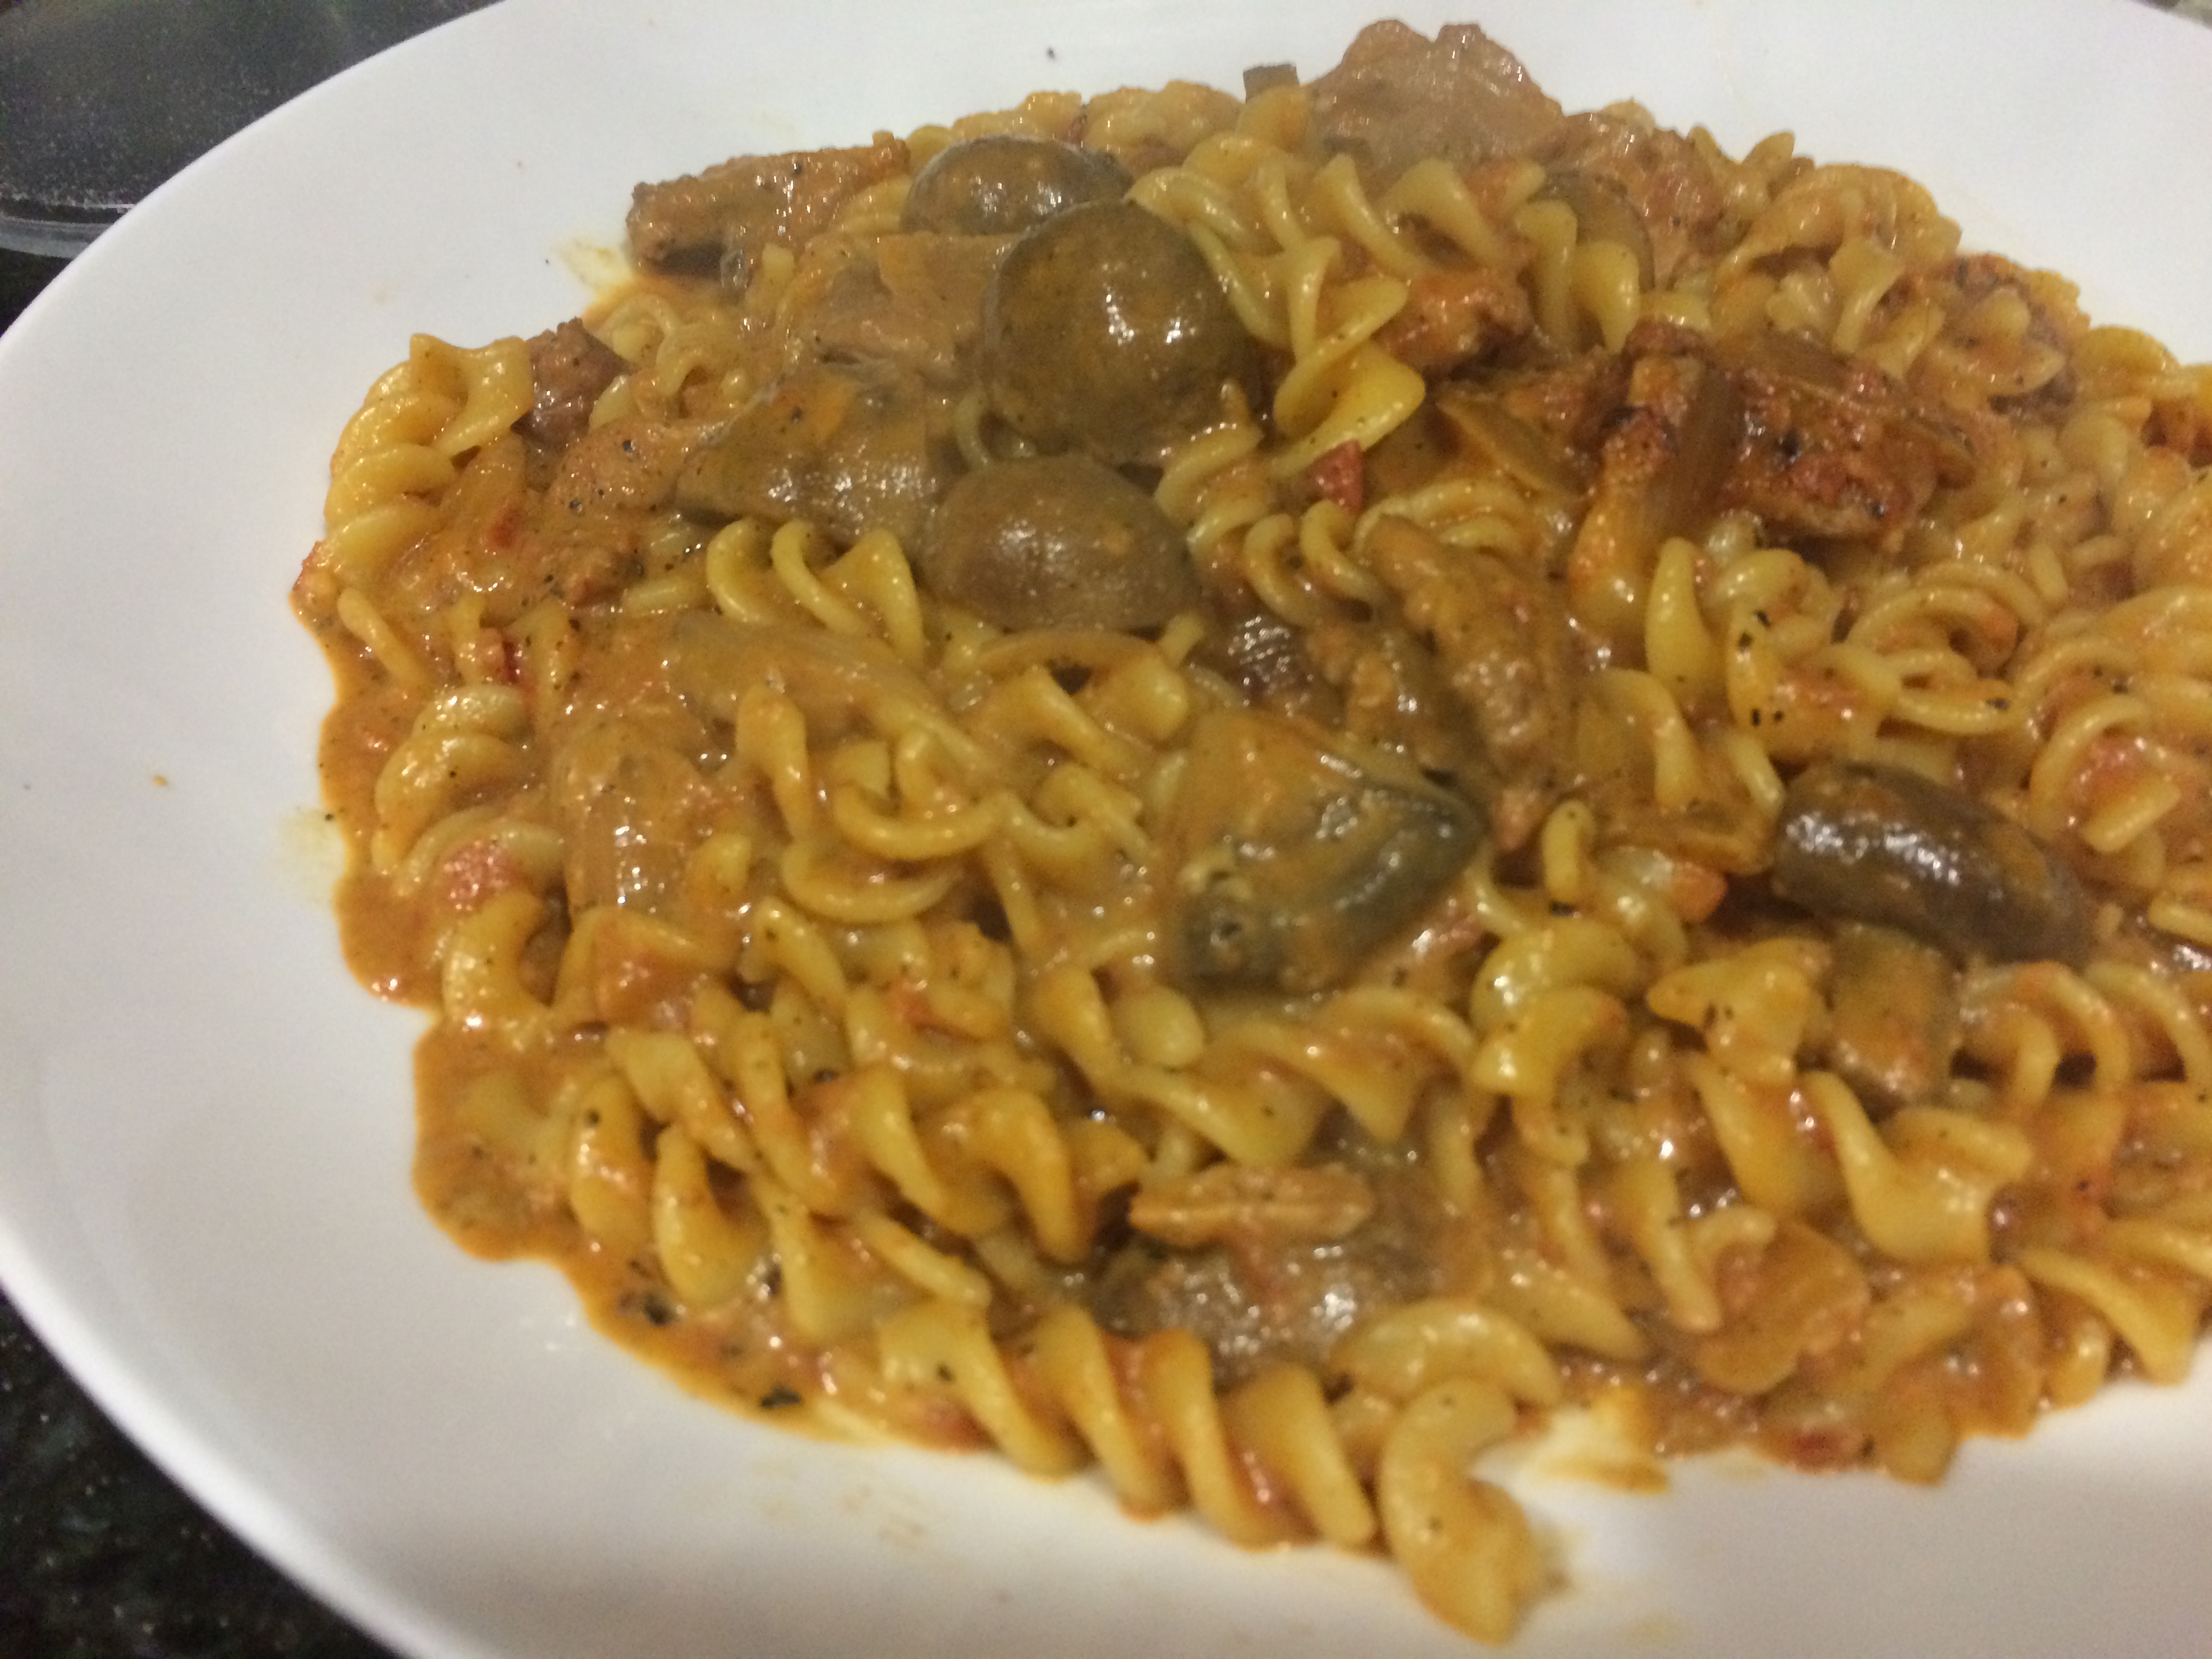
- Place the onions in a bowl and set aside to top your burger, or use them in an omelet, in pasta, or in one of my personal favorites—pizza

To Make the Burger:
- Remove the meat from the refrigerator at least 20 minutes before you plan to cook—this will help with even cooking
- Shape your burger patty—I went with a long burger in order to fit the bread, but a traditional round patty is always good
- Season both sides with a good pinch of salt, black pepper and granulated garlic
- Heat your pan on medium heat for a couple of minutes and add the remaining olive oil to the pan

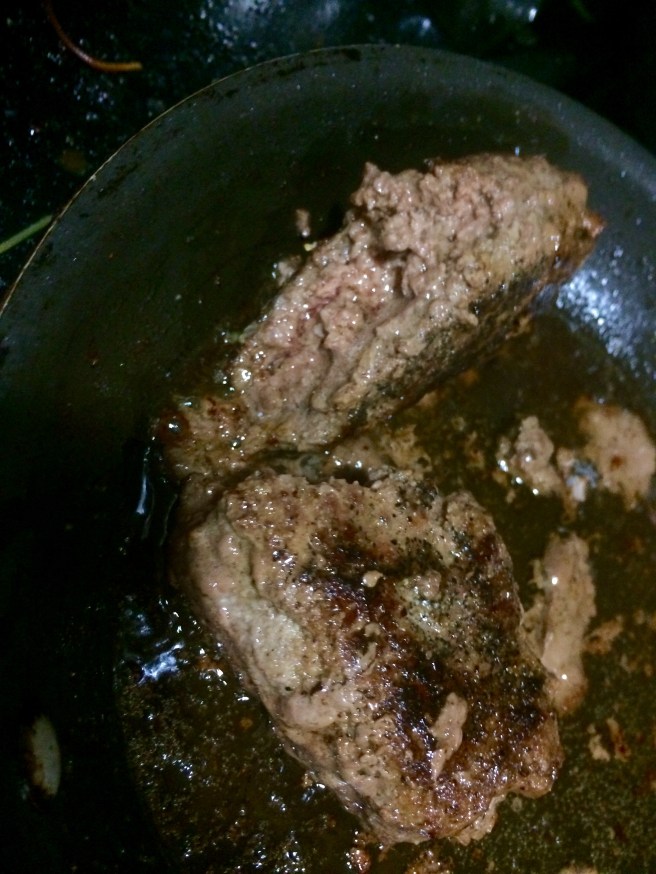
- Add the meat to the pan—you should hear a nice sizzle when the meat hits the hot pan. Resist the urge to move the burger or squish it down. This way it will form a nice crust and stay juicy

- After 2-3 minutes, flip the burger over and cook on the second side for an additional 2 minutesAdd a pat of butter to the pan and place the pan in the preheated oven
- In the meantime, take your sliced baguette and spread the Laughing Cow cheese packets on the bread and put into the oven at the same time
- Cook for about 5-7 minutes for medium doneness
- Remove the bread and burger pan from the oven and let the burger rest for a few minutes
- Increase oven to broiler setting
- (Optional) I like to add the pan drippings from the burger pan to the potato salad along with another pinch of salt—it makes the potato salad even creamier, and ties the flavors together well. Trust me, it sounds decadent, but you’ll love it!

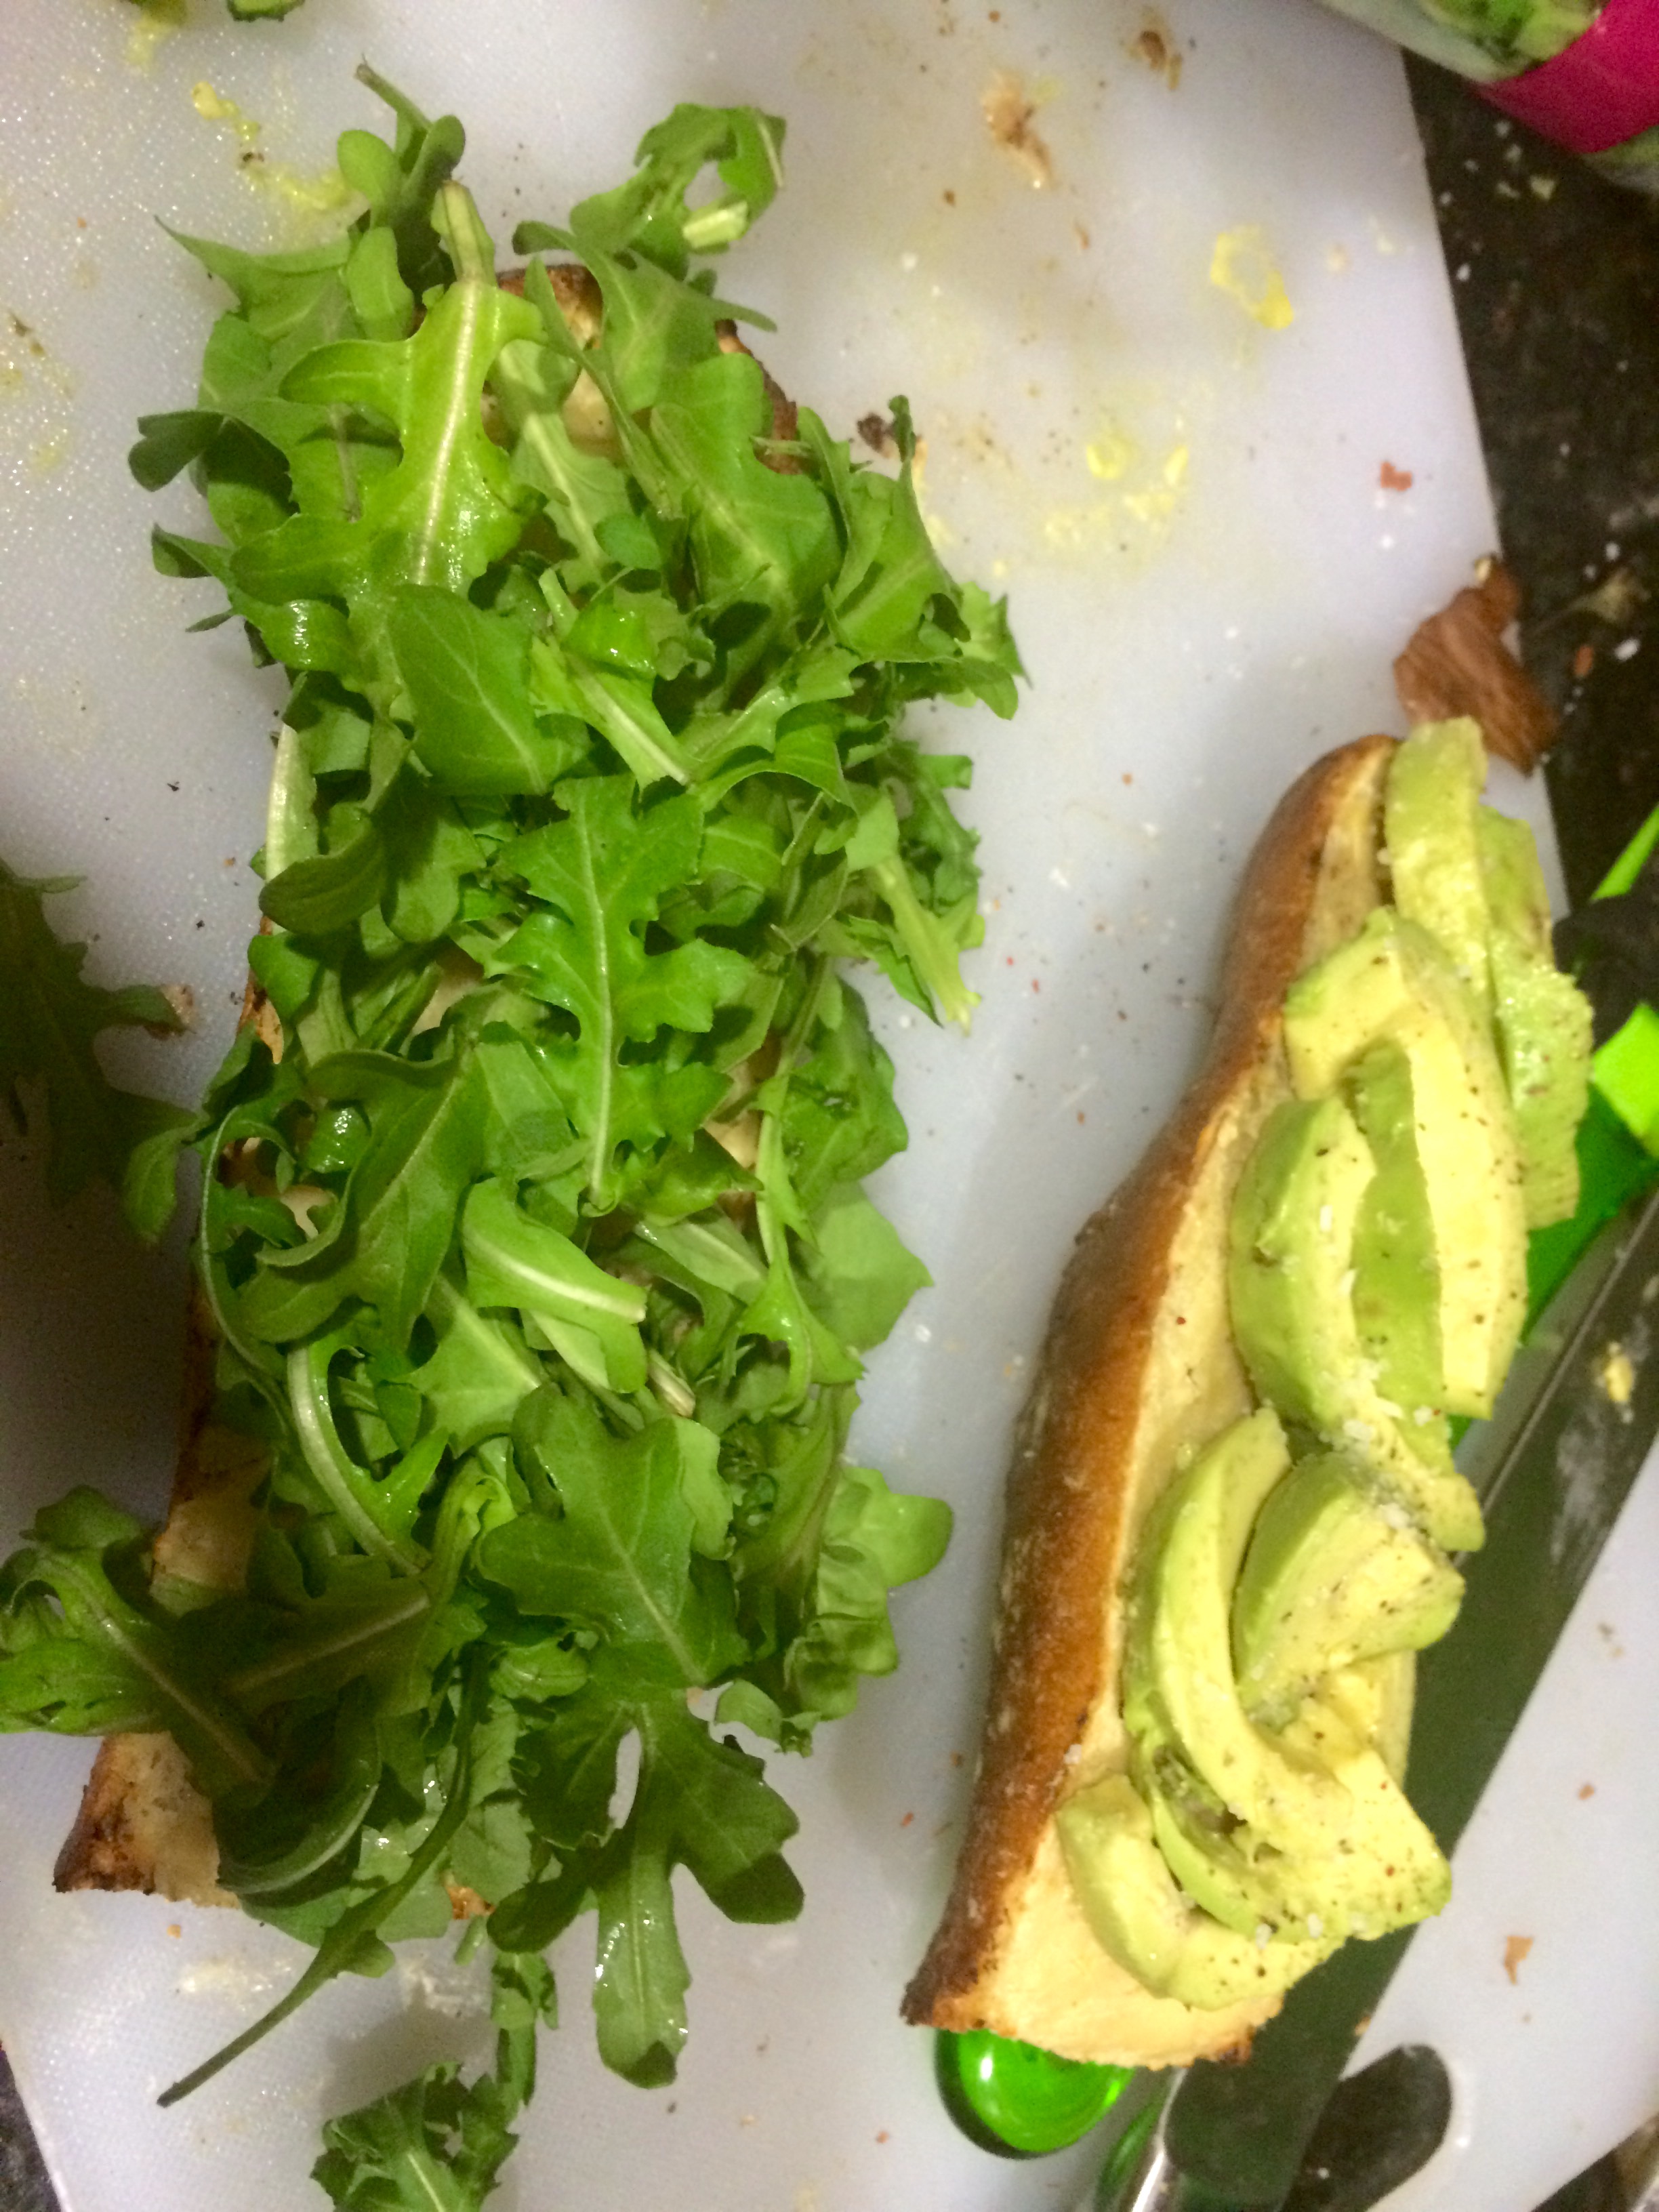
- Add a handful of arugula to the bottom half of the sandwich
- To the top half, add the sliced avocado to the top half and a layer of caramelized onions

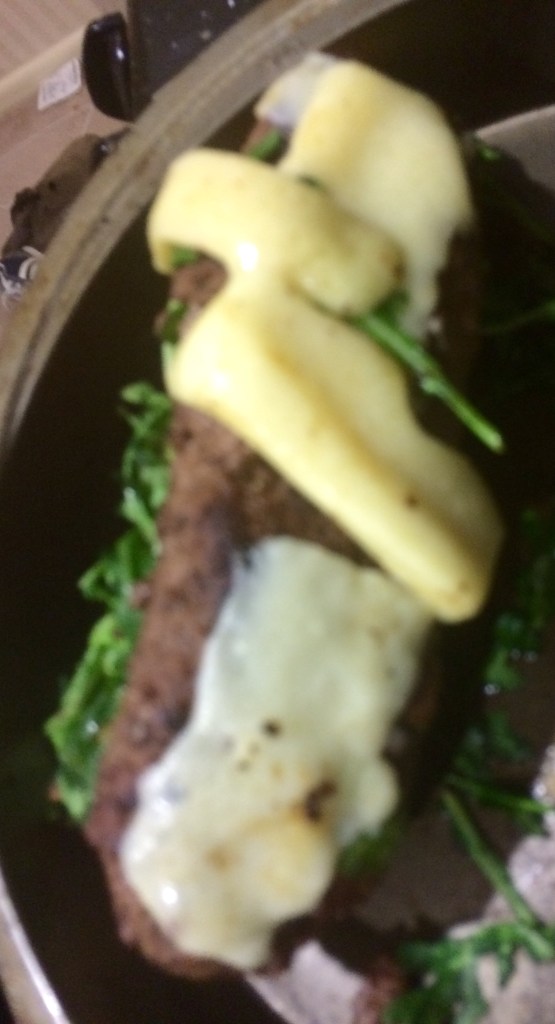
- Top the bottom half with the burger, then top that with a few slices of Gruyere cheese
- Put under the broiler for an another minute just to melt the cheese
- Remove the bottom half of the sandwich from the oven

- Combine the two halves, take a minute to admire the delicious picture, and cut on a bias


Enjoy your amazing gastropub style burger at home with some potato salad on the side – don’t mind the mess. In fact, if your burger isn’t messy, then you’re doing something wrong!