Summer Wedding Celebration!

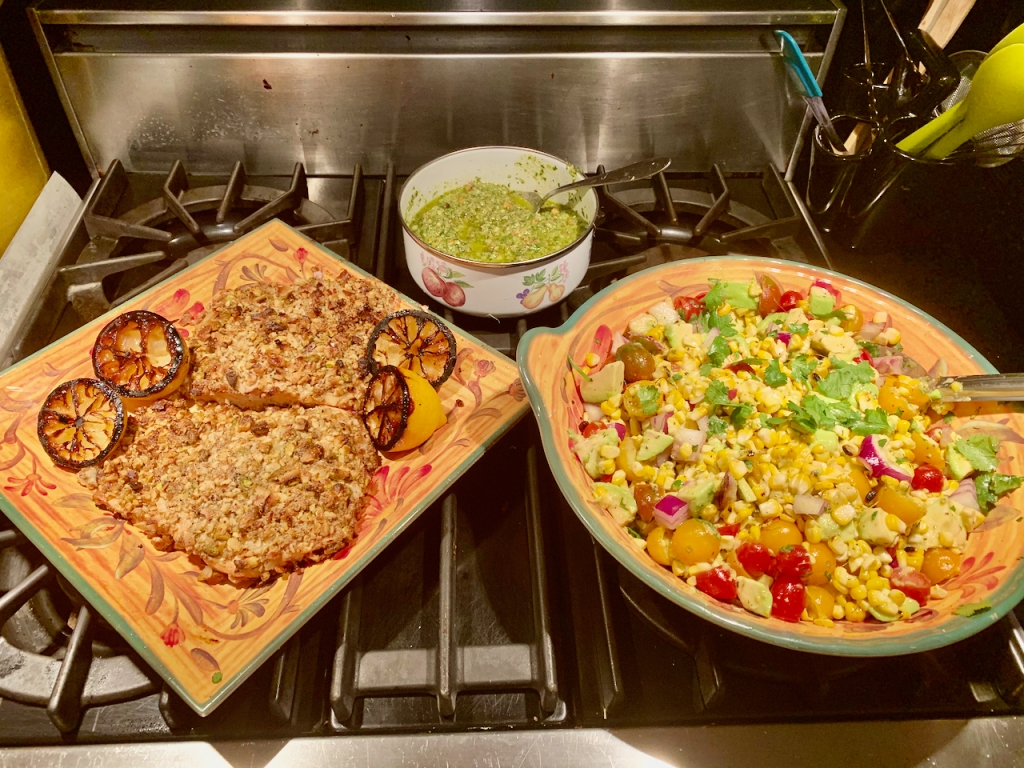
My family is celebrating my brother’s upcoming marriage with a small, outdoor wedding. But, I wanted to share the recipes for what we’ll be eating with you, so that you can recreate those flavors at home! So follow along with Chef Jon in the video above (or on YouTube HERE) or by following the recipe below, as we make Pistachio-Coconut Crusted Salmon with an Arugula-Pistachio Pesto and Grilled Corn, Tomato and Avocado Salad. Perfect for a summer celebration!

Pistachio-Coconut Crusted Salmon 

Ingredients

  • Salmon fillets, skin on
  • Garlic, 3-4 cloves
  • 1/2 cup of shelled pistachios
  • 1/2 cup shredded coconut flakes, unsweetened
  • 1 tbsp of dijon mustard — can substitute mayo if desired
  • Olive oil
  • 2 tsp of salt
  • 1/2 tsp of black pepper
  • 2 lemons, halved and grilled cut side down (optional)

Directions

  1. Preheat the oven to 400 degrees
  2. While the oven is preheating, let’s make the crust — in the bowl of a food processor, add the pistachios, garlic, coconut, 1 tsp of salt and pepper
  3. Pulse in the food processor until the mixture comes together and is similar in texture and size to sand — you can do this without a food processor by putting mixture into a plastic bag and taking your aggression out on it with a rolling pin!
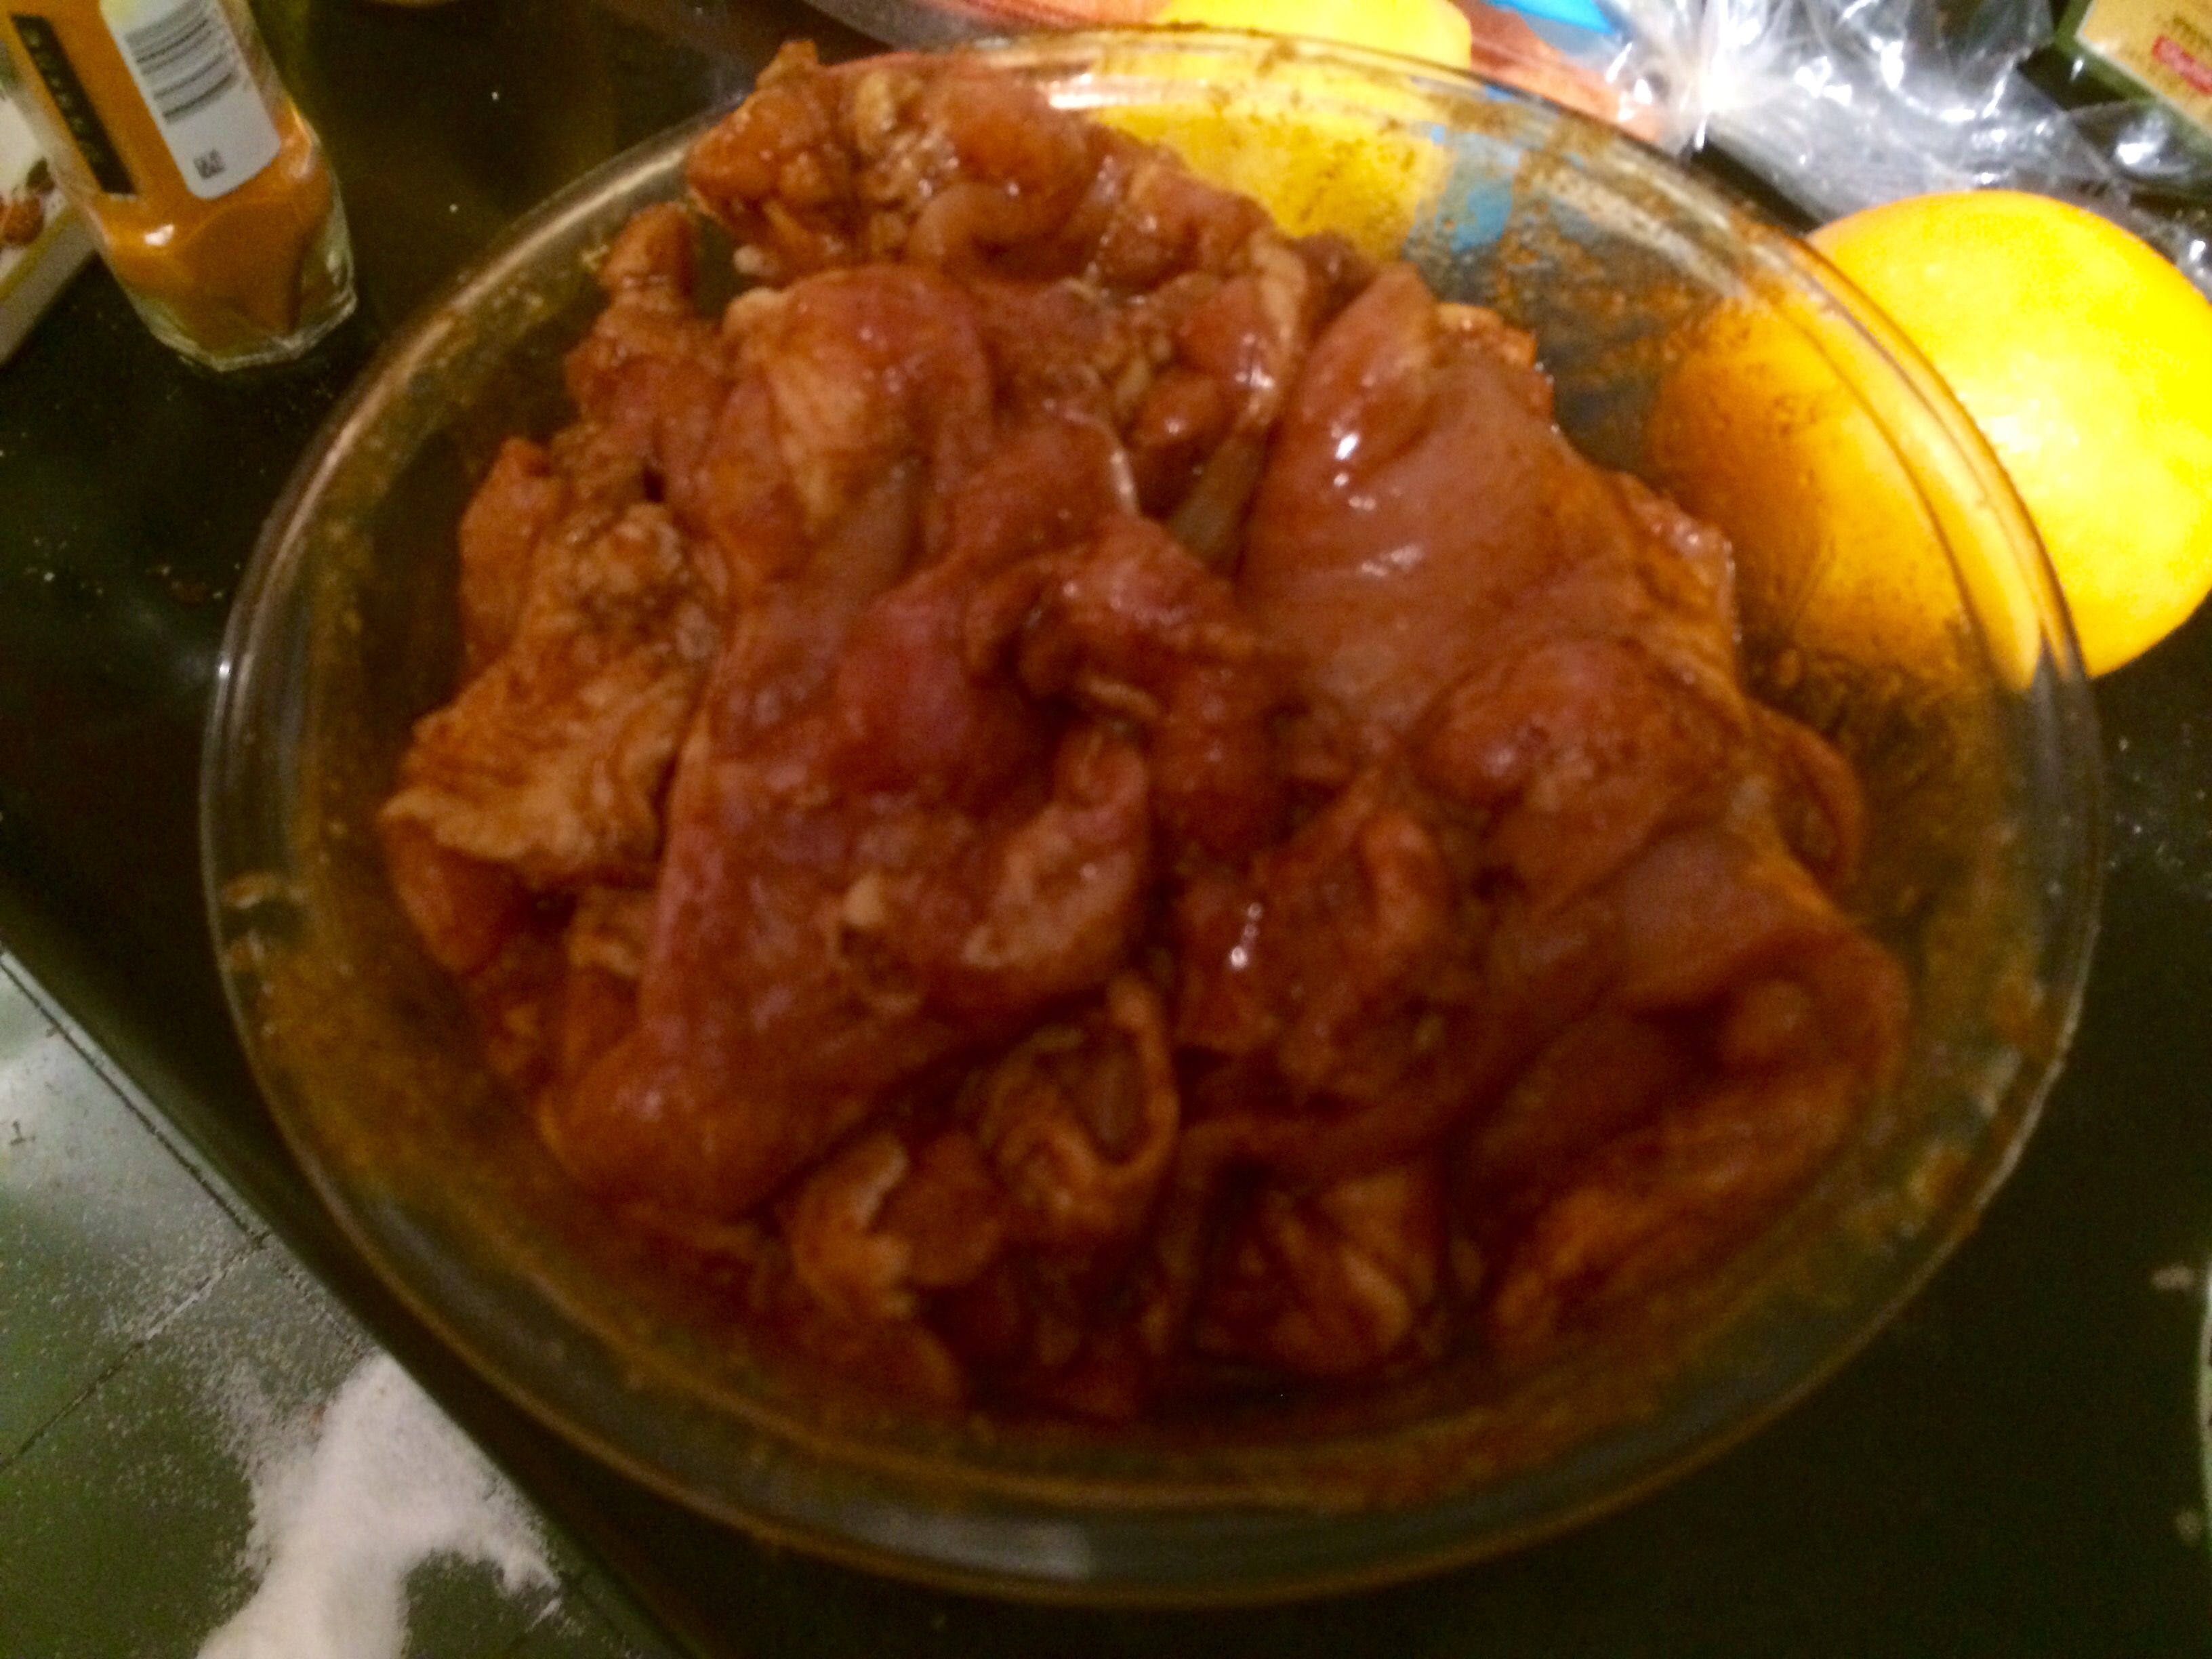
  4. Pat the salmon dry with a towel, and then season with the remaining salt, and transfer it to a baking sheet lined with parchment paper — you can use tin foil, but parchment paper will make sure the salmon won’t stick. Plus, makes for super easy cleanup!
  5. Using a brush or a spoon, spread the dijon all over the flesh of the salmon — this is the glue the helps the crust stick
  6. Using your hands, cover the mustard-covered salmon with the crust mixture. Make sure to cover the fish evenly, so it will cook evenly, and cover it all over — we don’t want any parts uncovered
  7. Once the fish is covered, pour some olive oil over the top to help with browning the crust
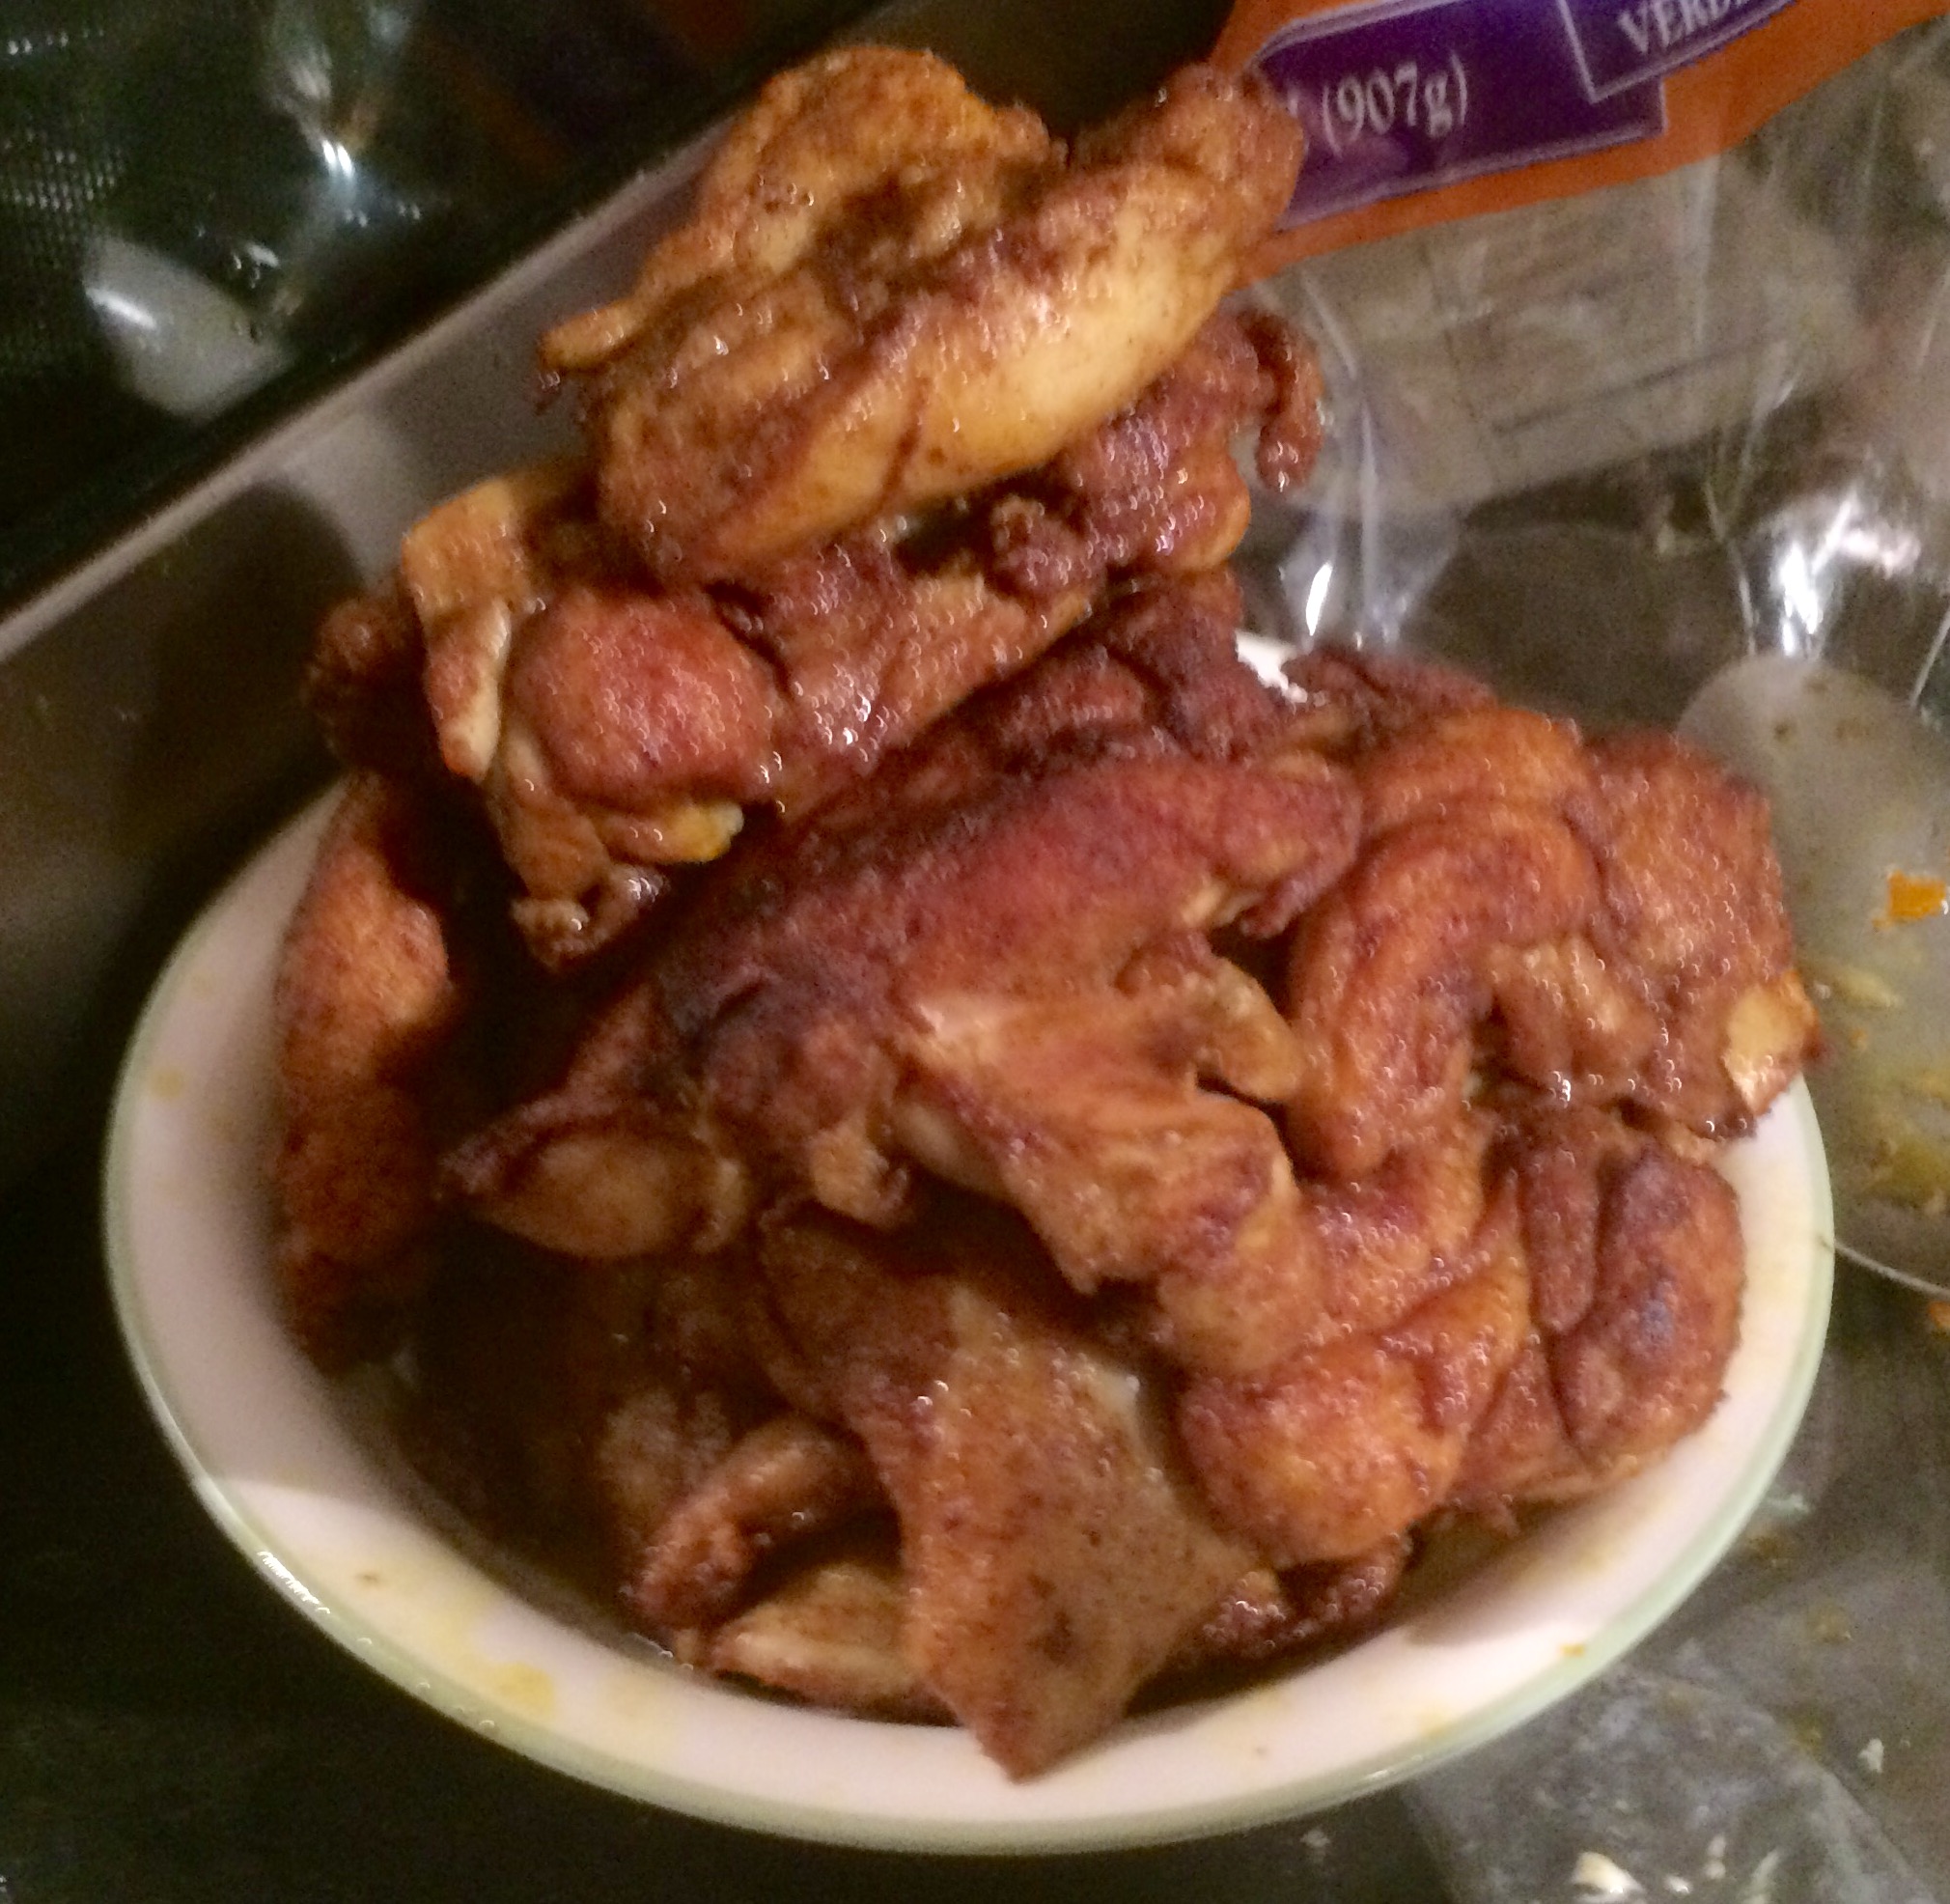
  8. Bake the fish for 10-12 minutes then remove from oven and let the fish cool for at least 5 minutes
  9. Garnish with the Arugula-Pistachio pesto, grilled lemons and serve with Grilled Corn, Tomato and Avocado Salad. Yum!

Arugula-Pistachio Pesto

Ingredients

  • 1-2 cups of arugula or baby arugula
  • 1 cup of pistachios — you can substitute walnuts if you’ve used up all your pistachios on the fish
  • 1-2 tsps of lemon zest
  • 1-2 tbsps of lemon juice
  • Garlic, 4-5 cloves
  • 1/2 cup of Parmigiano-Reggiano cheese or Pecorino Romano or an aged, hard cheese
  • Olive oil

Directions

  1. In the bowl of a food processor (or mortar and pestle) add all of the ingredients except for the oil
  2. Pulse the mixture continuously while adding olive oil until it turns into a loose paste. I like mine a little coarse and chunky, but you can choose your own thickness
  3. If you find it too thick, add more olive oil or a bit more lemon juice. Make sure to taste it!
  4. Empty mixture into a bowl and let it sit at least 10-15 minutes before using — this pesto is also great as a pasta sauce. Just mix the cold or room temperature pesto into hot pasta. So good!

Grilled Corn, Tomato & Avocado Salad 

Ingredients

  • Corn, 4-5 ears
  • Cherry tomatoes, 1 pint, cut in half
  • Red onion, 1 medium or 1/2 large onion, diced
  • Avocados, 2 — make sure that your avocados are ripe, but not mushy, chopped in 1/2 inch cubes
  • 1/4 cup of champagne vinegar or white wine vinegar
  • 2 tbsp of honey
  • 1 tbsp of dijon mustard
  • 2 tsps of dried mint
  • 1/4 cup of lemon juice
  • 1/3 cup of olive oil
  • 1/2 cup of fresh cilantro

Directions

  1. Heat your grill or grill-pan to medium heat — you want it hot, but not smoking
  2. While the grill is getting hot, clean your corn by removing both the husk and silk strands — you want corn to grill contact to happen
  3. Place the corn on the grill (and some lemon halves which make a great garnish) — don’t worry about turning the corn too too often since you want some of that char and grill color on the corn. You should probably give it a nudge every 3-5 minutes — it will only take about 10-15 minutes total to cook
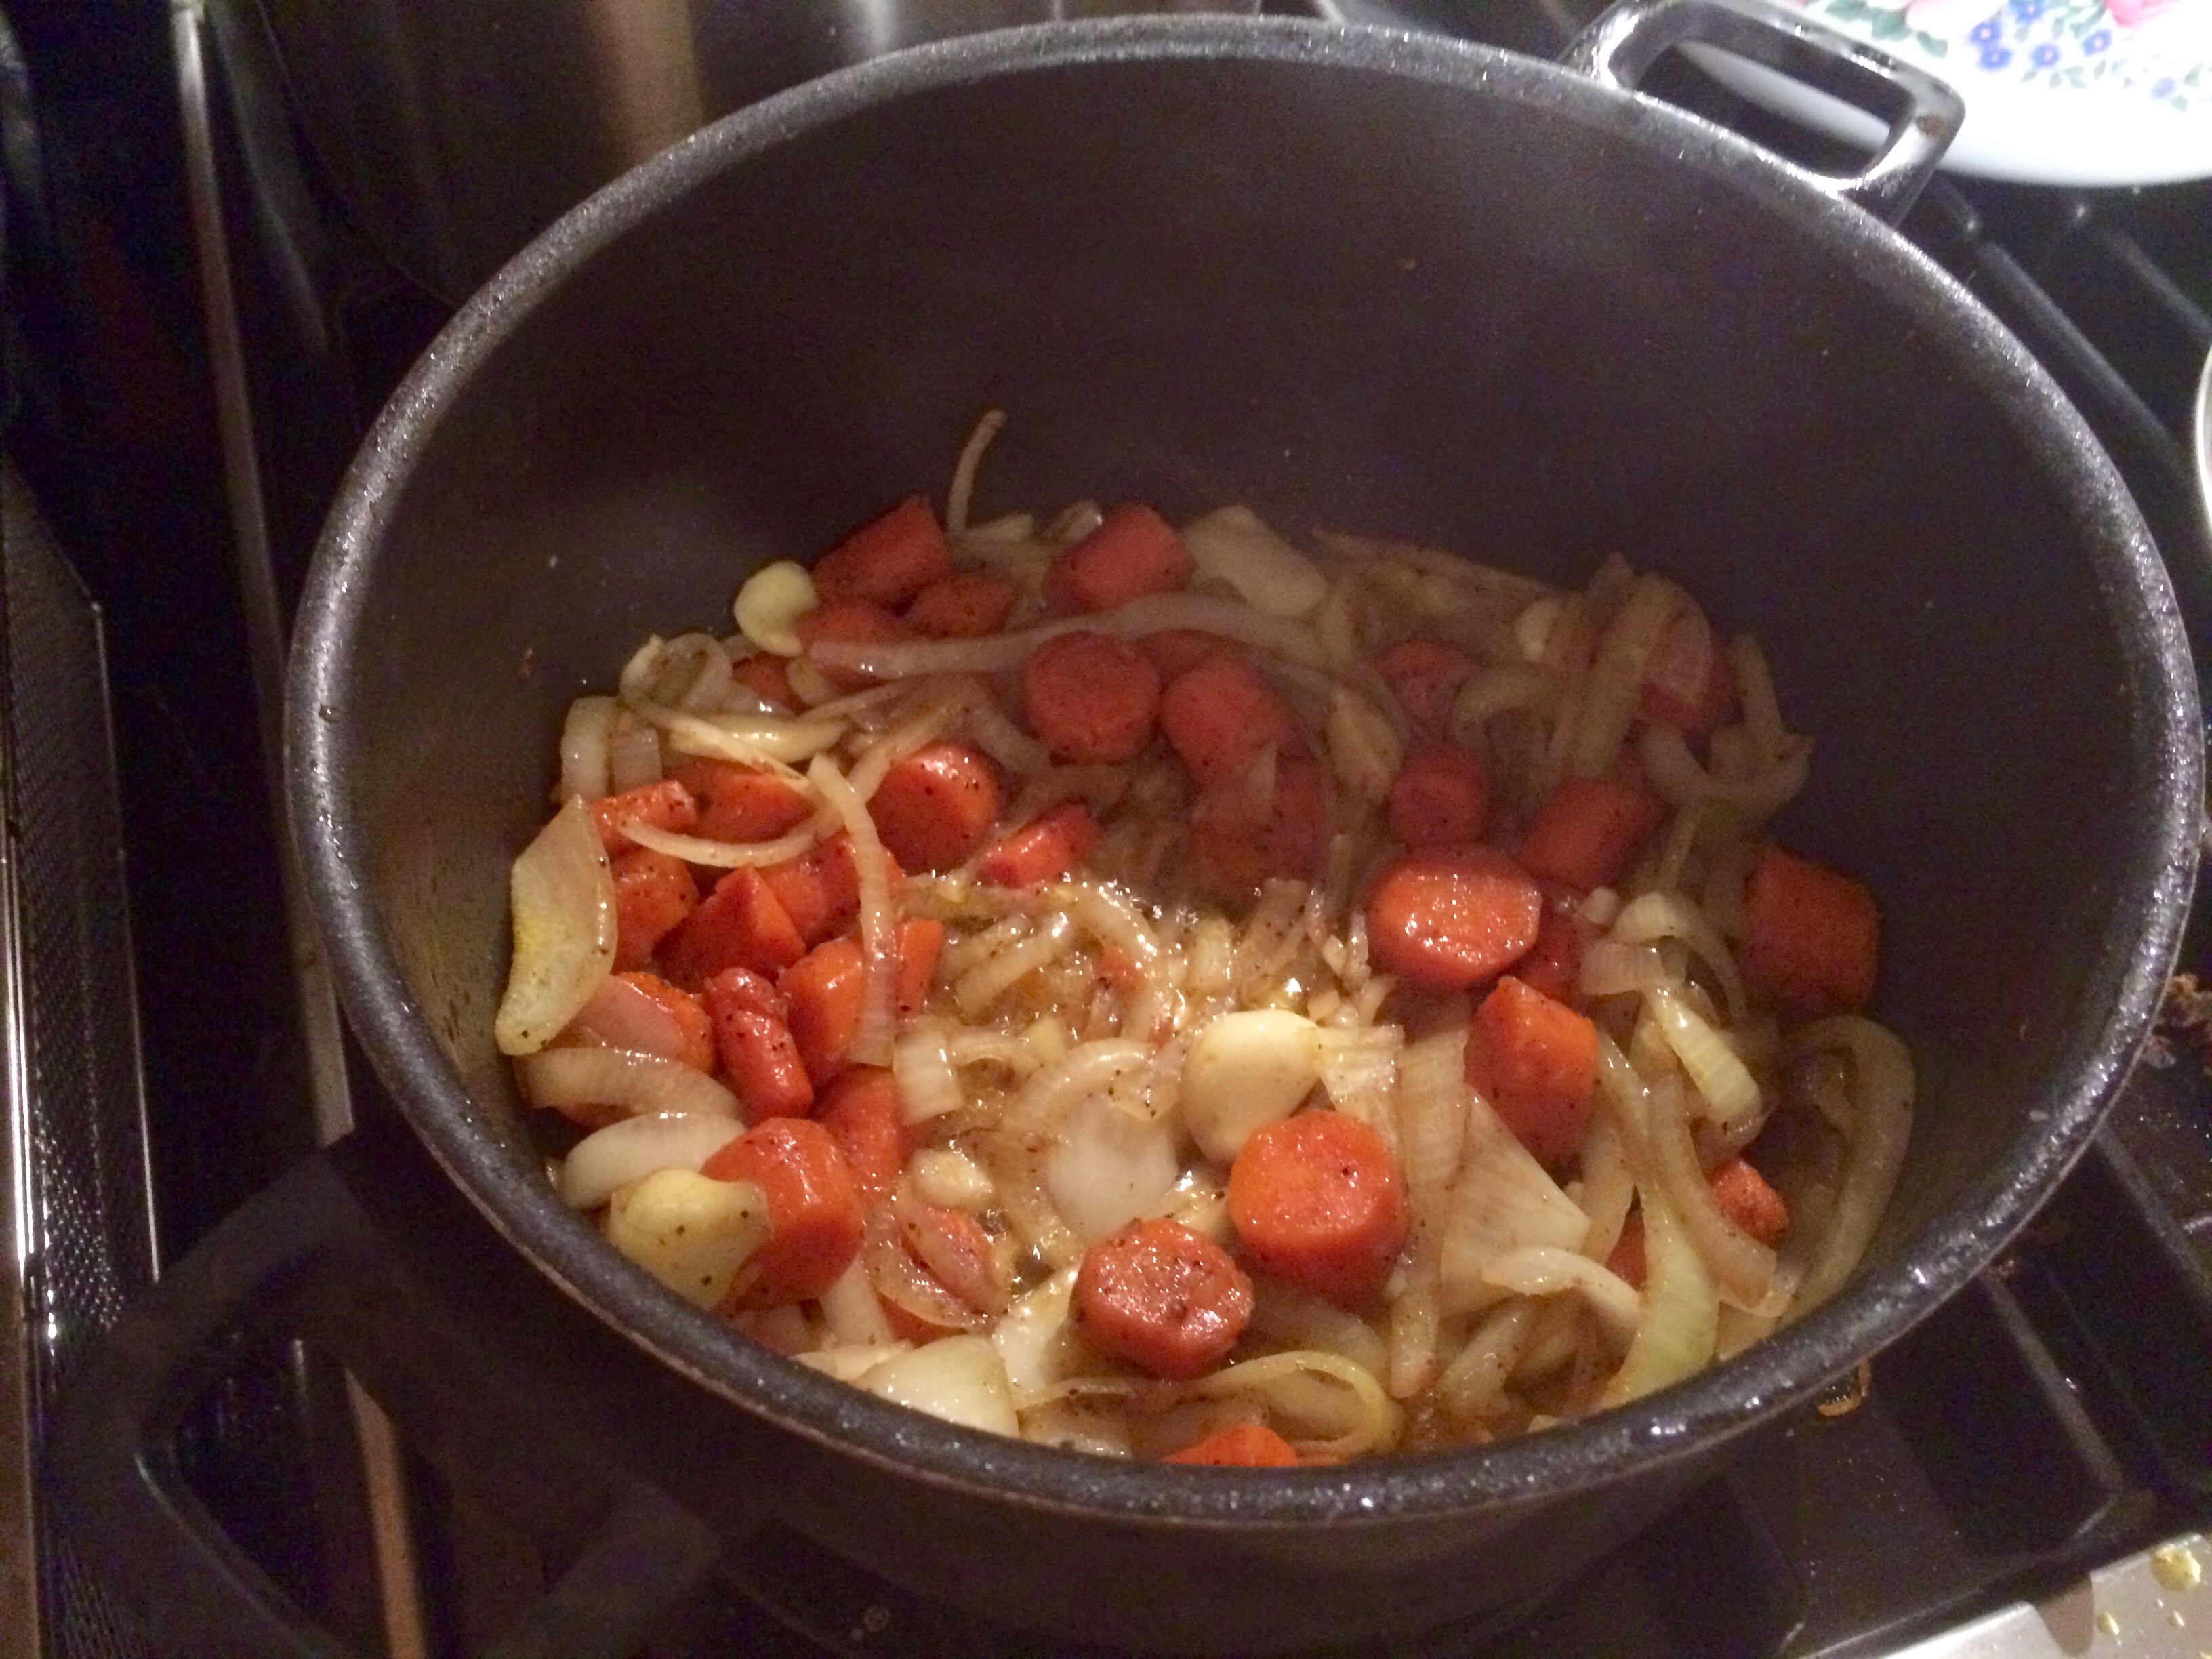
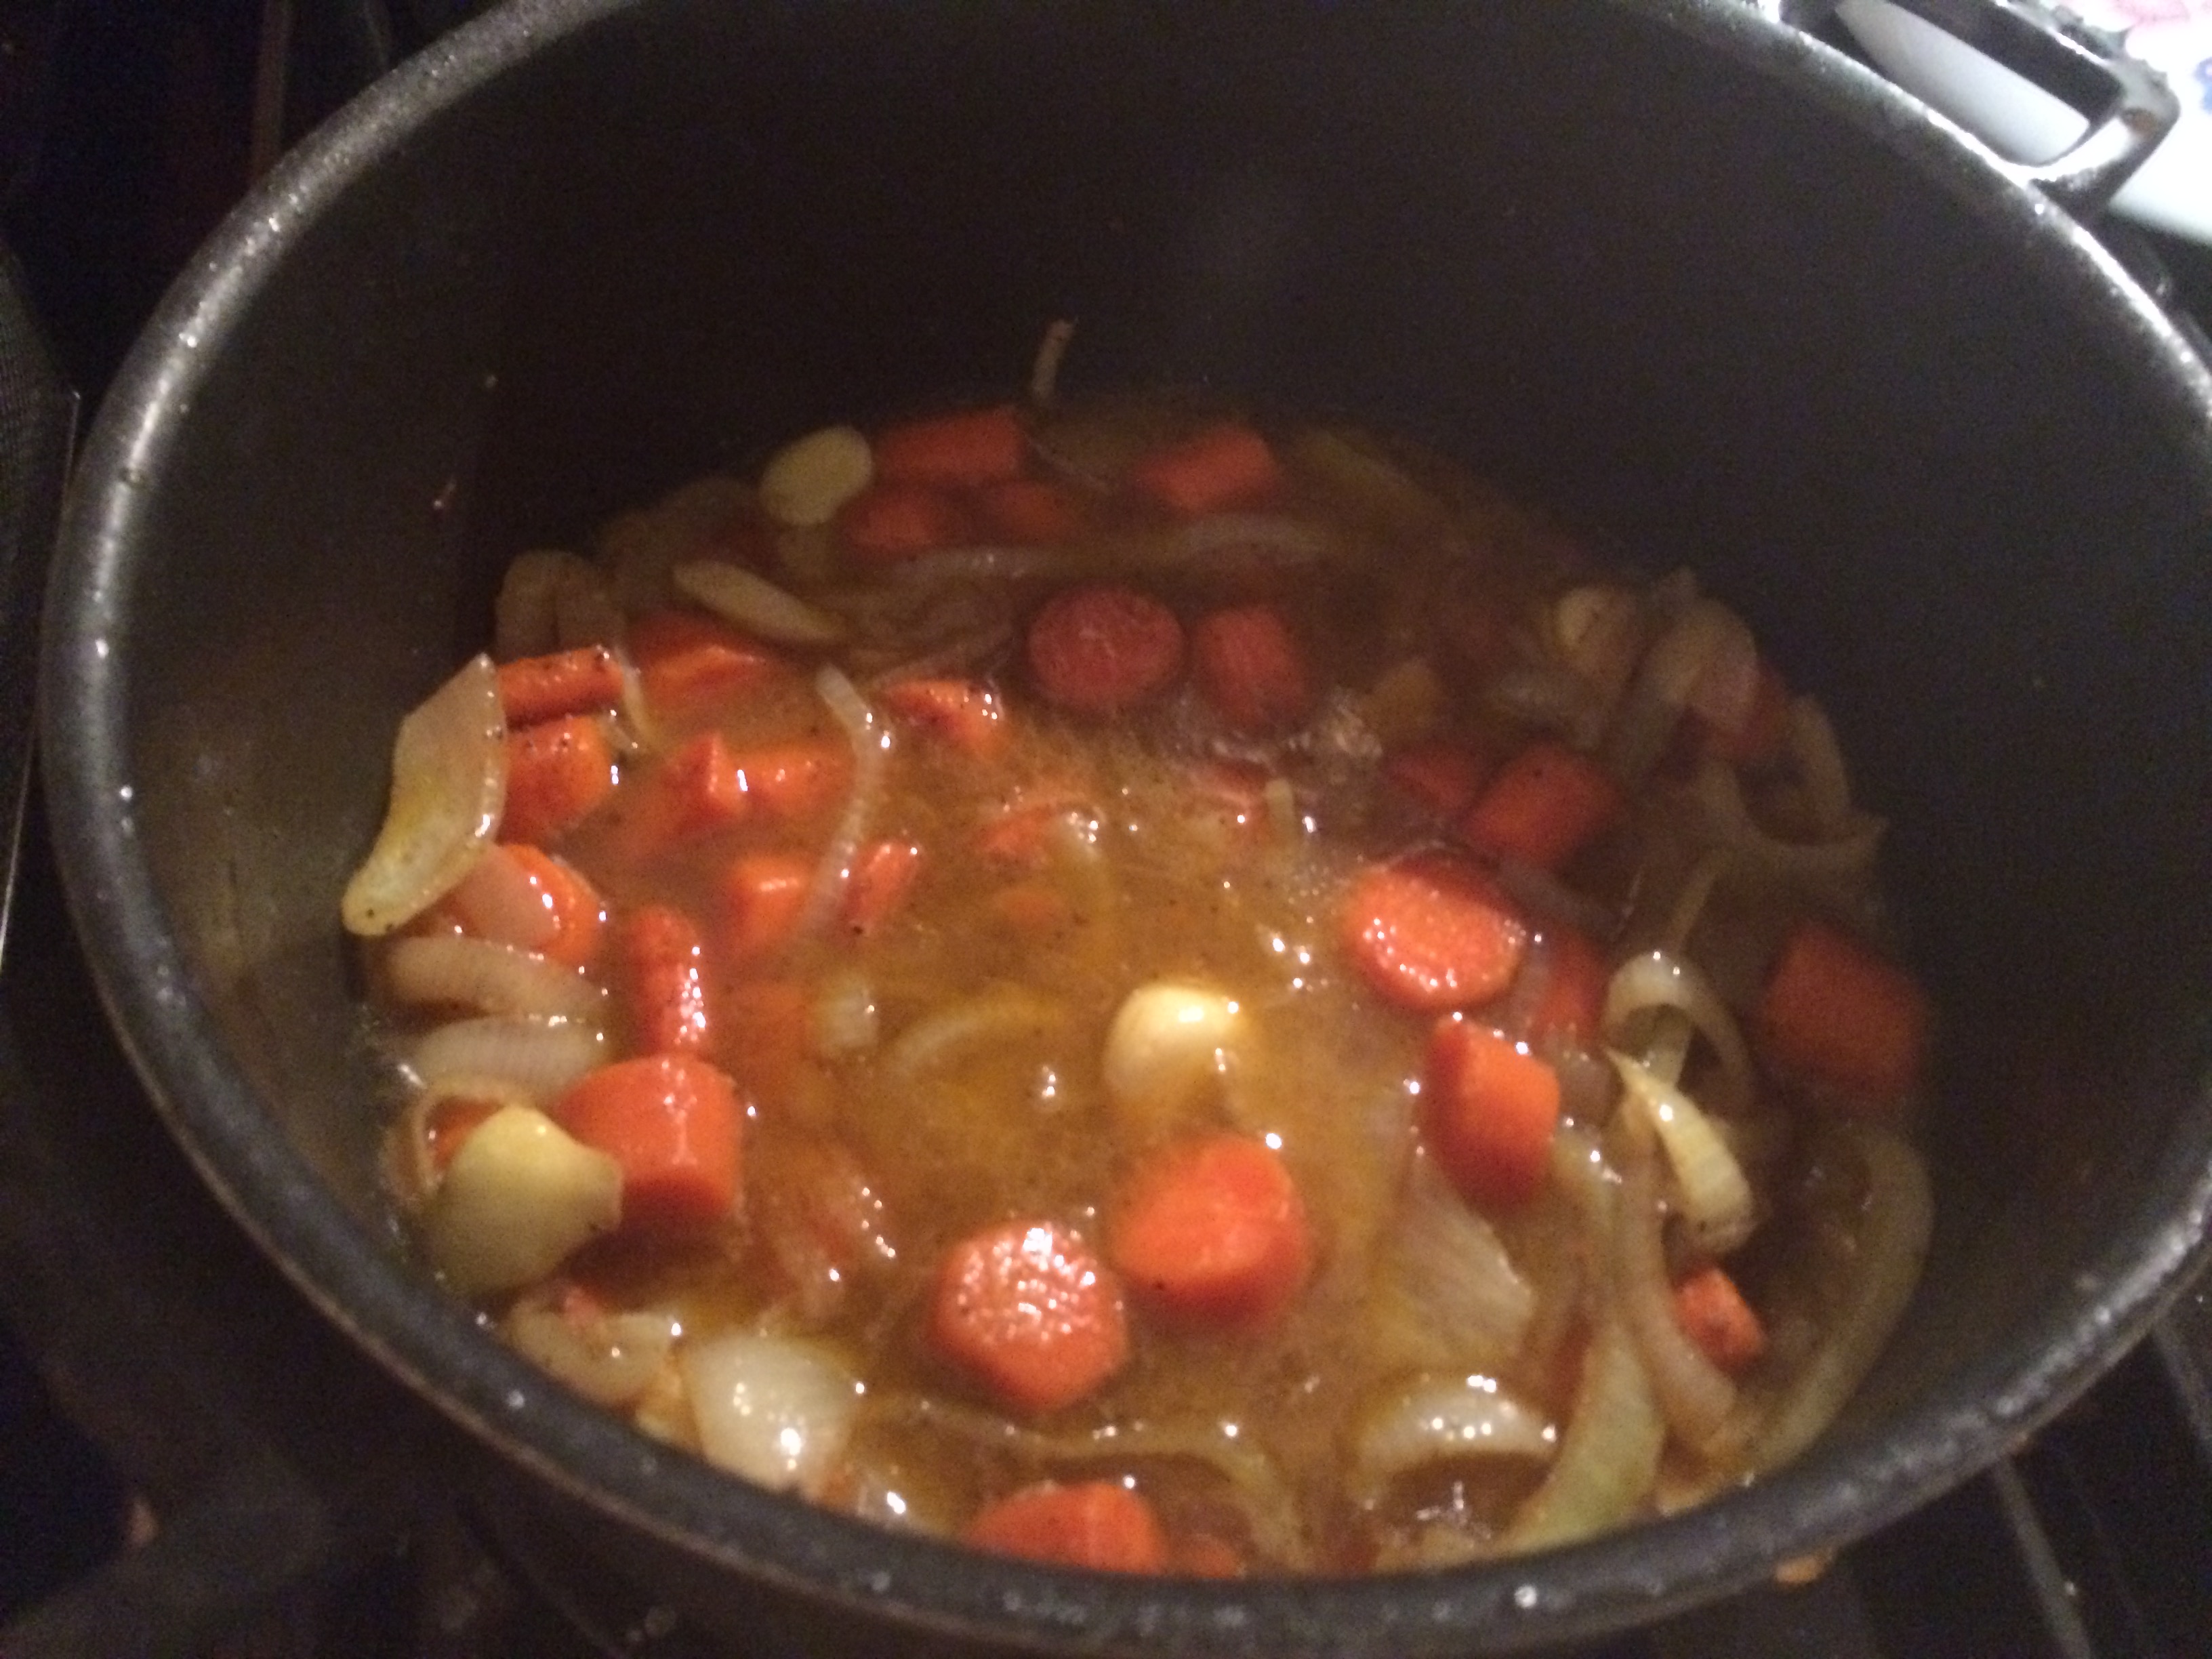
  4. While the corn is grilling, dice your onion and chop the tomatoes in half and place in a large bowl big enough for mixing
  5. Once your corn has come off the grill and cooled for a few min, cut off the end of the corn so you have a straight edge, and balance the corn on its straight end
  6. Using a sharp, chef’s knife, starting at the top of the ear, cut of the corn kernels by cutting straight down, and rotate the corn once you get to the bottom and repeat until you’ve cut all of the corn off the cob. Repeat for all of the ears or corn. Add the corn to the tomatoes and onions
  7. Cut your avocados by running a sharp knife along the outside, around the pit until you’ve gone all the way around. Use your hands to twist the 2 halves apart
  8. Take your knife and thwack it into the avocado pit so it sticks into it, then twist to detach the pit from the avocado
  9. Use a spoon to scoop out the avocado meat and chop into 1/2 inch pieces
  10. Drizzle the avocado pieces in lemon juice to keep them bright green before you mix into the corn salad mixture.
  11. For the dressing: mix honey, champagne vinegar, olive oil, dijon, salt, pepper, cilantro and mint in a bowl and mix vigorously until the dressing is one homogeneous mixture — I like to use a mason jar.
  12. Pour the dressing over the corn-tomato mixture (reserving some dressing if needed later) and add the avocados
  13. Gently toss everything together until all of the ingredients have a little bit of dressing on them, and make sure to be delicate with the avocado so it doesn’t get mushed
  14. Garnish with more chopped cilantro, and erve with your favorite fish or chicken dish on a beautiful summer day — like for a wedding celebration perhaps. Bon appetit!
Advertisement

Let’s Talk Tuna — Tuna Pasta Puttanesca

While everything is going on, even a quick run to the grocery store has become a great feat. So, it seems like a great time to use up those items in your pantry. Something that I almost always have in my cabinet? Canned tuna.

Now, I too love a great tuna sandwich, but tuna salad gets boring after a while, amirite? Enter “Tuna Pasta Puttanesca” — this hearty, comforting pasta dish pulls double duty as not only a delicious dinner, but also uses up ingredients you might not have even remembered you had! Tomatoes, olives, capers, and our star ingredient, TUNA, make this easy meal a crowd pleaser and it’s packed with protein so will feed about 4 or 2-3 very hungry people!

Tuna Pasta Puttanesca

Ingredients:

  • 1lb of pasta (traditionally made with Spaghetti, but you can use any pasta)
  • 28oz can of crushed tomatoes or your favorite jar of tomato sauce
  • 1 tbsp dried basil
  • 1 tbsp dried oregano
  • 1 tbsp of minced garlic or 3-4 cloves finely chopped
  • 1 tin of anchovies in oil
  • 1 small jar of capers, halfway drained
  • 1/4 – 1/2 cup of olives — your favorite kind
  • 2-3 tbsp of tomato paste
  • 2 cans of tuna fish
  • Olive oil
  • Salt
  • 1-2 tsp crushed red pepper flakes (optional)

Directions:

  1. Put a pot of water (at least 6-8 cups) on medium-high heat to start heating up.
  2. In a flat sauté pan (with at least a 1/2 inch lip), add some olive oil and put over medium heat until the oil starts to shimmer.
  3. Add the anchovies 1-2 at a time to the oil, so they start to “melt.”
  4. Once the anchovies start breaking down, add the garlic and use the back of your spoon to spread out.
  5. Once the garlic starts to brown, add all the herbs and red pepper flakes until you begin to smell the aroma of the herbs coming off the pan.
  6. Add the tomato paste and break up with your spoon.
  7. After 3-4 minutes, add the capers and olives, including half of the caper brine.
  8. Let this cook for a few minutes until there is only a little bit of liquid left, and it is mostly solid and mixed in with the tomatoes.
  9. Add the can of crushed tomatoes and give this a big stir to blend everything.
  10.  Once this mixture comes to a simmer, reduce heat to medium-low.
  11.  In the meantime, your water should have come to a boil — make sure it’s a rolling boil!
  12.  Add a big handful of salt to the water — this step is needed to not only season the pasta but also help the sauce come together later from the starch that comes off the pasta.
  13.  Add the pasta to the water and give it a swirl.
  14.  Add the tuna to the tomato mixture and mix it into the sauce.
  15.  Cook pasta for about 10 minutes, stirring every so often to separate strands/pieces.
  16.  Once pasta is al dente (still has a slight bite), add it directly to the saucepan along with a little bit of pasta water (make sure you reserve some more pasta water for later), and bring the heat to medium/medium-high.
  17.  Toss pasta in the sauce and heat through for a few minutes so the flavors can come together.
  18.  Serve yourself a big bowl of Tuna Pasta Puttanesca — you did it! Yum!

Cooking Under Quarantine

For the last couple of years, I’ve been heavily focused on my catering company, J2Food. While the current public health crisis is going on, there are less parties and events happening, but people have still got to eat, right?!? And since we’re all stuck inside, why don’t we cook together? Enter in our new cooking series — “Cooking Under Quarantine.” Each episode will feature delicious and easy-to-make recipes that you can make at home with accessible ingredients. Perfect for chefs of all levels!

For our first episode, we’re cooking up a classic chicken dish to celebrate Shabbat (Friday night). This delicious Chicken Marsala is an easy, one pot dish that comes together in under an hour! So, it’s also great for a weeknight dinner that you want to make a little more special. This recipe is also great for veal cutlets or even tofu or a meaty fish to make it vegetarian.

Have ideas for future recipes you’d like to see? Email us at jonsmoveablefeasts@gmail.com or info@jsquaredfood.com.

Bon Appetit from our kitchen to yours! Now, let’s get cooking! Follow along with the video below, or check out the recipe here.

Chicken Marsala with Mushroom Sauce

So I’ve recently started offering small group cooking classes through my catering company, J2Food, and the theme for the first session was all about love. It was a few days before Valentine’s Day, and it was a couples-themed class, It’s a Date! And what can be more romantic than cooking for your loved one? Or, even better, cooking together. So as I was considering what we should make for the meal, I thought we should have all foods that not only taste delicious but also look amazing and can be made by any amateur chef (and easy to clean to boot!).

Chicken Marsala is one of my favorite dishes to make for guests and even crowds. It sounds and tastes very complex, but is actually very simple to make and very impressive in its presentation and flavors. It’s a recipe that I teach all of my cousins when they go to college so that they have at least one quality trick up their sleeve to throw down. This dish is also great for a quick weeknight meal. Serve it over some herbed egg noodles, with creamy garlic mashed potatoes or even with a fresh arugula salad. Enjoy and let me know how yours turns out!


Ingredients

  • Chicken breasts, boneless – while I often opt for the more forgiving chicken thighs, it’s very traditional to use chicken breast in this recipe for texture and size
  • Mushrooms, halved – I like Cremini (mini portobellos), but button mushrooms or any variety are good to use. Sometimes I like to use a mix of mushrooms…you can never have too many
  • Bottle of Marsala wine – I would definitely use real Marsala wine (usually found in the dessert wine section near the Madeira or sherry). Resist the urge to use Marsala cooking wine found in the grocery store since those are loaded with salt and MSG.
  • Chicken stock
  • Flour
  • Salt and pepper
  • Dried herbs – whatever your favorite flavors are (we used rosemary, thyme, and oregano)
  • Fresh parsley, chopped
  • Garlic, 8-10 cloves chopped
  • Olive oil

Directions

  1. Pound the chicken breasts out to about 1/4-1/2 inch thickness. Doesn’t need to be super thin since these are getting twice-cooked
  2. Add enough olive oil to a heavy-bottomed sauté pan to coat and start to heat on medium
  3. Mix a heavy pinch of dried herbs, salt and pepper into about 1.5 cups of flour — you may need more later on, so don’t be skimpy now
  4. Dip the chicken pieces into the seasoned flour mixture one by one to coat then add to the hot pan — How hot should the pan be? You should hear a small sizzle or see some small bubbles form around the edge of the chicken 
  5. Cook the chicken pieces for 2-3 minutes per side so they both get a slight crisp and are golden to golden brown on each side
  6. Reserve partially cooked chicken for later to finish cooking
  7. In the same pan, add a heaping tablespoon of chopped garlic
  8. After the garlic has started to brown, add the mushrooms — it’s important that mushrooms have room to cook or they’ll steam instead of sautéing so don’t overcrowd the pan
  9. One the mushrooms have cooked, add a few spoonfuls of the flour mixture to the pan and stir to coat the mushrooms and so that all of the flour gets to cook off some
  10. After a couple of minutes, deglaze the pan with about half the bottle of Marsala — the pan should start to sizzle rapidly and this is the time for you to use your spatula/spoon to scrape up the good, crusty bits from the bottom of the pan. This is pure flavor…Yum!!!
  11. Add about 1 cup of chicken stock to the pan, and also season the sauce with salt and pepper to taste. Let the sauce mixture come up to a boil, then lower the heat to simmer and cook for a couple of minutes to get rid some of the sharpness from the wine and stock
  12. At this point, the floury mushrooms acted as our roux, and the sauce should be starting to thicken. Add the chicken back into the sauce and submerge.
  13. Cover the pan with a lid of tight aluminum foil and cook for another 20 minutes on simmer or medium-low heat. The chicken will get nice and tender and the sauce will thicken some more
  14. Once done, serve on a big platter with some risotto, egg noodles or mashed potatoes. Garnish with fresh chopped parsley

Bon appetit!

LRG_DSC07062

LRG_DSC07065

Recipe: Morroccan Chicken Tagine

The other day, someone who I had met at a food festival asked me for the recipe for this Moroccan Chicken. They had eaten it at an event I had catered in Philadelphia a couple of months ago though my catering company, J2Food, and loved it. I don’t always give out some of my more secret recipes, but since she was so nice, I decided to write it up and post it here for all of you 🙂 This Moroccan Chicken dish isn’t actually cooked inside of a “tagine” pot, but it echoes a lot of the flavors that I love when I ordering tagines at Moroccan restaurants — a little bit sweet, salty, sour, savory and the protein is always fall apart tender. It’s very comforting in this winter weather, and is also great to make in the slow cooker! Let me know how yours turns out.

Ingredients:

  • 1 package of boneless chicken thighs
  • 1 large yellow or sweet onion
  • 5-6 carrots chopped into chunks
  • 2-3 medium onions chopped roughly
  • 1 cup of pitted green olives
  • 1 cup dried apricots
  • 3-4 garlic cloves
  • Spices: smoked paprika, turmeric, salt, pepper, cumin, cinnamon, coriander
  • Saffron, 2-3 threads
  • 3-4 cups of chicken broth
  • 1/2 cup lemon juicephoto-nov-20-6-45-21-pm
  • 2 preserved lemons, chopped — can substitute 2-3 regular lemons, juices and zest grated. Can buy preserved lemons at most specialty food stores
  • Parsley
  • Cilantro (optional)

Cooking Directions:

  1. Blend the spices and any other spices you like into a rub and divide in halfphoto-nov-20-5-52-19-pmphoto-nov-20-5-54-06-pm
  2. Mix one half of the rub with olive oil to form a loose paste and Coat the chicken on all sides with itphoto-nov-20-6-17-19-pm
  3. Sauté chicken in olive oil in a hot Dutch oven or deep pot on both sides until browned but not fully cooked throughphoto-nov-20-6-40-23-pm
  4. Remove chicken and set aside. You’ll come back to it
  5. In same pot add garlic and onions and cook until starting to brownphoto-nov-20-6-40-05-pm
  6. Add carrots and onions and keep cooking
  7. Add more of the same spice mixture to the pot with the vegetables and heat until fragrantphoto-nov-20-6-40-39-pm
  8. Add preserved lemon, lemon juice, saffron, (zest) and cook for a couple of minutesphoto-nov-20-6-45-06-pm
  9. Add broth and make sure to scrape bottom of the pot for flavor bits — add just enough broth so that the liquid covers the ingredientsphoto-nov-20-6-45-51-pm
  10. Add olives to the pot and make sure to give everything a good mix!photo-nov-20-6-56-01-pmphoto-nov-20-6-47-16-pm
  11. Add the chicken back in and stir all together — taste the liquid and adjust seasonings to your taste. Maybe add more lemon, salt etcphoto-nov-20-6-47-16-pm
  12. Heat on medium high for 5-10 minutes, then cover and lower heat to medium low and simmer for about 45 min – 1 hour
  13. Add parsley and simmer for another 5 minutes on high uncovered photo-nov-20-7-52-16-pm
  14. Garnish with fresh chopped cilantro then spoon over couscous or serve in a bowl with sides of your choosing

I served this dish with some braised collard greens, herb roasted tomatoes and some crusty bread to mop up the sauce. It was a big hit!

photo-nov-20-8-02-21-pm