Risotto is one of those dishes that sounds super fancy–and it definitely tastes luxurious!–but is actually far easier to make at home than most people think. In fact, it doesn’t even need cream or milk to make it creamy. You just need to buy the right kind of rice and give it a little love and attention and you’ll be whipping up some restaurant worthy risotto in no time. Flavor it with your favorite mix-ins like roasted asparagus, caramelized onions, roasted butternut squash or more. Bon appetito!
Ingredients
Arborio rice, 2 cups — you must use arborio rice for this dish. Arborio rice has a super high starch content and this is what makes your risotto creamy and delicious!
Garlic, 5-6 cloves chopped
White wine, 1 cup
Chicken stock (or vegetable stock if you want to keep it vegetarian/dairy), 4 cups — if you wanted to do a super rich and earthy mushroom risotto, you could make some mushroom broth by rehydrating dried porcini mushrooms for a truly luxurious risotto dish!
Salt and pepper
Parmesan (or nondairy substitute such as nutritional yeast), optional but always worth it
Heat the stock in a saucepan and add any flavorings you’d like to it such as herbs, lemon juice, spices etc.
Sauté garlic in olive oil until fragrant and slightly brown. Season with salt and pepper
Add rice and toss to coat. Sauté the rice so it gets nice and toasty. This will give it a wonderful and deep flavor later on
Add about a cup of white wine of your choice — you can also use champagne, sparkling wine etc. Just make sure it’s something you like. If you wouldn’t drink it, don’t cook with it! The flavor will just concentrate as it’s cooking
Stir the rice, and once it’s absorbed the wine, start adding about a cup of broth to the rice and stir it around
Every time the rice absorbs the liquid, it needs to be stirred. As it cooks and gets stirred, it will start to release its starches which creates the creaminess that is characteristic of risotto
After about 18 minutes, you will have added several cups of liquid and the ride should be creamy and have expanded. Give it a quick taste for seasoning and to make sure the rice is al dente (should have a little bit of chew left)
Now would be the time to add anything to the risotto like some roasted asparagus, maple roasted butternut squash if you wanted to go sweet, or anything you like
Turn off the heat and add some nutritional yeast (if meat meal) to give it some umami or a cup of grated Parmesan cheese if a dairy meal and stir.
Serve while still warm. To reheat, heat risotto into a saucepan with a 1/4 cup of water and stir until steamy and ready to inhale
When I asked people what their favorite breakfast food was, I got a lot of answers—French toast, pancakes, oatmeal, smoothies, Cheerios, etc. The most common answer I got was eggs. The incredible, edible egg is a common, but delicious ingredient. It can top your burger to give you that runny yolk that adds a new level of decadence, be incorporated into a cake batter, baked into a quiche for company, or just hard-boiled. Personally, I love a great plate of soft scrambled eggs. It makes a fabulous breakfast, or a simple, weekday dinner. There are a lot of methods that people use to get their eggs perfectly scrambled—some with sour cream, milk, oil—I am an egg purist. The secret to my perfectly fluffy scrambled eggs: extra egg…and patience. This recipe takes some time, but it’s worth it!
Ingredients:
3-4 eggs
1 tablespoon (or ⅛ of a stick of butter)
Salt + Pepper
Cooking Steps:
Crack 2-3 eggs into a bowl.
Crack the last egg and add just the yolk into the bowl—you can save the egg white, maybe whip it for a meringue or incorporate it into a protein shake. While egg yolks may have a higher amount of cholesterol, they also contain lots of vitamins and iron. The extra yolk in this dish not only keeps the eggs moist and soft, but also helps it keep its distinctive yellow color.
Add a pinch of salt and black pepper to the eggs.
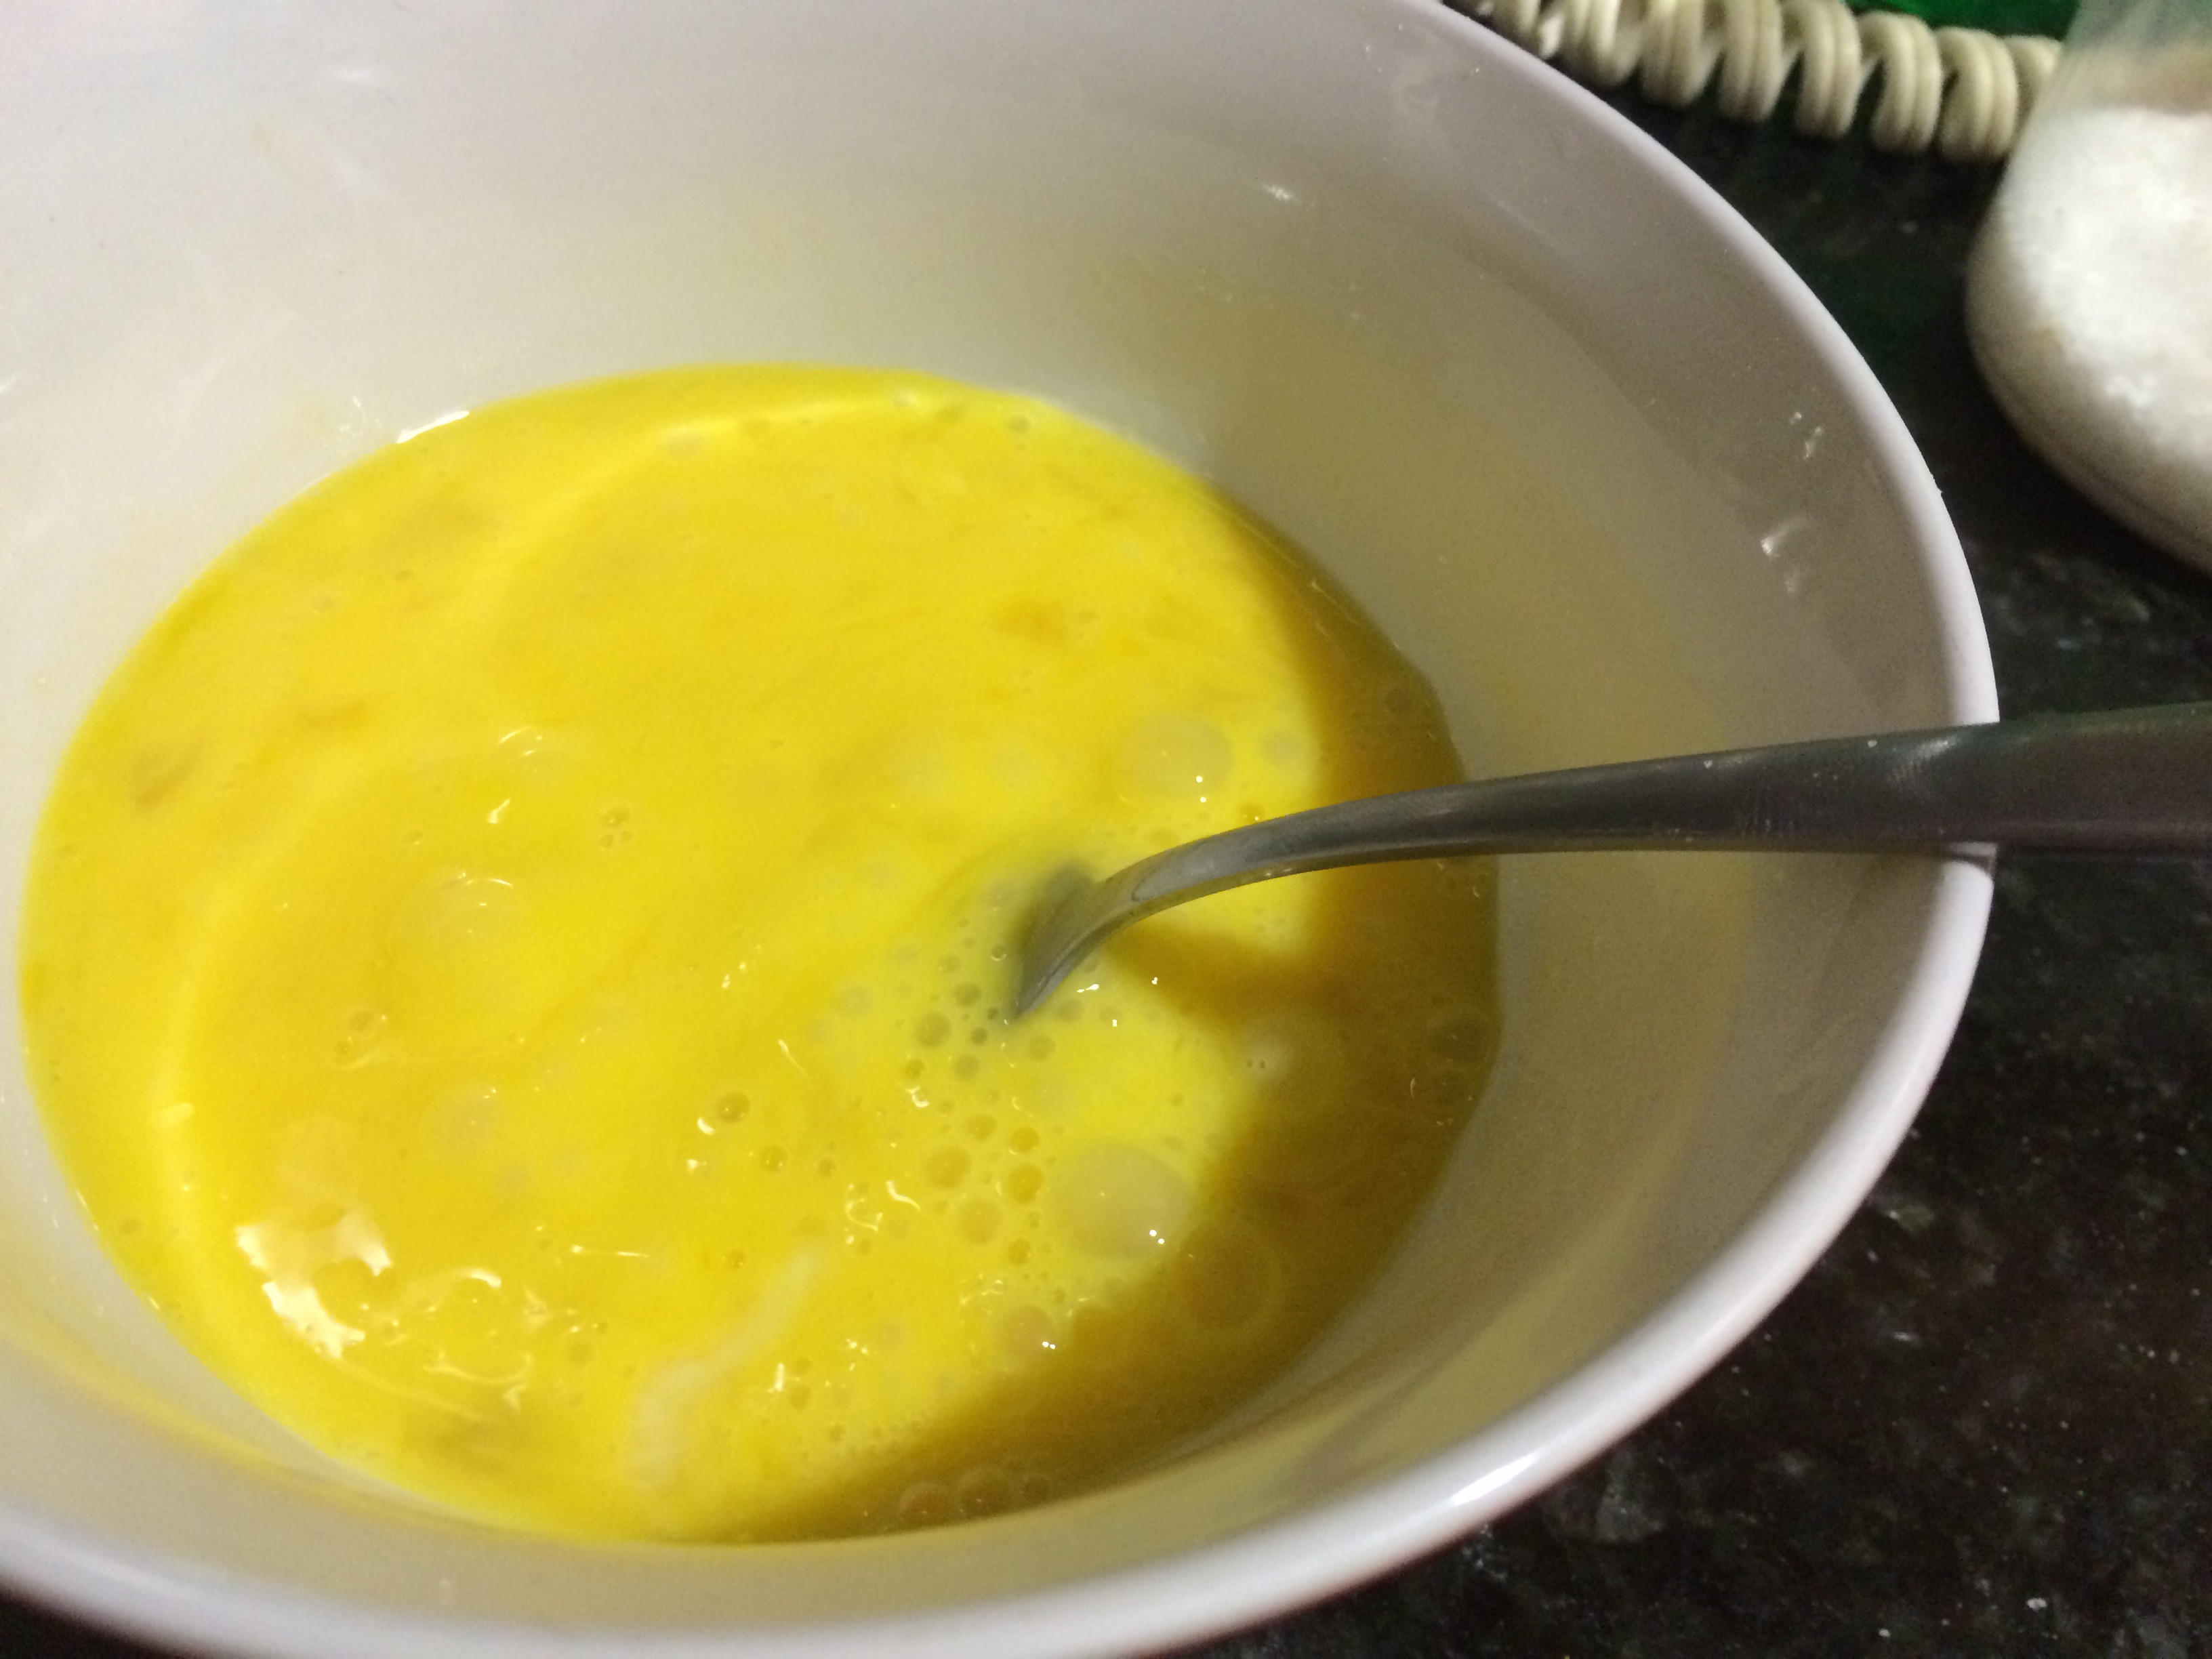
Using a fork, beat the eggs in a counter-clockwise direction from top to bottom. If it helps, tilt the bowl as you whip the eggs in the circular motion. Mixing the eggs this way will also help with the fluffy texture.
In a medium sauté pan, add your butter and heat on low
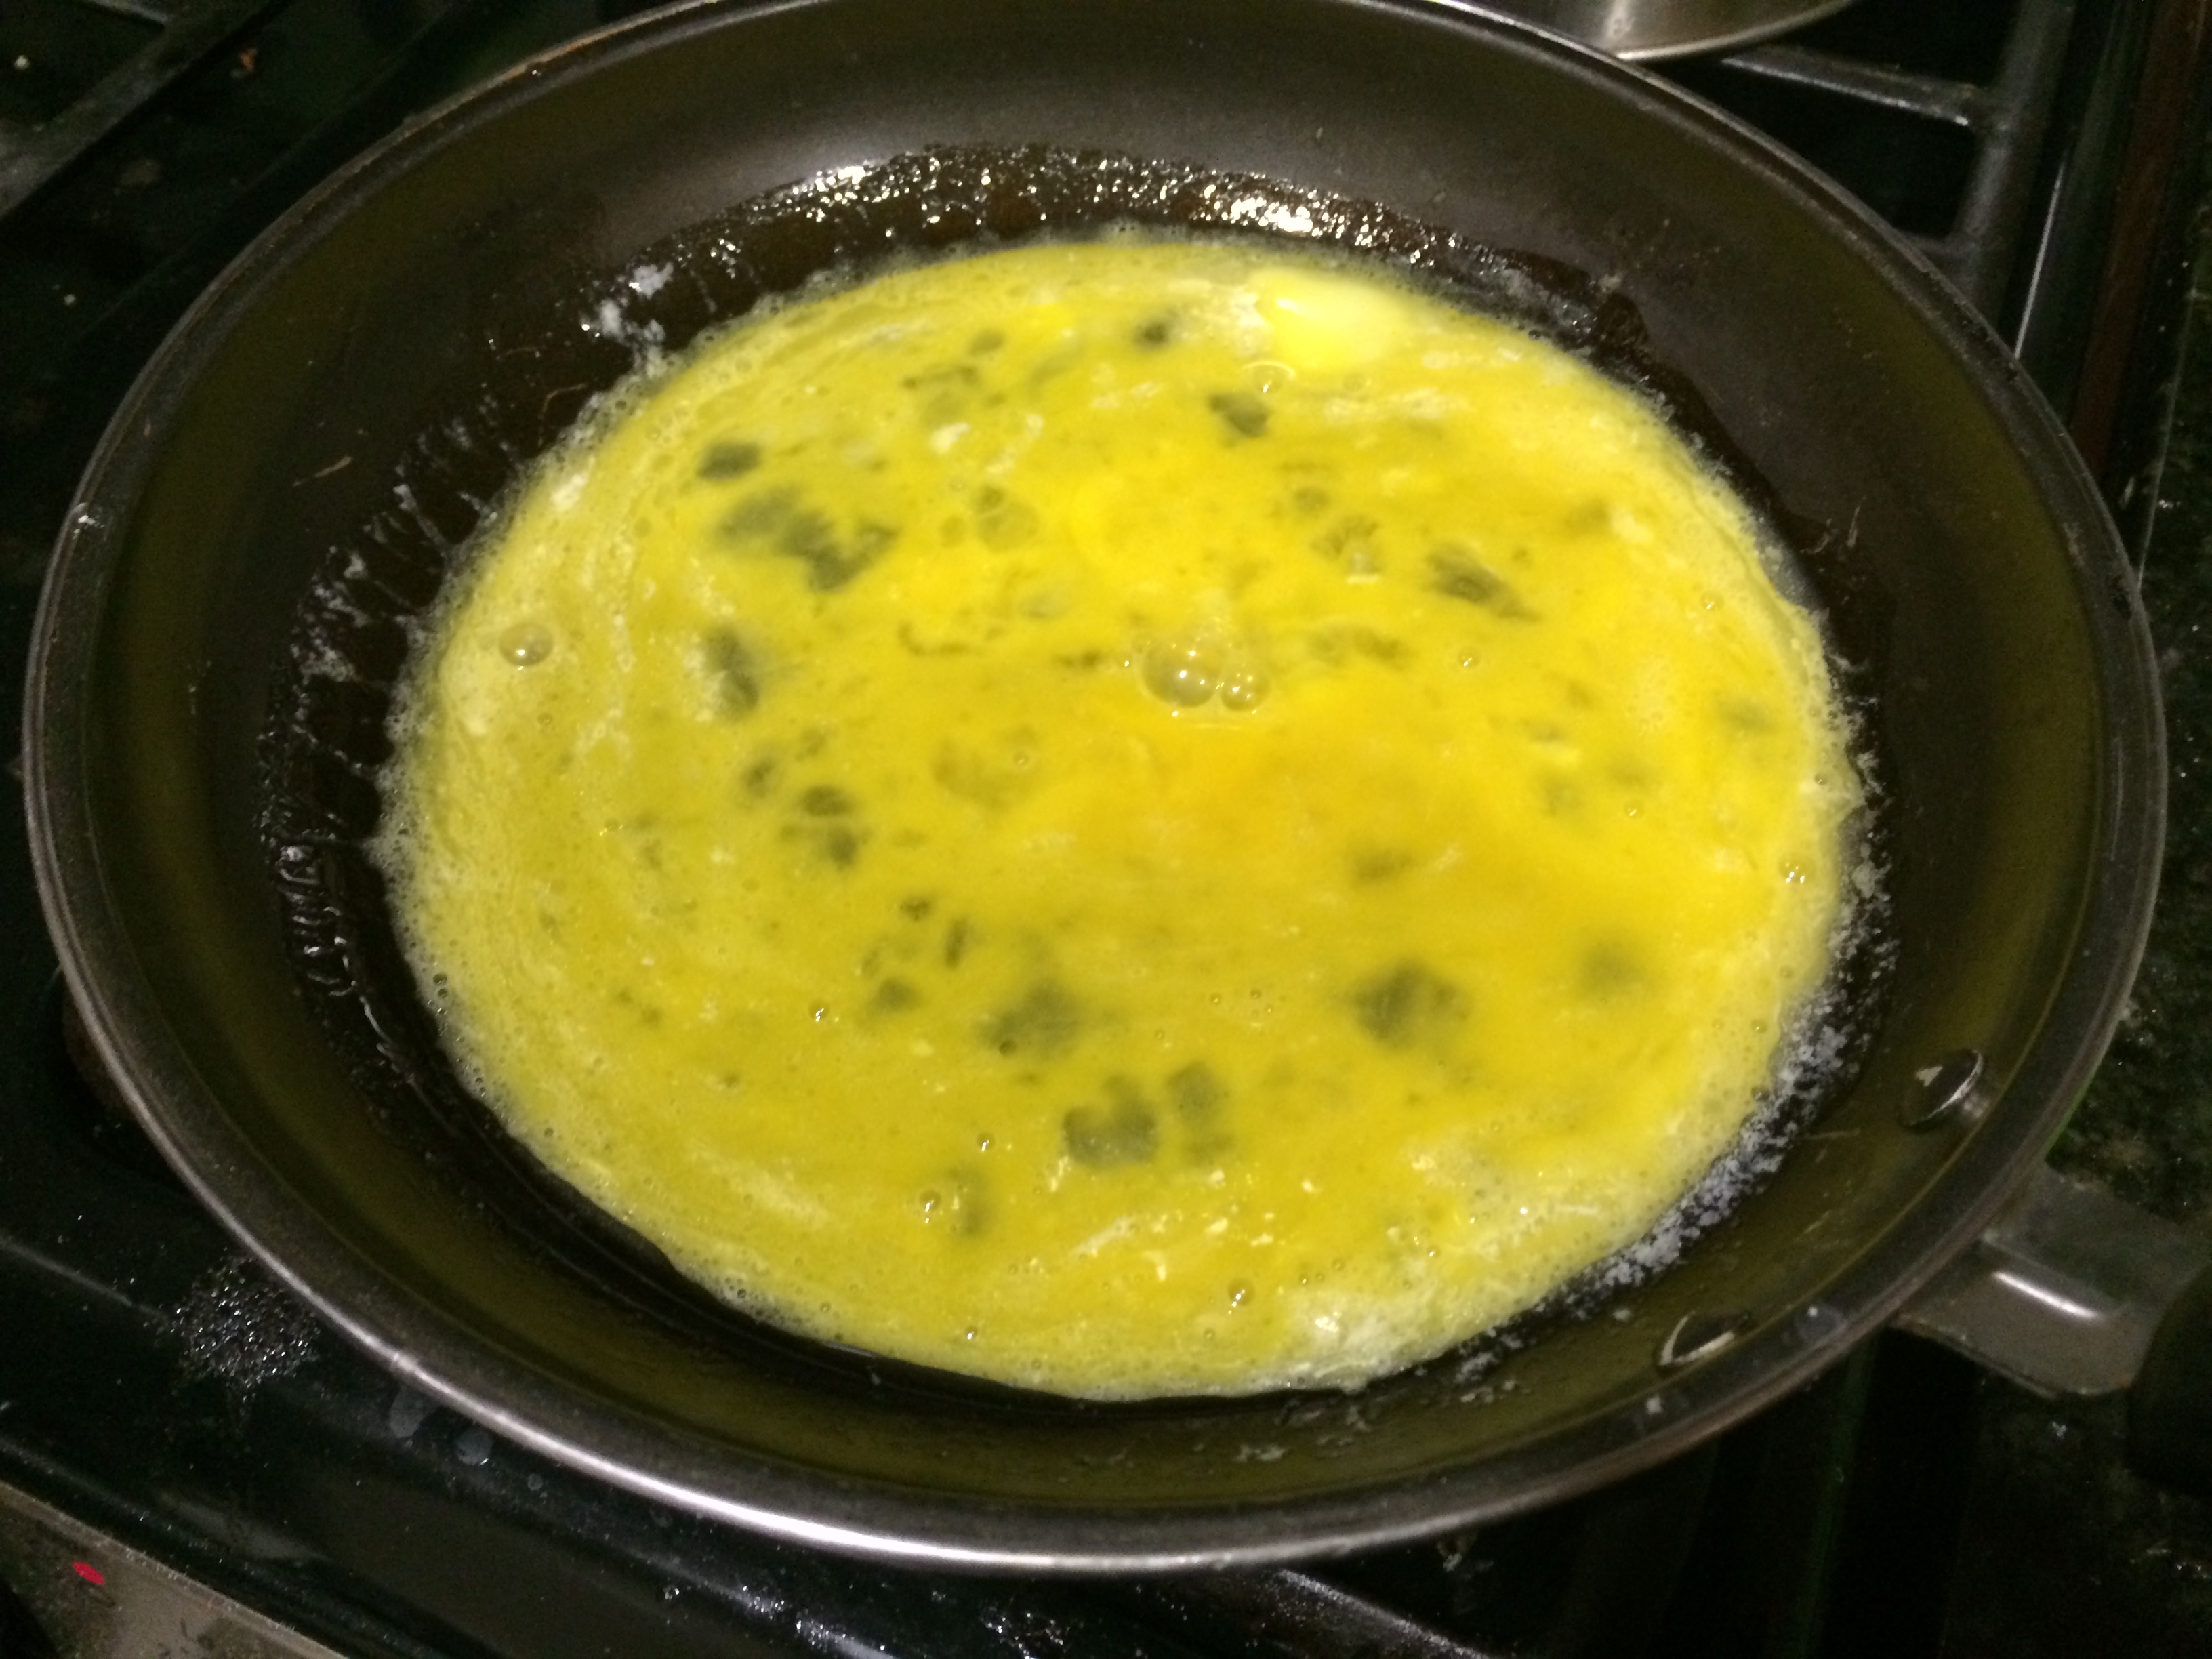
When the butter starts to melt, add your egg mixture to the pan
Using a rubber spatula scrape the bottom and sides of the pan
Keep cooking, continually moving the eggs around in the pan for 5-10 minutes. The eggs will start to solidify and come together, just make sure to constantly mix it up
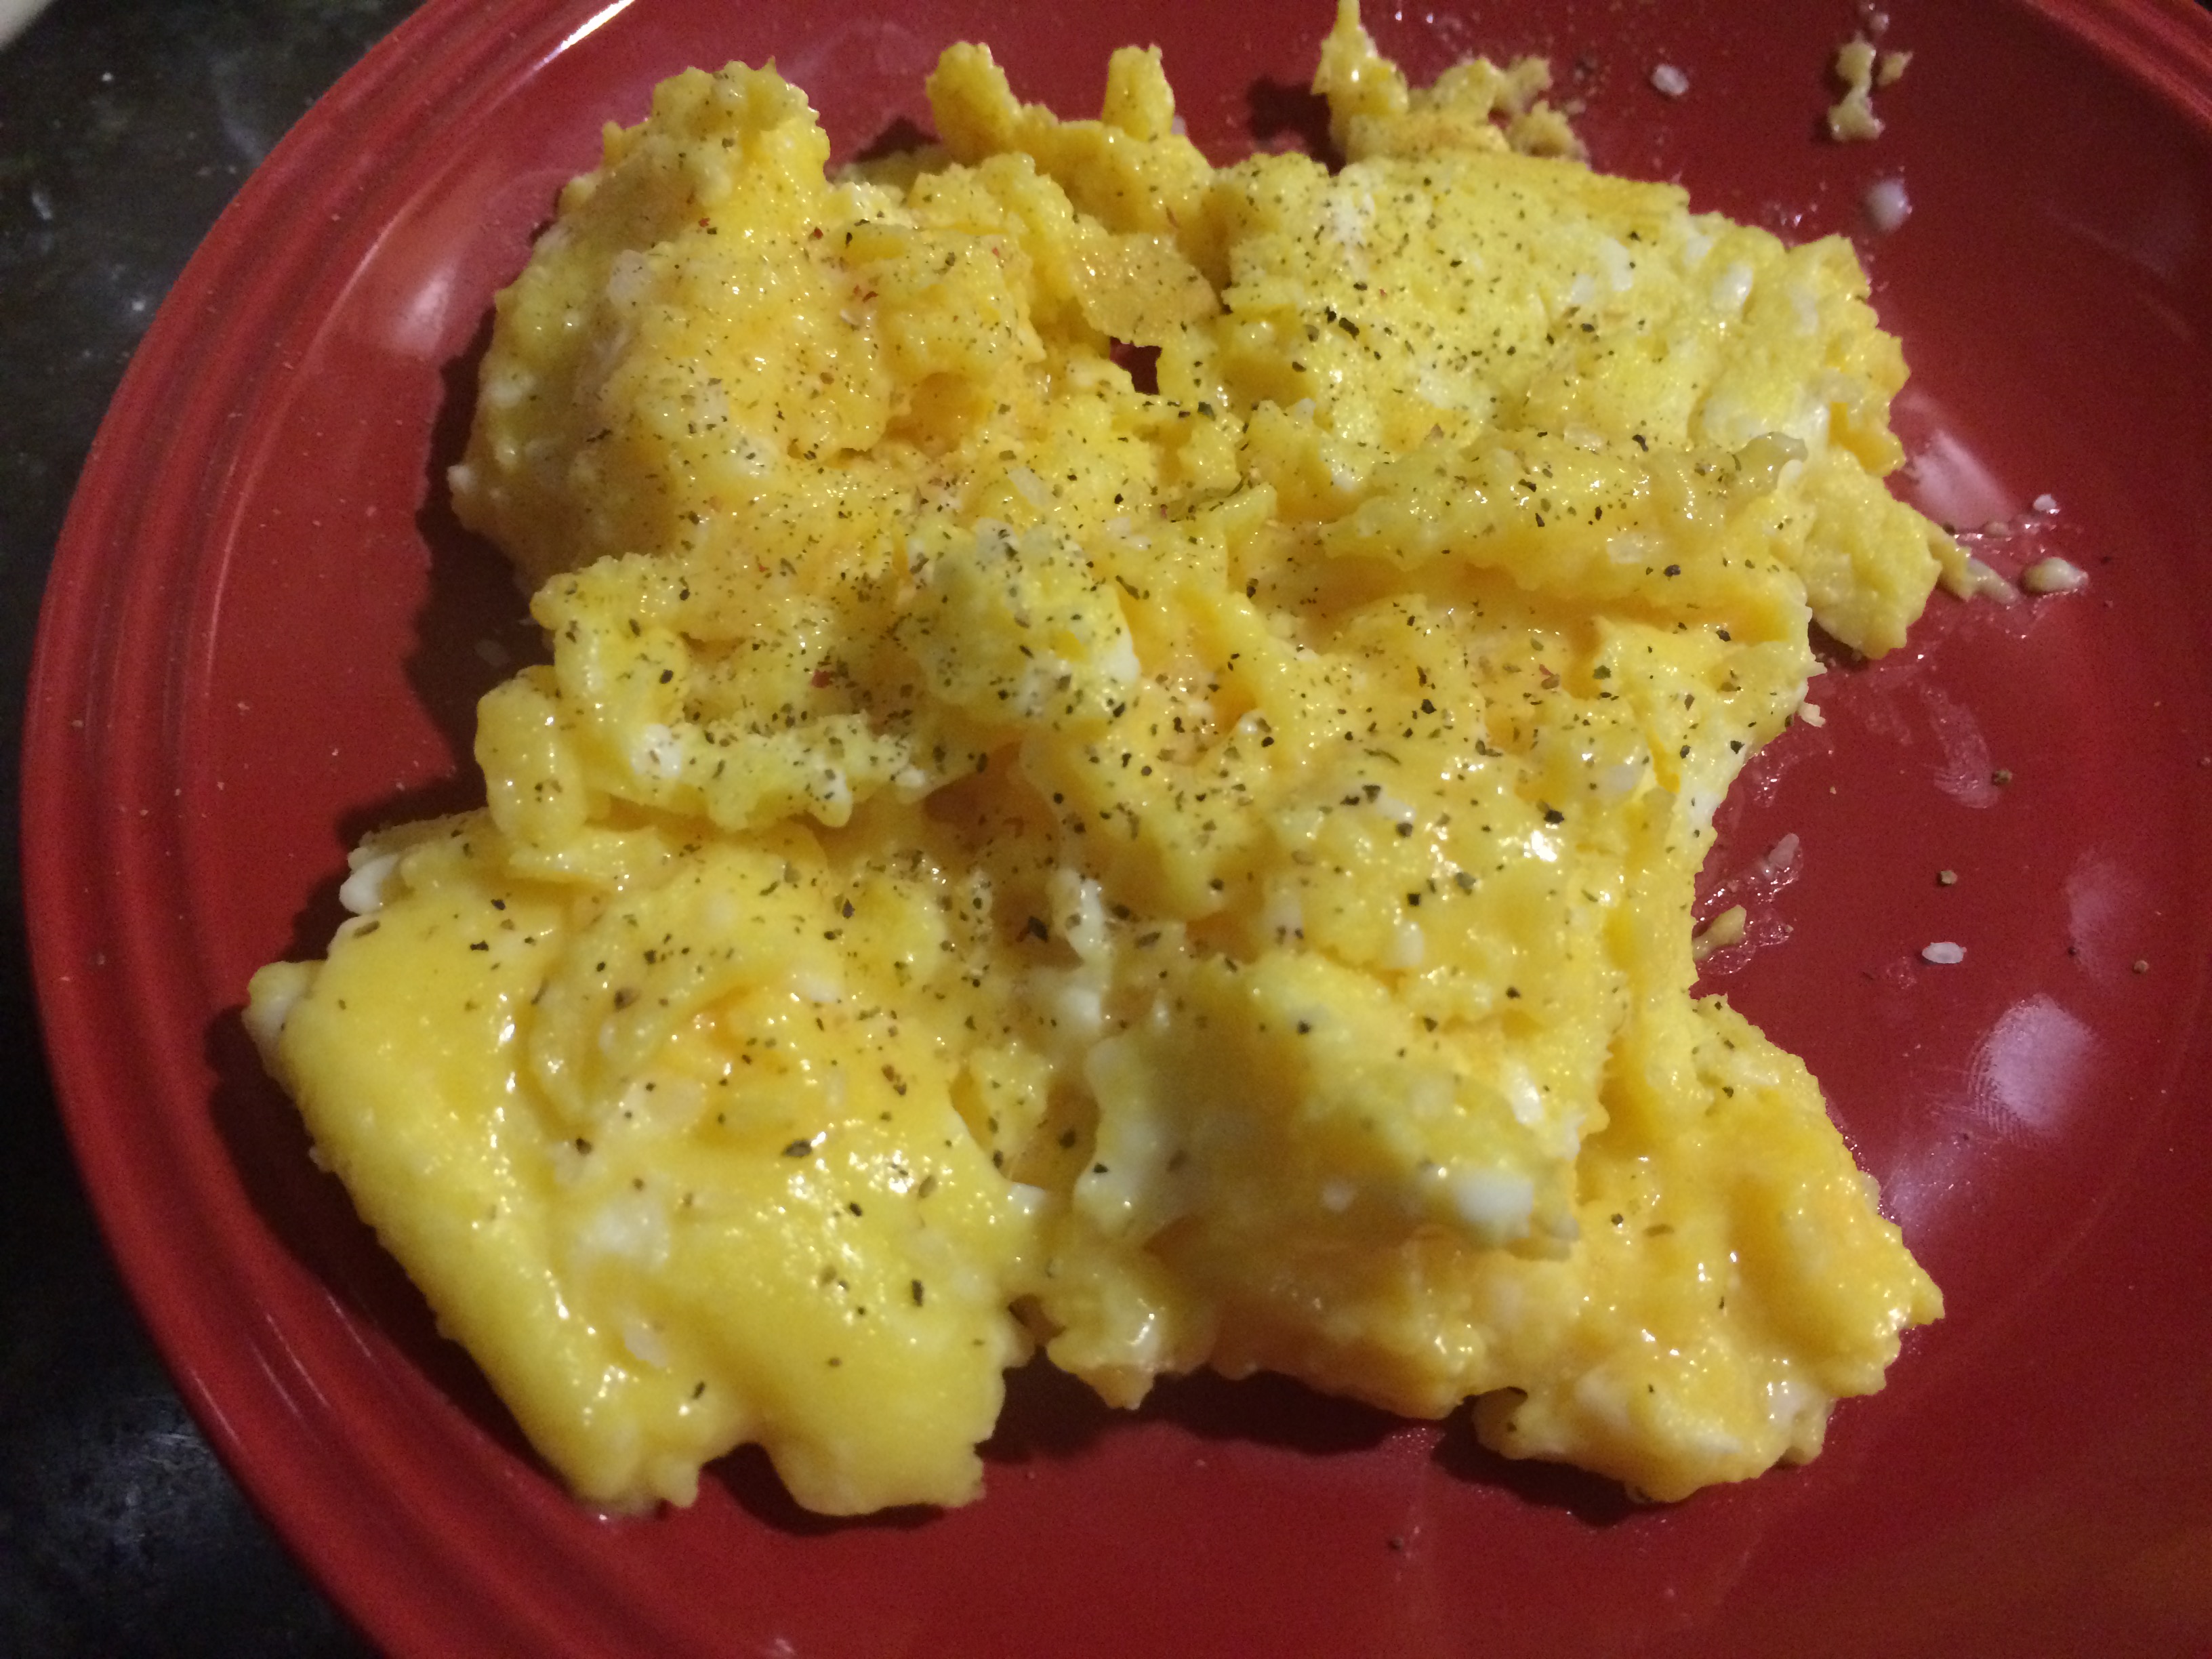
Once the eggs are cooked, but still shiny and look slightly wet, turn the heat off and get your toast or sides ready—it might seem raw, but the eggs are cooked and safe to eat.
Sprinkle a pinch of sea salt on the eggs to finish them off. The mixture will be fluffy, moist and you don’t need cheese with these eggs since they are so soft and luxurious. A nice addition might be some fresh herbs though, like dill or parsley. Yum!
I’ve been thinking about how to put a twist on some classic dishes lately. One of my favorites is Chicken Parmigiana. Who can resist the call of crispy chicken, hearty tomato sauce, and gooey cheese? Not this guy. But there are only so many ways to reinvent the wheel when it comes to a good chicken parm. So, I thought, “what about chicken parmigiana as a meatball?” and the idea for this dish was born. These meatballs have all the aspects of a plate of chicken parm that you love, without all of the work, and in a new, unique way.
Ingredients:
1-2 lbs of ground chicken—I like white meat, but if you’re afraid of your meatballs drying out, then dark meat is delicious. Same thing with ground turkey
1 tablespoon of minced garlic
1 teaspoon of minced onion, dried
1 teaspoon of salt
1/2 teaspoon of pepper
1 egg
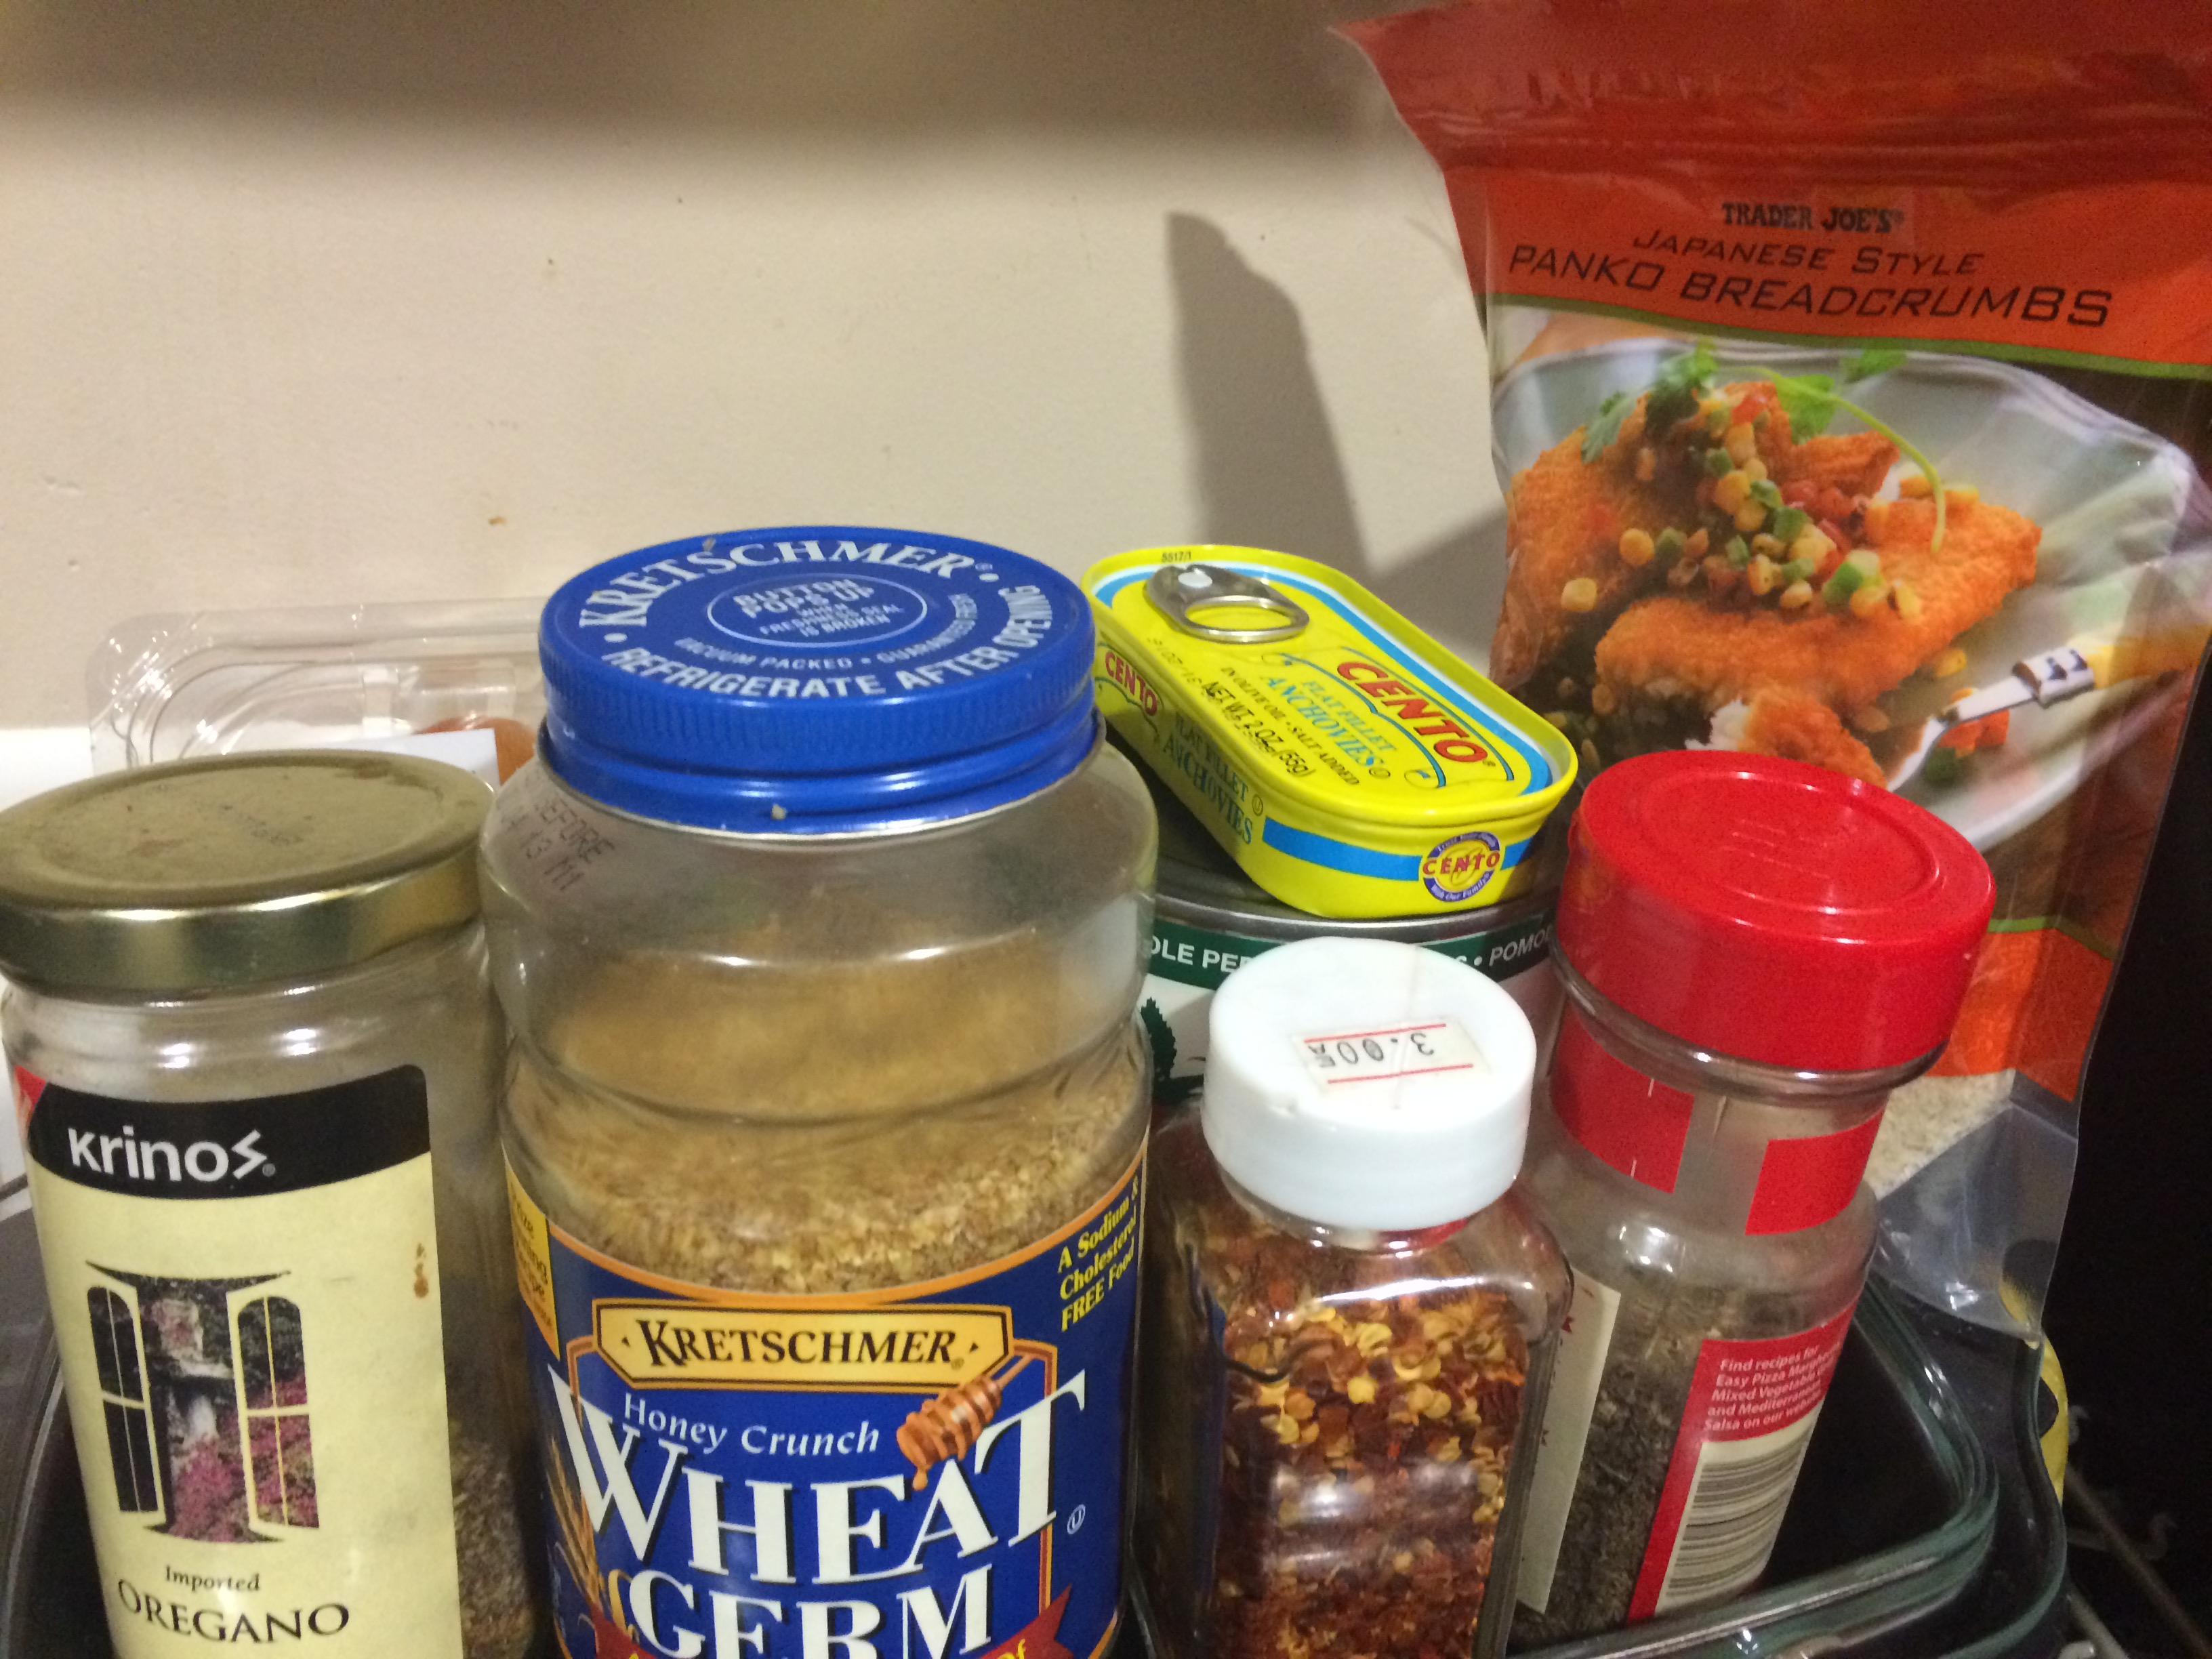
1/4 cup of wheat germ—breadcrumb lam work well too, but I think the wheat germ in the actual meatball gives it a little bit of sweetness that you often find in slow cooked chicken parmigiana dishes
1 ball of fresh mozzarella
1/2 cup of Panko breadcrumbs
1/2 cup and 1-2 tablespoons of Parmesan cheese
1/2 teaspoon of crushed red pepper flakes (use a sliding scale depending on your preference)
In a bowl, mix ½ cup of Parmesan cheese with the Panko breadcrumbs, and set aside
Cut a few slices of the mozzarella, about ½ of the ball, and cube all but 2 of them
In another bowl, combine ground chicken, wheat germ, egg, salt, pepper, basil, garlic and onion together in a bowl
Mix the meat mixture, but not too much, just until it becomes homogenous
Grab about 1/8 of the meat mixture and form into a small patty
Use your thumb to make a small well in the center of the patty and place a couple of cubes of cheese there
Use your fingers to curl the meat around the cheese into a ball and your other hand to seal the edges. All do the cheese should be covered by meat so it doesn’t leak out
Roll the meatball in the Parmesan breadcrumb mixture until coated all over
Place the coated meatballs on a greased baking sheet, evenly spaced apart
Put the meatball sheet into the refrigerator for about 30-60 minutes, or 15-20 minutes in the freezer to firm up
Add a bit of olive oil to the top of each meatball before baking
Bake in the oven for 15 minutes
Once they’re starting to brown, flip the meatballs and bake for another 15 minutes
Remove the meatballs from the oven and turn the heat up to 425 degrees
In a small baking dish, or a large one, if you’d like to do them all at once, place your meatballs
Cover with 1-2 cups of the tomato sauce and the remaining cheese
Bake the meatballs again in the oven for 6-8 minutes. You just want to get the meatballs to absorb some of the sauce, and the cheese to melt nicely
Serve and enjoy! I like mine with a nice Caesar salad on the side, but these would be great with some pasta tossed in the same tomato sauce, on a sub, as a topping for pizza, or even as an appetizer. You’ll love this twist on your normal meatball recipe. Go balls to the wall! 😉
This recipe was inspired by the delicious Chicken Rendang dish I had at Malaysia Grill recently. One of the cooking methods that made that dish so unique was the use of ground onions in the gravy. The onions gave an amazingly aromatic and deep flavor to the dish. In my spin on a chicken curry, shallots are roasted and pureed into a paste in order to impart a similar flavor profile. This curry also incorporates flavors from Thai and Indian cuisines. I chose to make it with chicken, but it would be delicious with beef, shrimp or even vegetarian. Some crispy tofu or eggplant would be nice options. It might seem like a lot of steps, but once you’ve prepped, it really cooks quickly. You’ll love to eat this curry on a chilly day, or on any day of the year.
Ingredients:
1 package of boneless, skinless chicken tenders, chopped into medium sized chunks
3 stalks of lemongrass
2 tablespoons of fish sauce
2 heaping spoonfuls of hot chili oil
2 tablespoons of rice wine vinegar
2 tablespoons of dried shrimp – this might seem like a weird ingredient, but it’s very prevalent in Asian dishes. It also gives a great umami flavor
3 small or 2 large limes
2 tablespoons of palm sugar (if you don’t have any palm sugar, then brown sugar or even white sugar is fine as a substitute)
2 tablespoons and 1 teaspoon of peanut oil
2 tablespoons of olive oil
4 medium shallots
2 medium (or 1 extra large) russet potatoes (you want a good starchy potato to help thicken the curry and stand up to the cooking process)
2 teaspoons of Garam Masala
2 teaspoons of curry powder
1 teaspoon of ground ginger
1/2 cup of water
1.5 teaspoons of freeze-dried cilantro
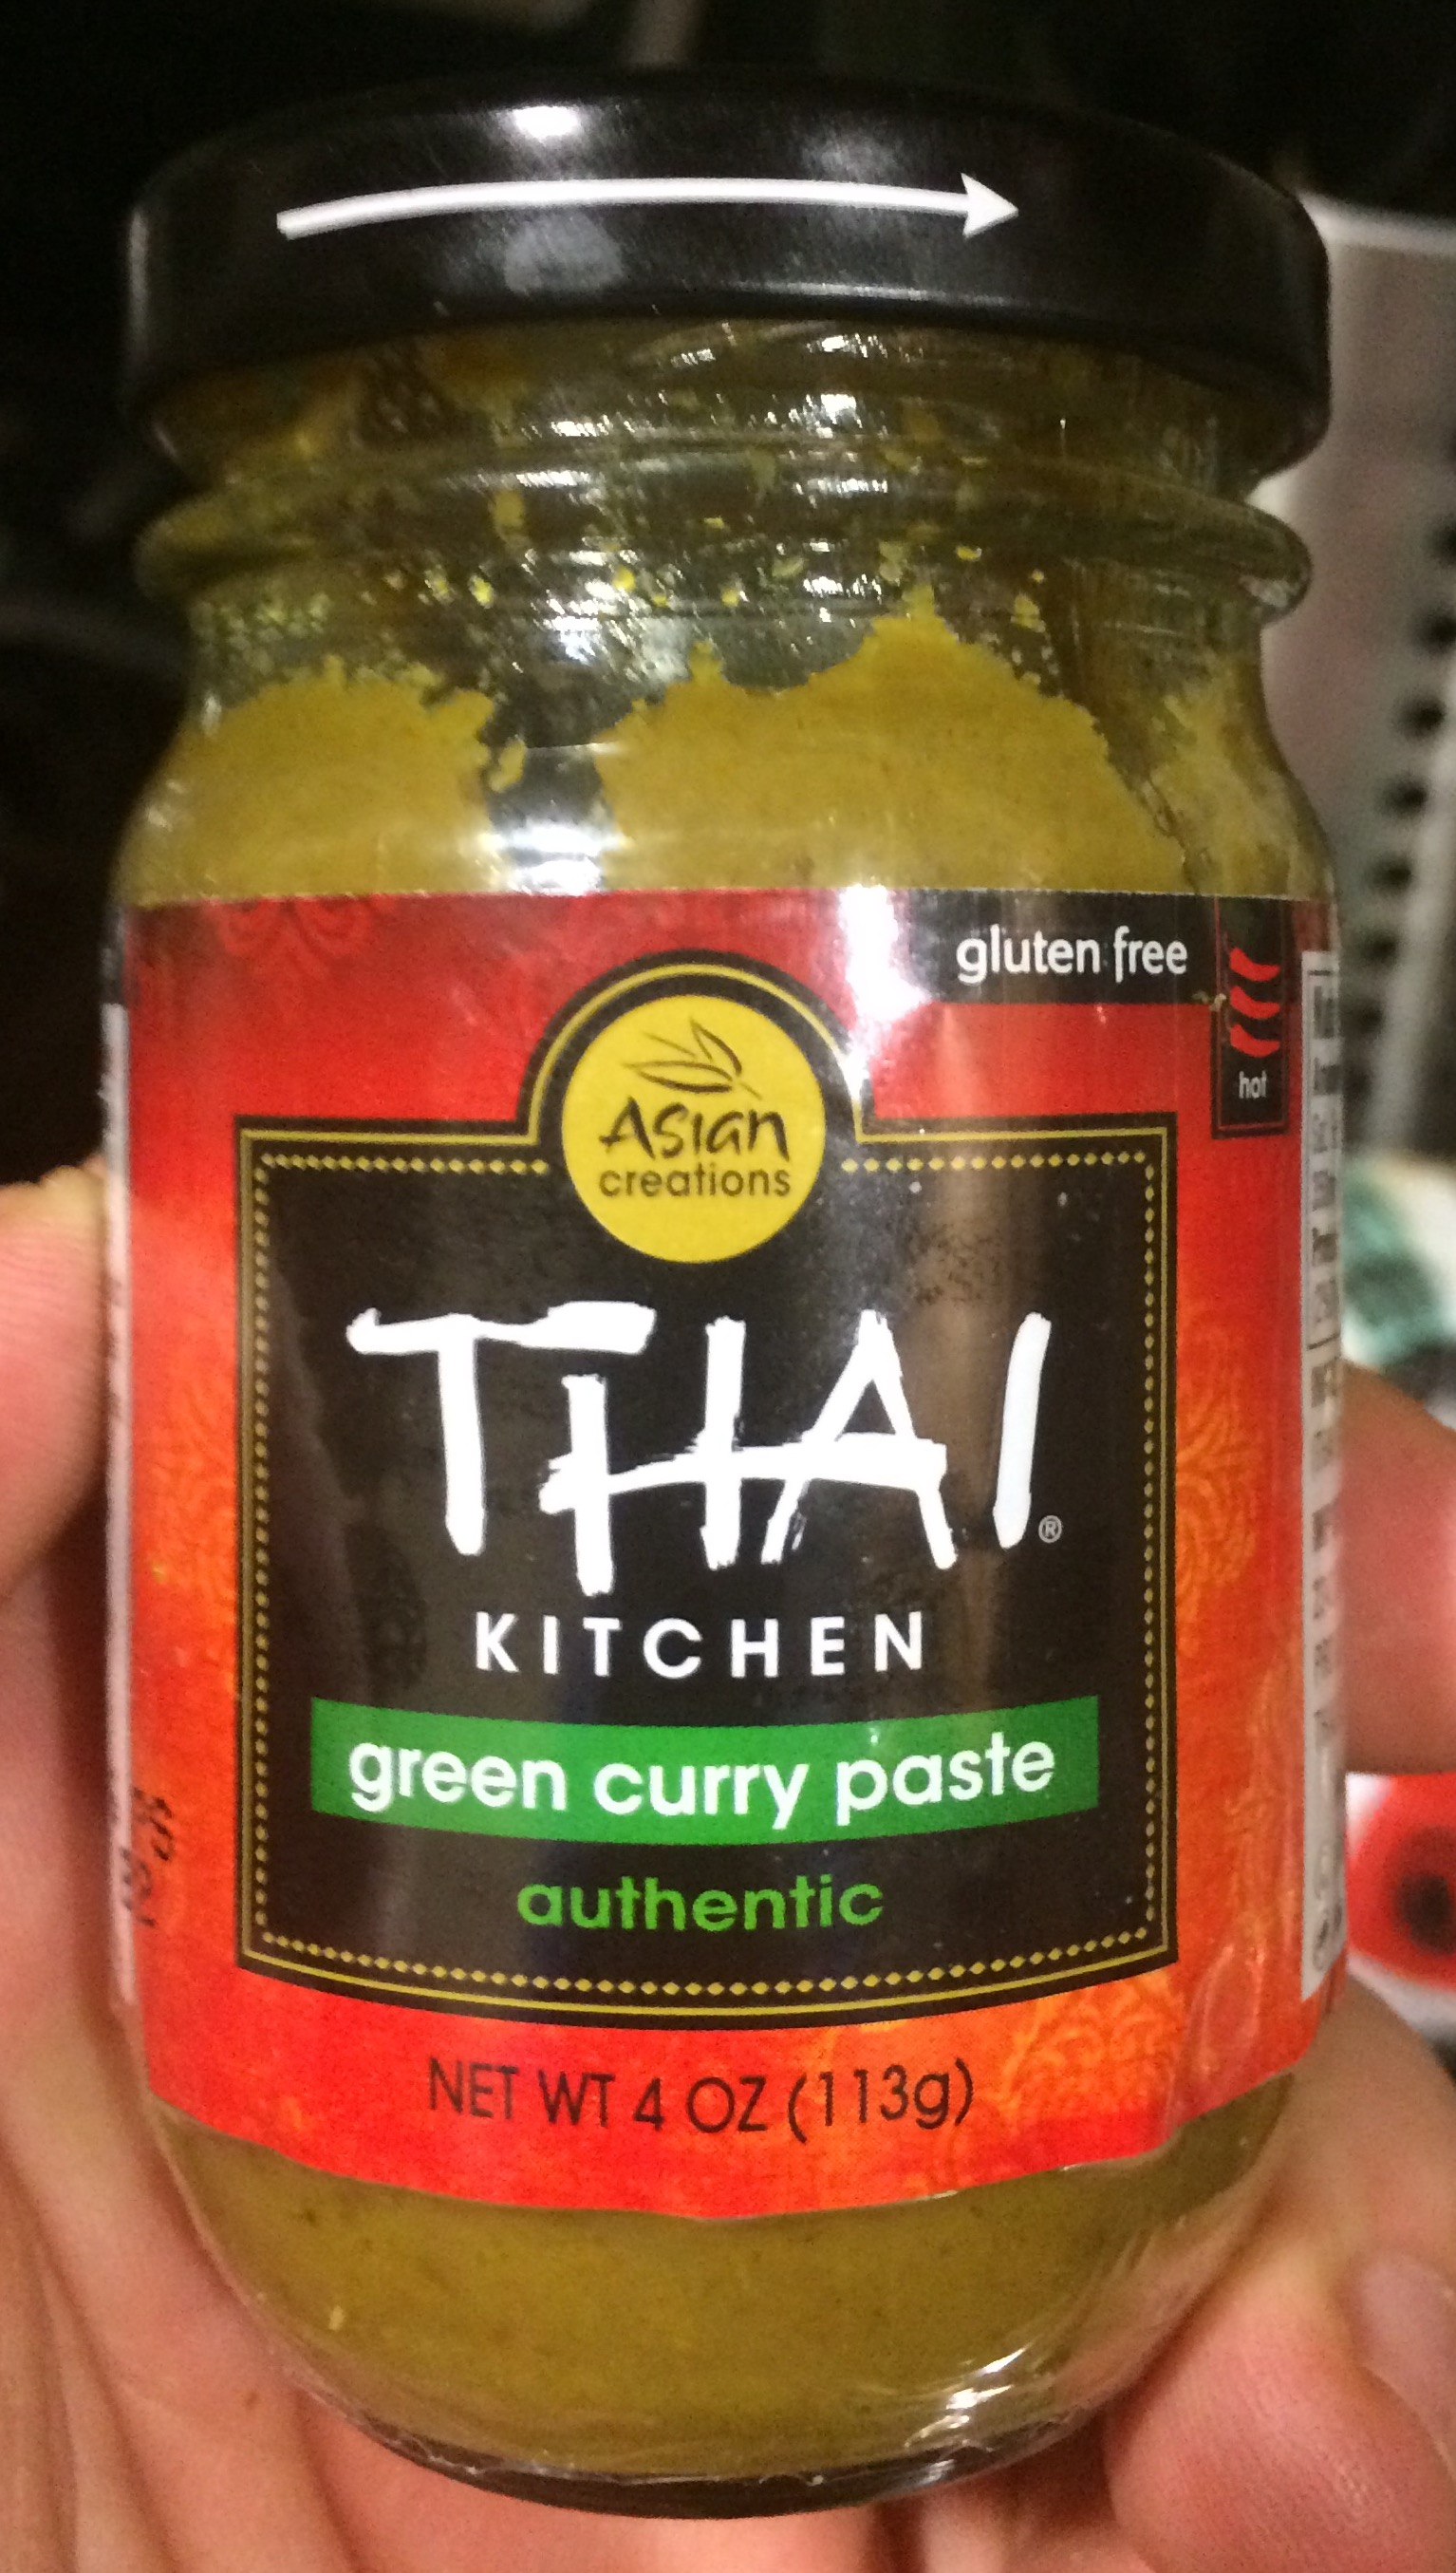
1/2 of a 4oz jar of green curry paste (Thai kitchen is a good brand)
1 can of coconut milk
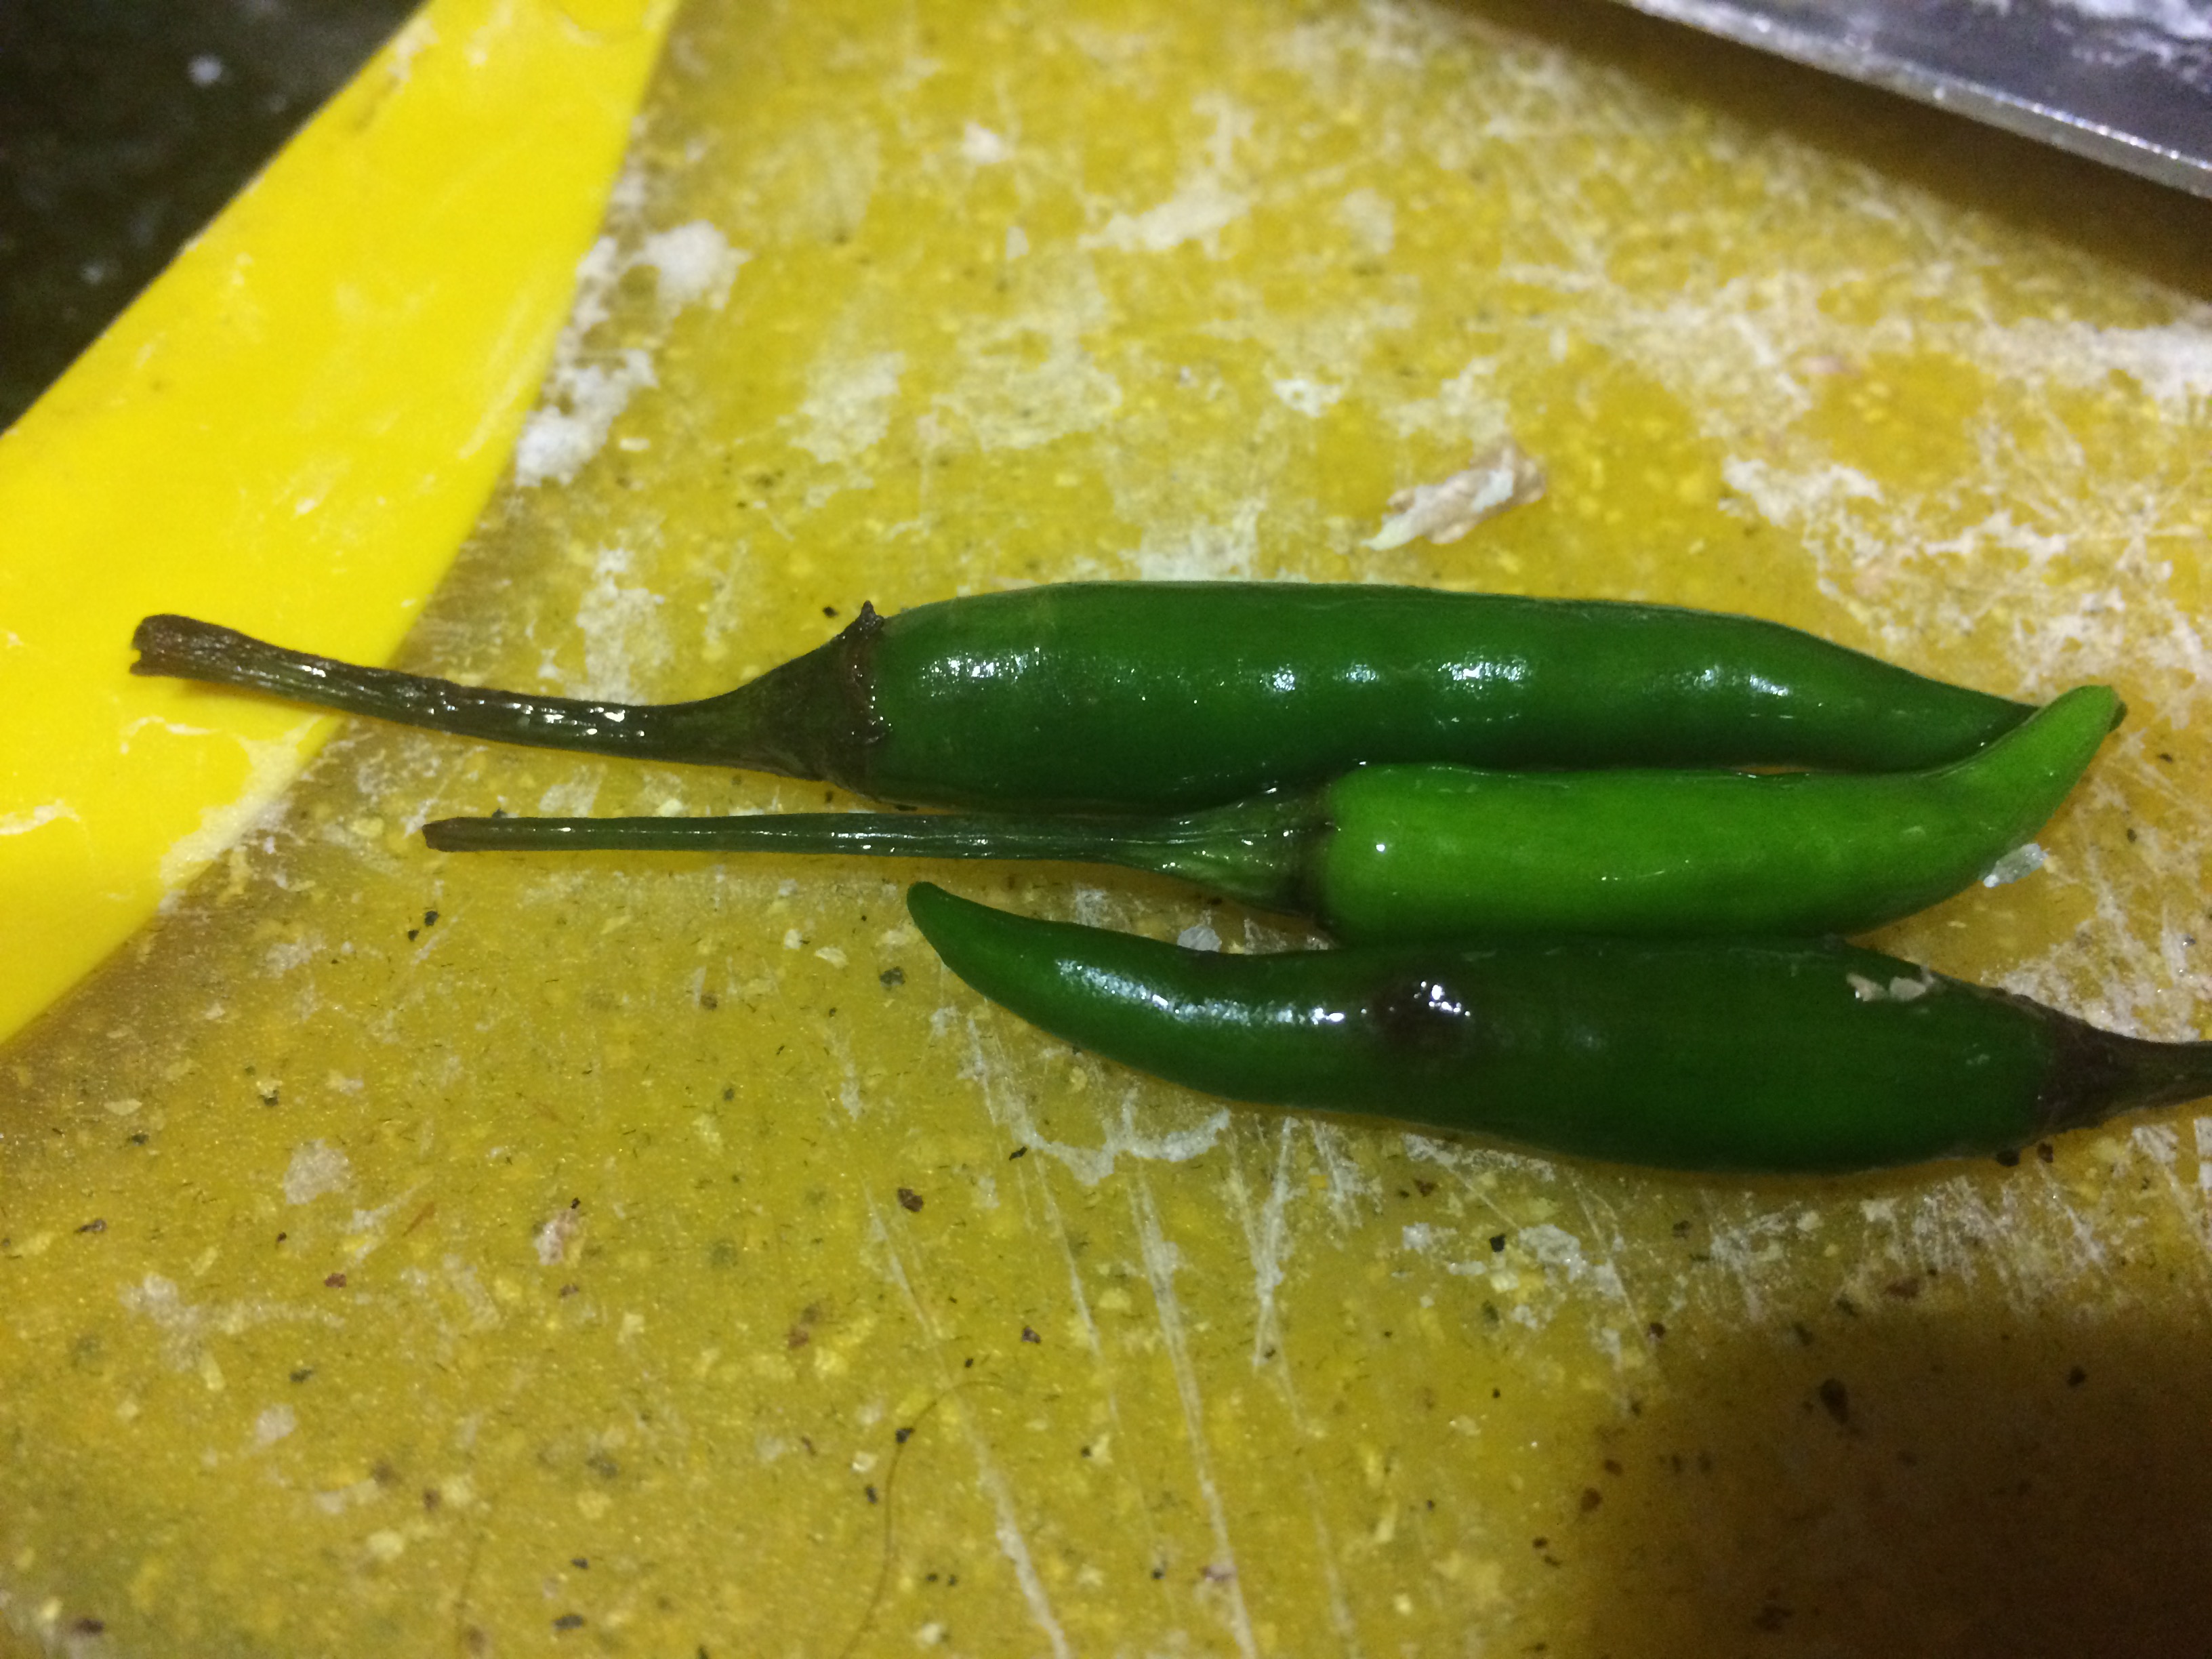
2-3 Thai green chilies, minced (jalapeños are a good substitute) — this is an optional ingredient, but really helps being a nice beat to the dish
To make the marinade:
Chop the lemongrass into 1-2 inch long pieces and place into a plastic Ziploc bag (about gallon size)–Make sure the lemongrass isn’t cut too small since you’ll have to take it out before cooking.
Add the rice wine vinegar, hot chili oil, the juice of 1 large or 2 small limes, fish sauce, 1 tablespoon of palm sugar, 1 tablespoon of peanut oil, 1 shallot roughly chopped, 2 tablespoons of soy sauce, and the dried shrimp.
Place the chicken, cut into chunks, along with the rest of the marinade ingredients into a Ziploc bag with a strong zipper. Trust me, you’ll need the good kind, unless you want marinade all over your counter or the inside of your refrigerator.
Toss the cut lime into the bag as well since the zest will help flavor the chicken. You can also add some fresh ginger to this marinade if you want to turn this into a chicken stir-fry style dish. After marinating the chicken, sauté it with some broccoli or peppers or snow peas in a hot wok and serve over rice. Yum!
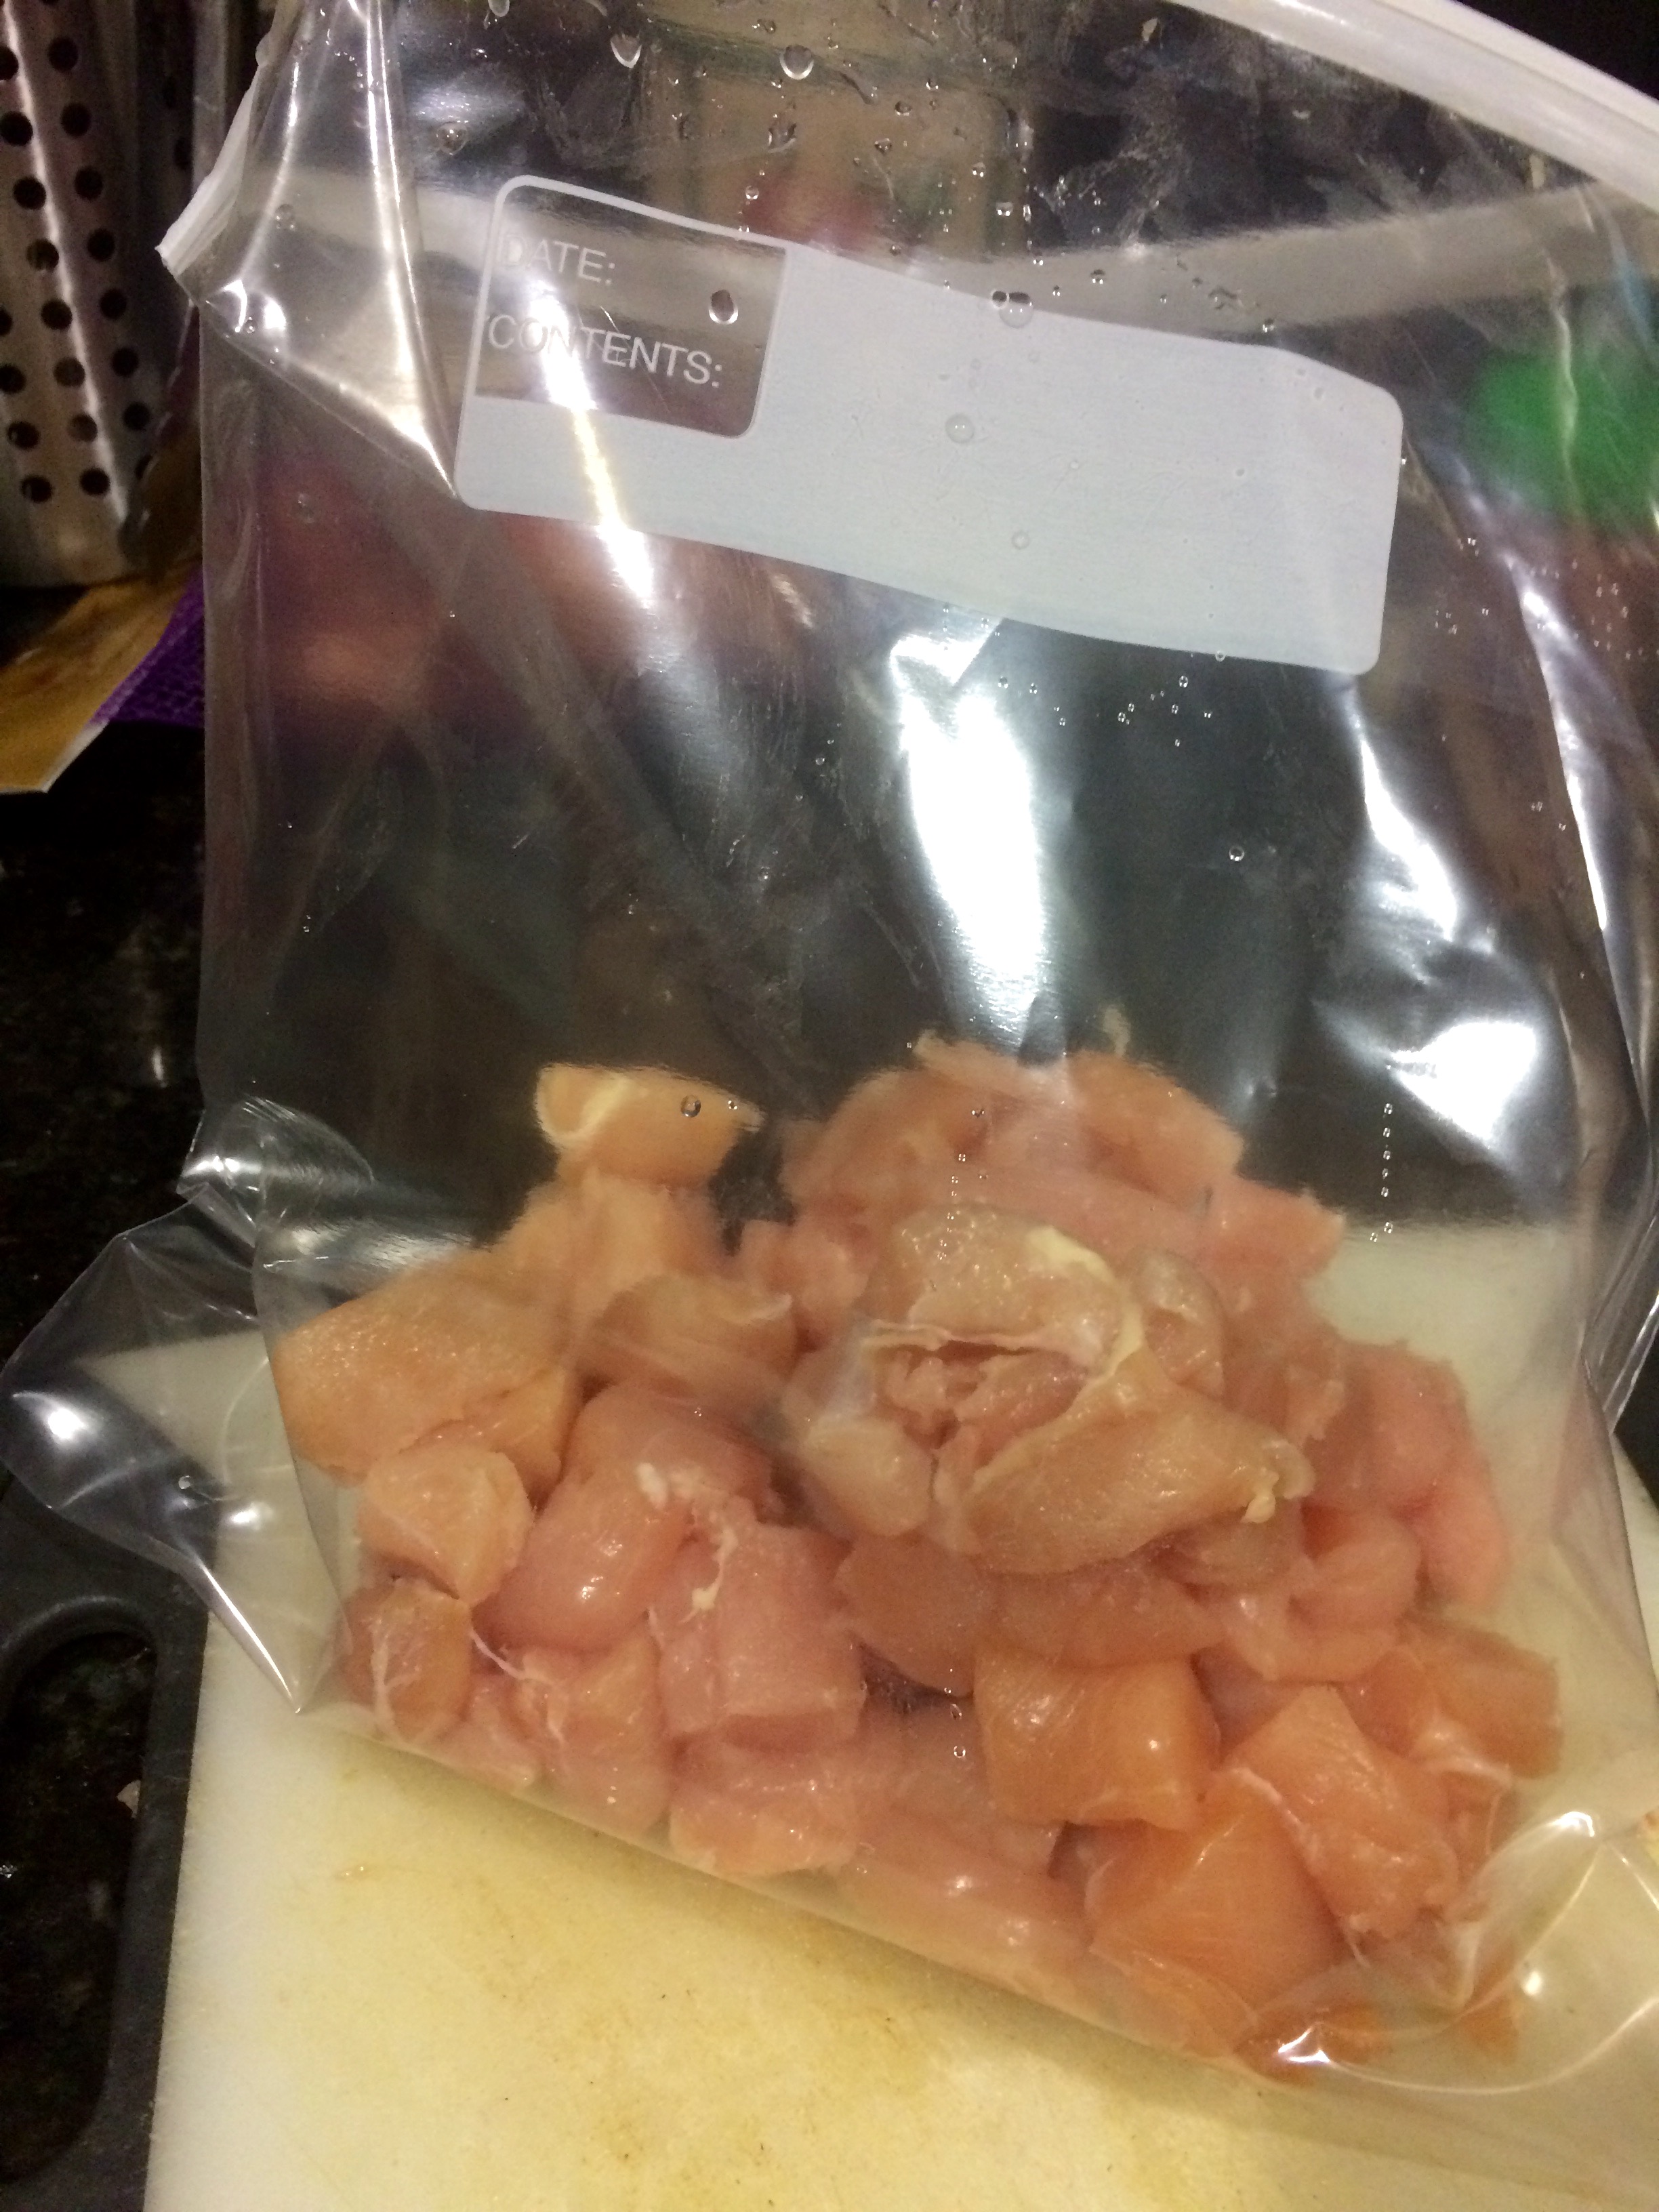
Marinade for 30 minutes minimum, and up to 1 day in the fridge.
This is what the chicken looked like after a day in the marinade
To Make the Roasted Potatoes:
Preheat the oven to 375 degrees.
Chop the potatoes in half lengthwise, then cut those pieces lengthwise again. Cut the long quarters into medium-large chunks. Don’t worry if all of the pieces aren’t the same size, your dish will look rustic and let people know that it’s homemade.
Place the potatoes onto a baking sheet.
Add a tablespoon of olive oil, salt and pepper, and dried cilantro. If you don’t have dried cilantro, then cumin would be tasty and would give the potatoes a smoky taste.
Toss to coat all of the potatoes with the oil and spices.
Roast in the oven for about 30 minutes. You want them be crisp and light brown on the outside, but be careful to not let them get too dark. These don’t require a lot of babysitting.
Potatoes out of the oven
To Make the Shallot Paste:
Peel the shallots (there will be 2 bulbs in each skin).
If the shallot is large then cut the bulbs in half, if not then place it whole onto a baking sheet.
Season the shallots with salt, pepper and remaining olive oil
Put the shallots into the oven about 10 minutes after the potatoes.
Once you’ve taken the shallots out of the oven, allow them to cool a bit.
Put the shallots into a blender with the curry powder, garam masala, ground ginger, and remaining teaspoon of oil.
Pulse while adding water until it comes together into a loose paste.
The potatoes and shallot paste could both be made ahead of time, just make sure to refrigerate.
To Make the Curry:
Add remaining peanut oil to a wok
Heat your wok on medium to medium high heat until the oil is shimmering, but not smoking
Add curry paste to the wok along with the zest of 1/2 a lime and minced Thai chilies, and heat through (1-2 minutes)
Add the shallot paste to the wok. You’ll be able to smell the aromas of Garam Masala and curry powder after cooking for a few minutes.
Add the coconut milk to the wok as well as the remaining sugar.
Let the sauce come up to a simmer and taste. You can add more fish sauce to taste.
Once the sauce is simmering steadily, it’s time to add the chicken. Remember to pick the lemongrass and limes out of the marinade bag. The lemongrass is inedible in this form and has done its job in flavoring the dish. Also, drain most all of the marinade out of the bag.
Cook the chicken for a couple of minutes, then add the roasted potatoes.
Now is the fun part. Stir the wok around and let it go on the stove for at least 10-15 minutes on medium low – medium in order to give the chicken time to cook in the sauce and the potatoes do lost their crispy exterior and absorb some sauce. Use this time to get a drink, or wash the chili off of your hands.
After it starts simmering again, squeeze half of a lime into the wok and keep simmering. Save the remaining lime half.
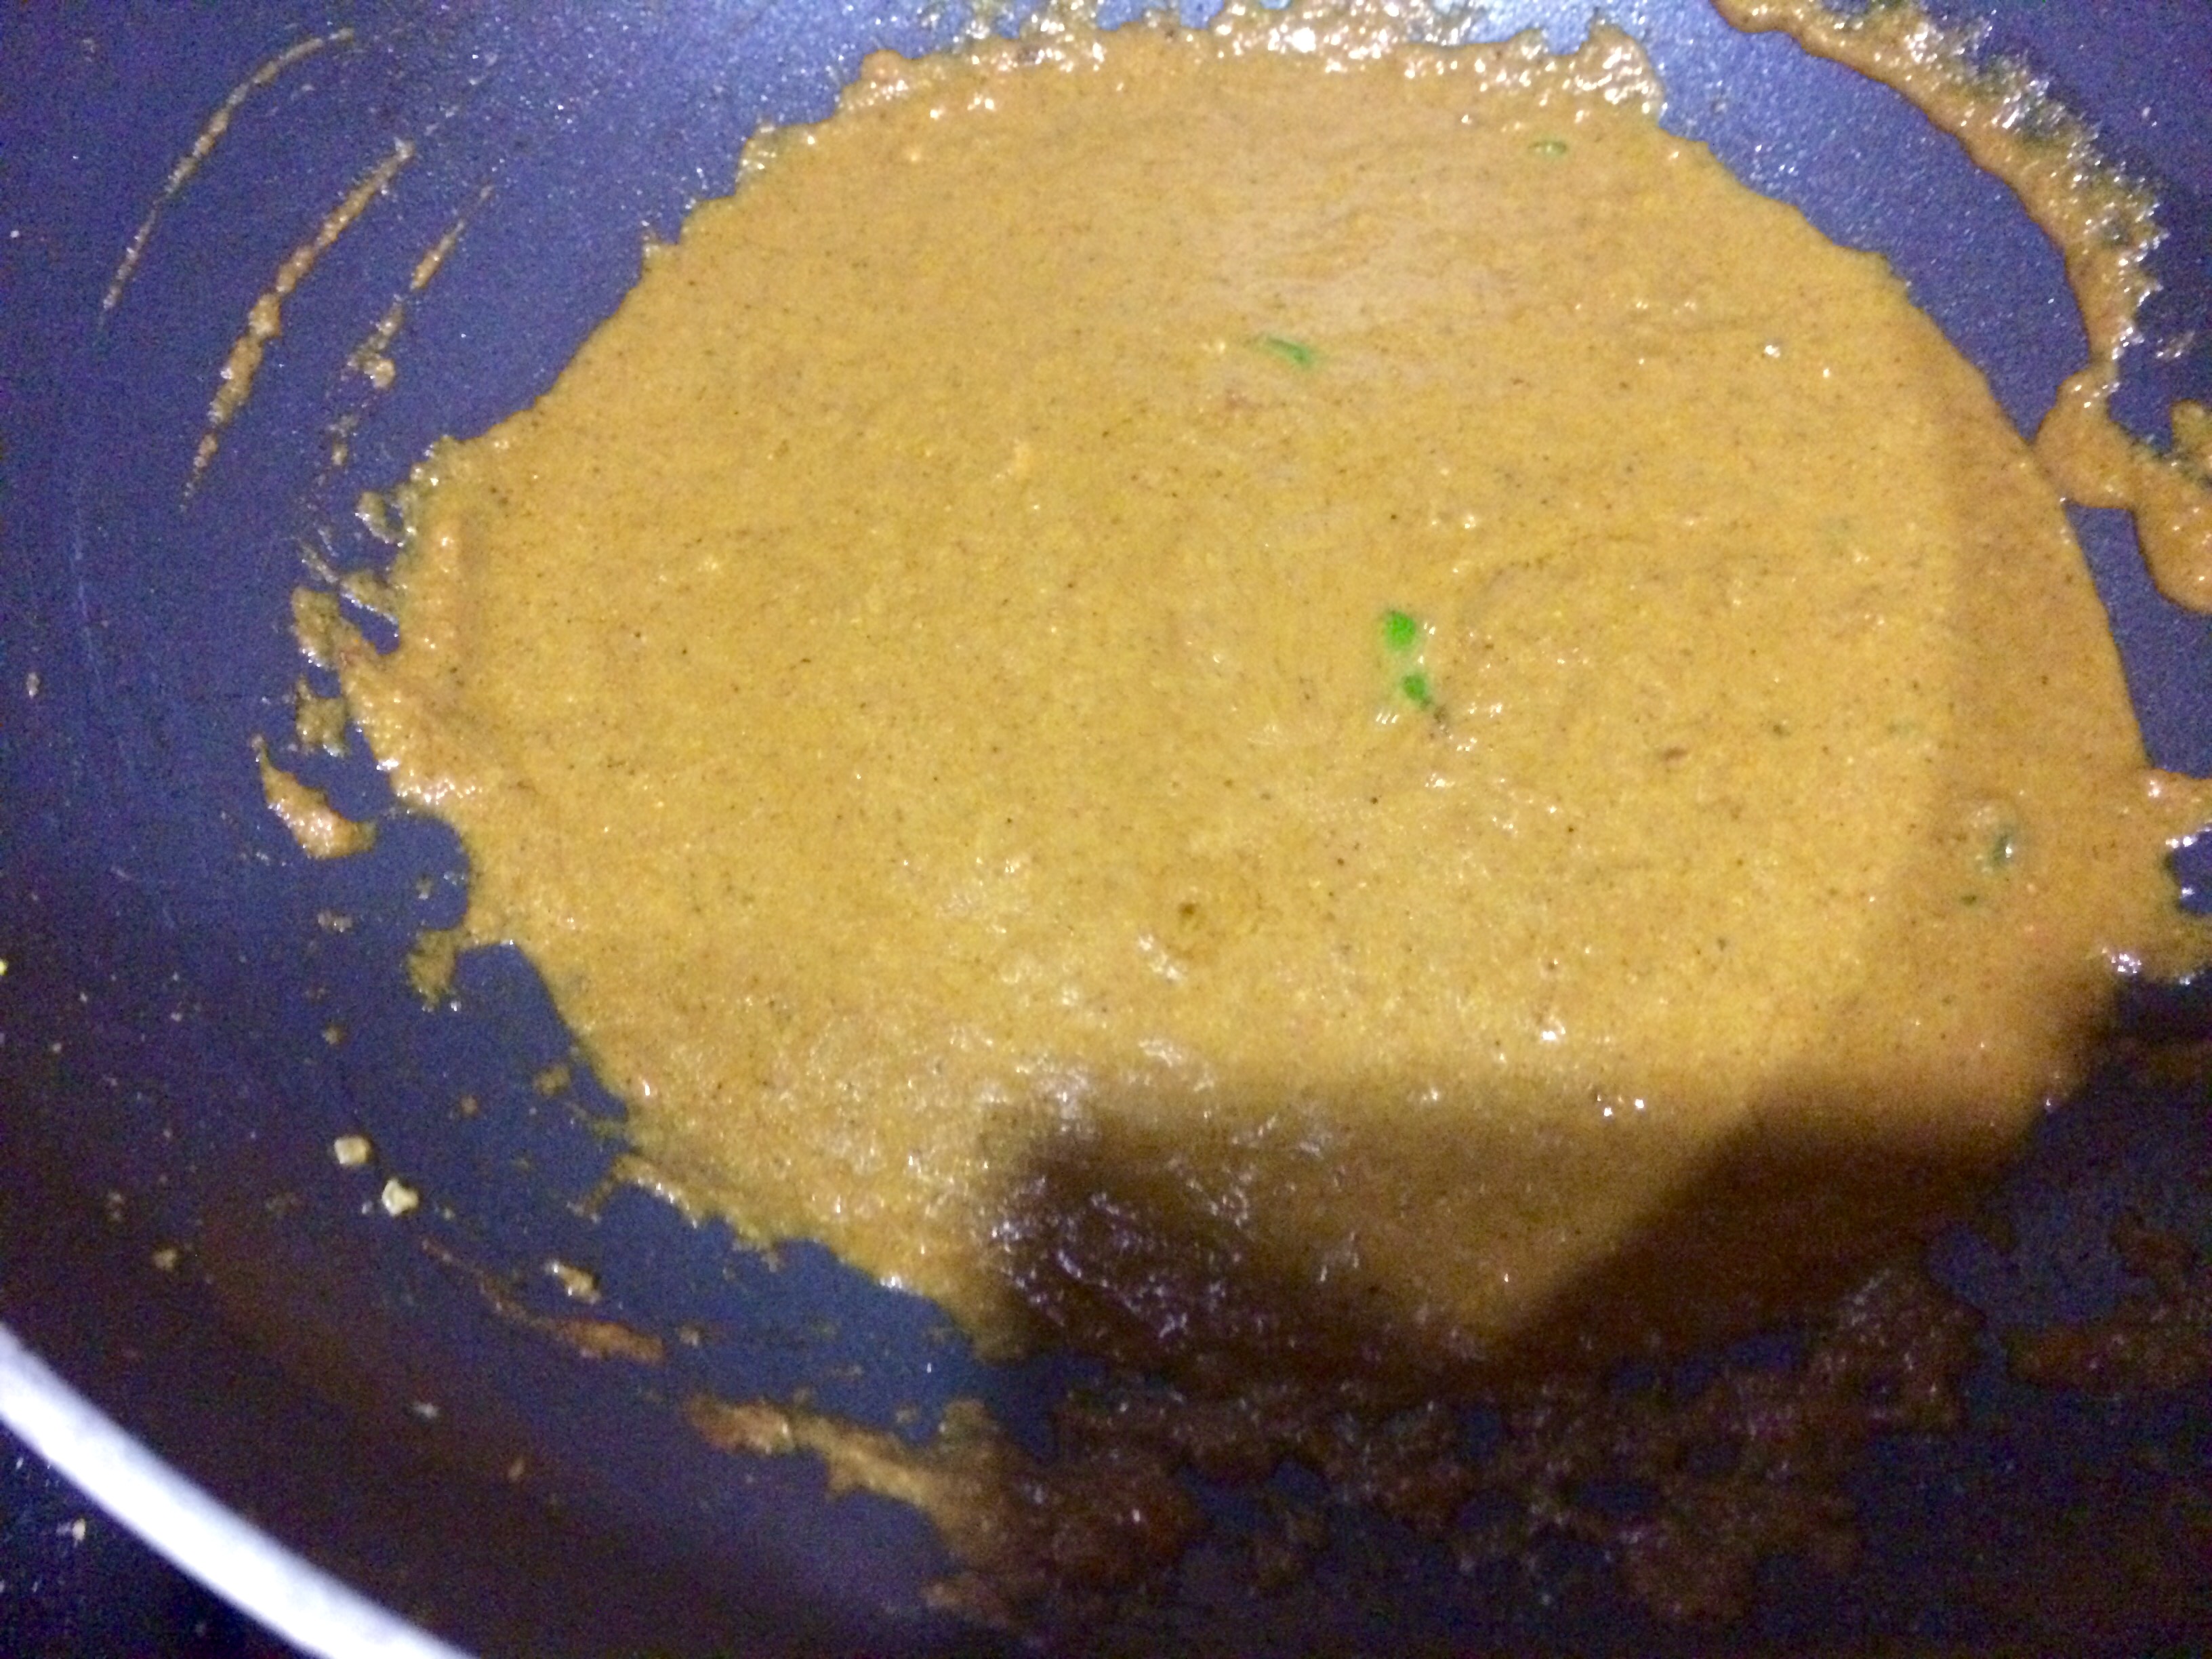
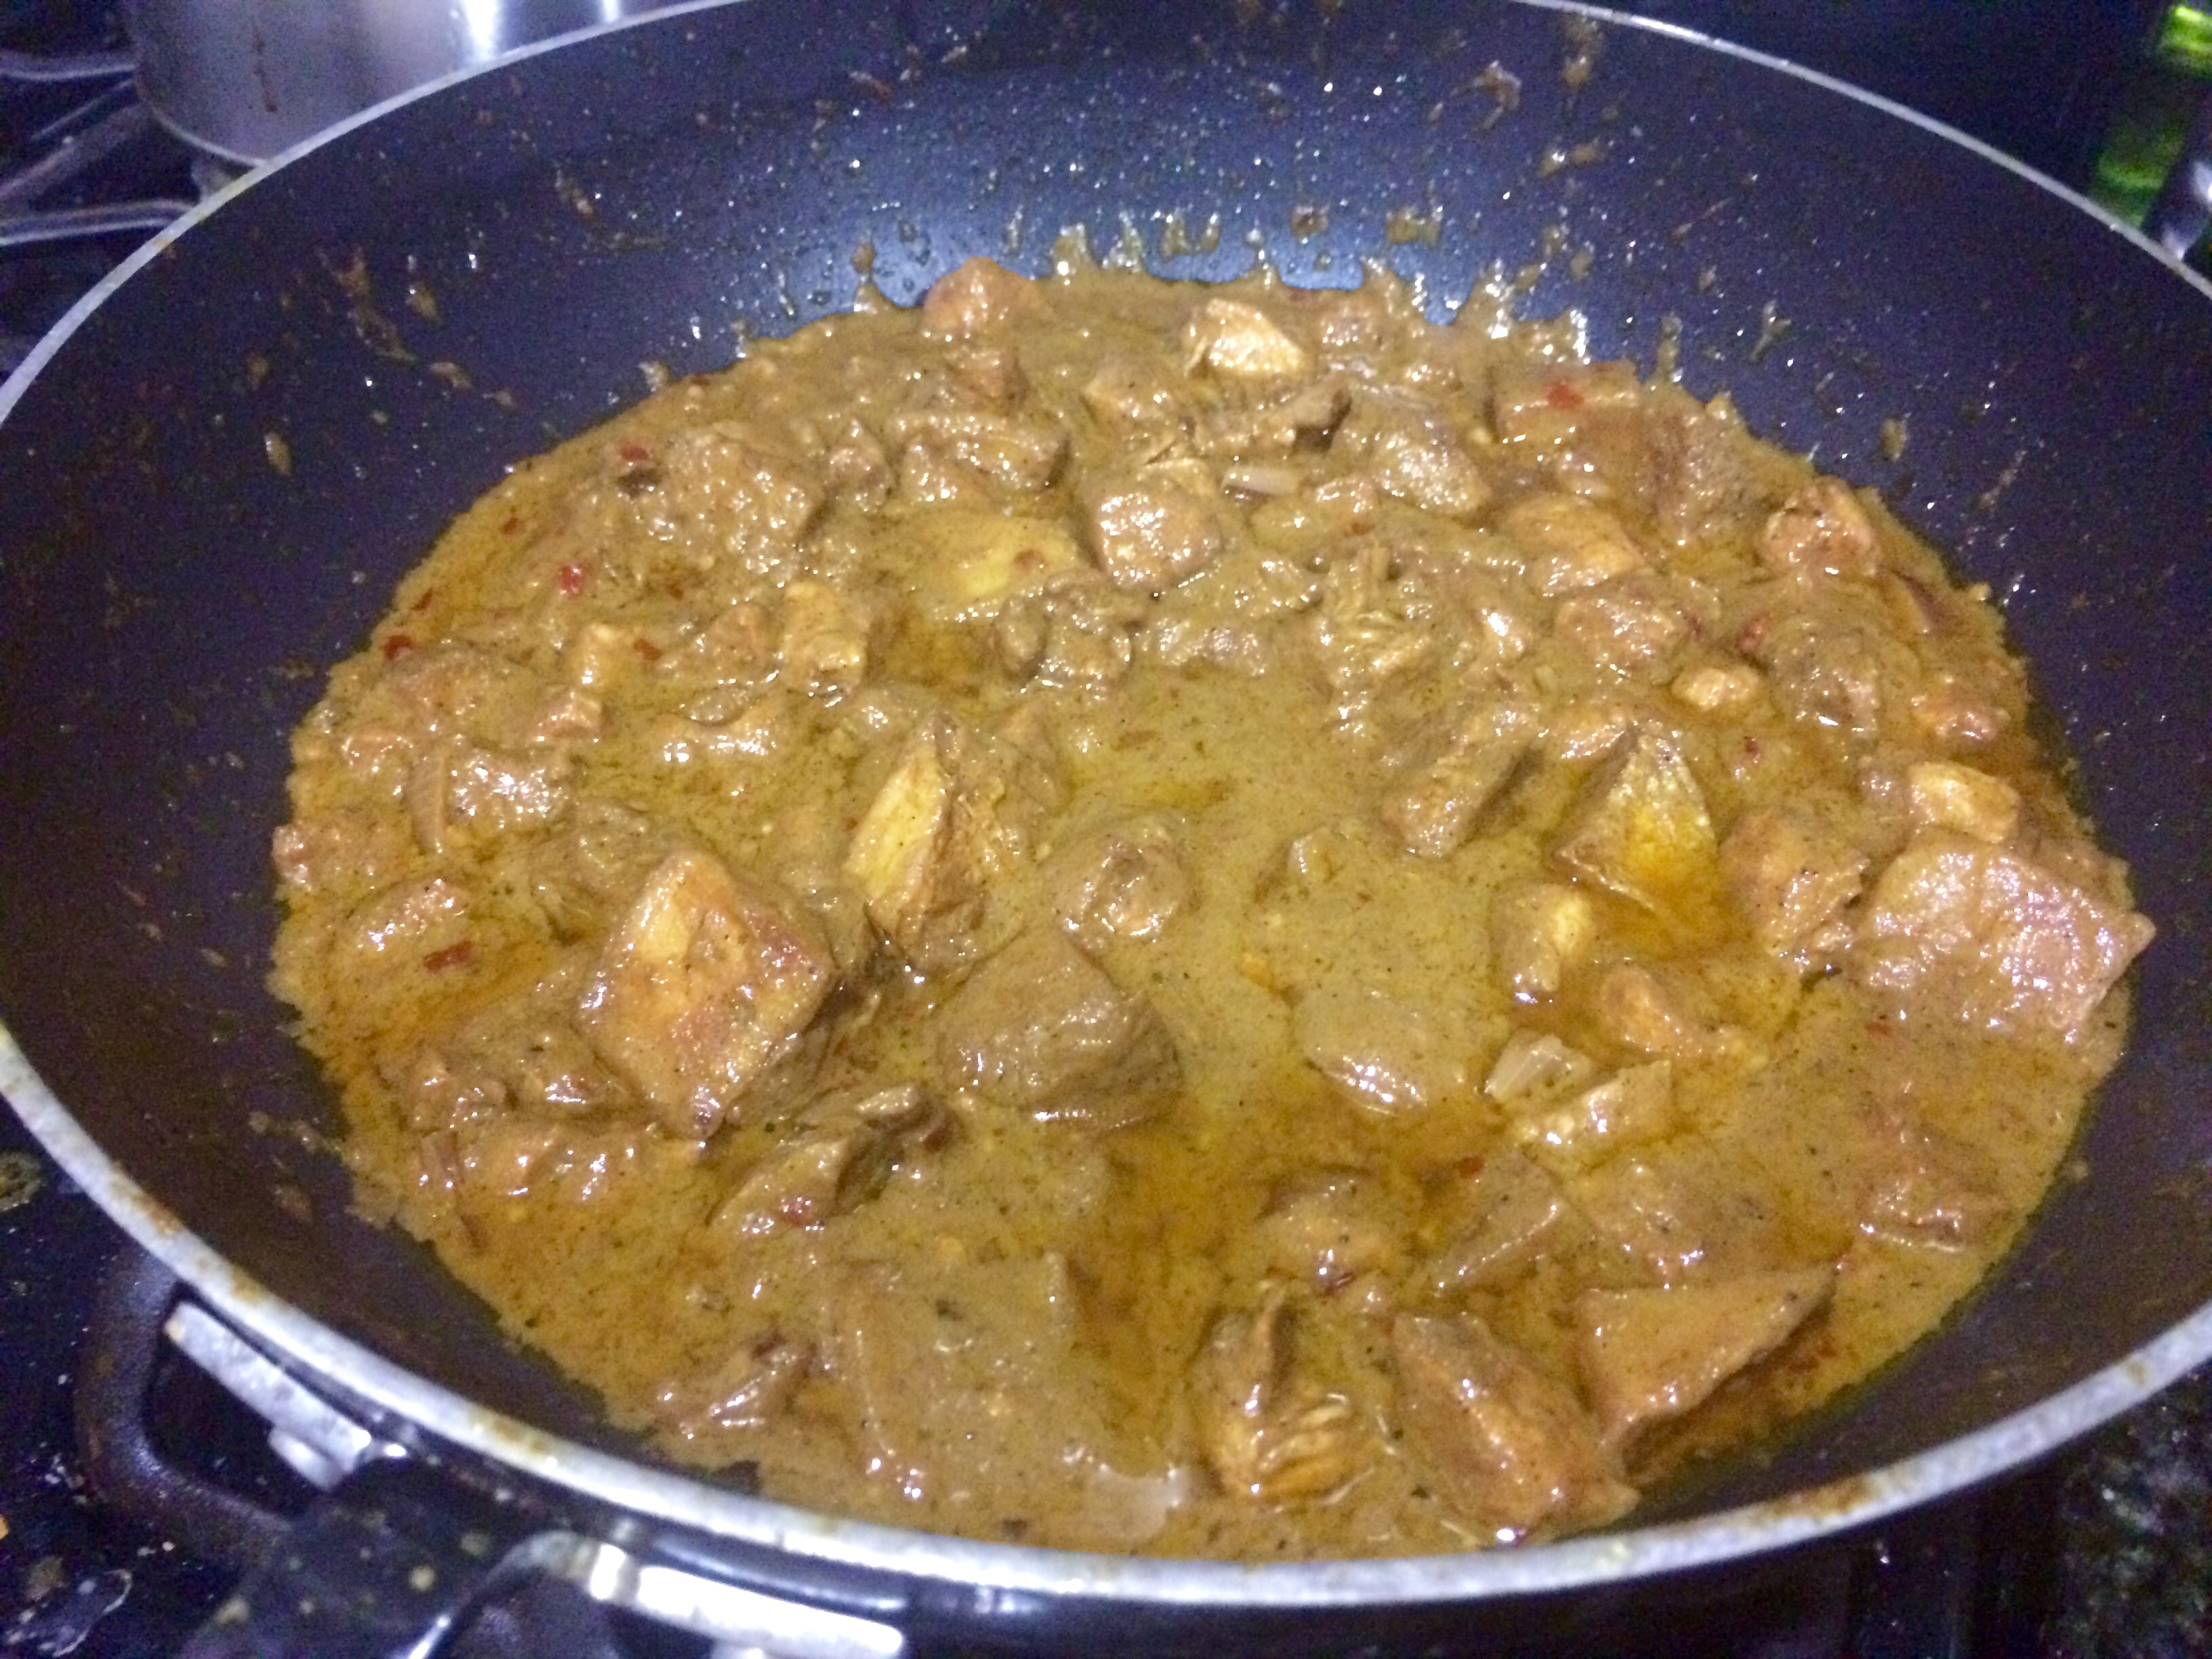
When the curry has reduced and has thickened up, so that sticks heavily to your spoon, then it’s done.
Doesn’t that look delicious?
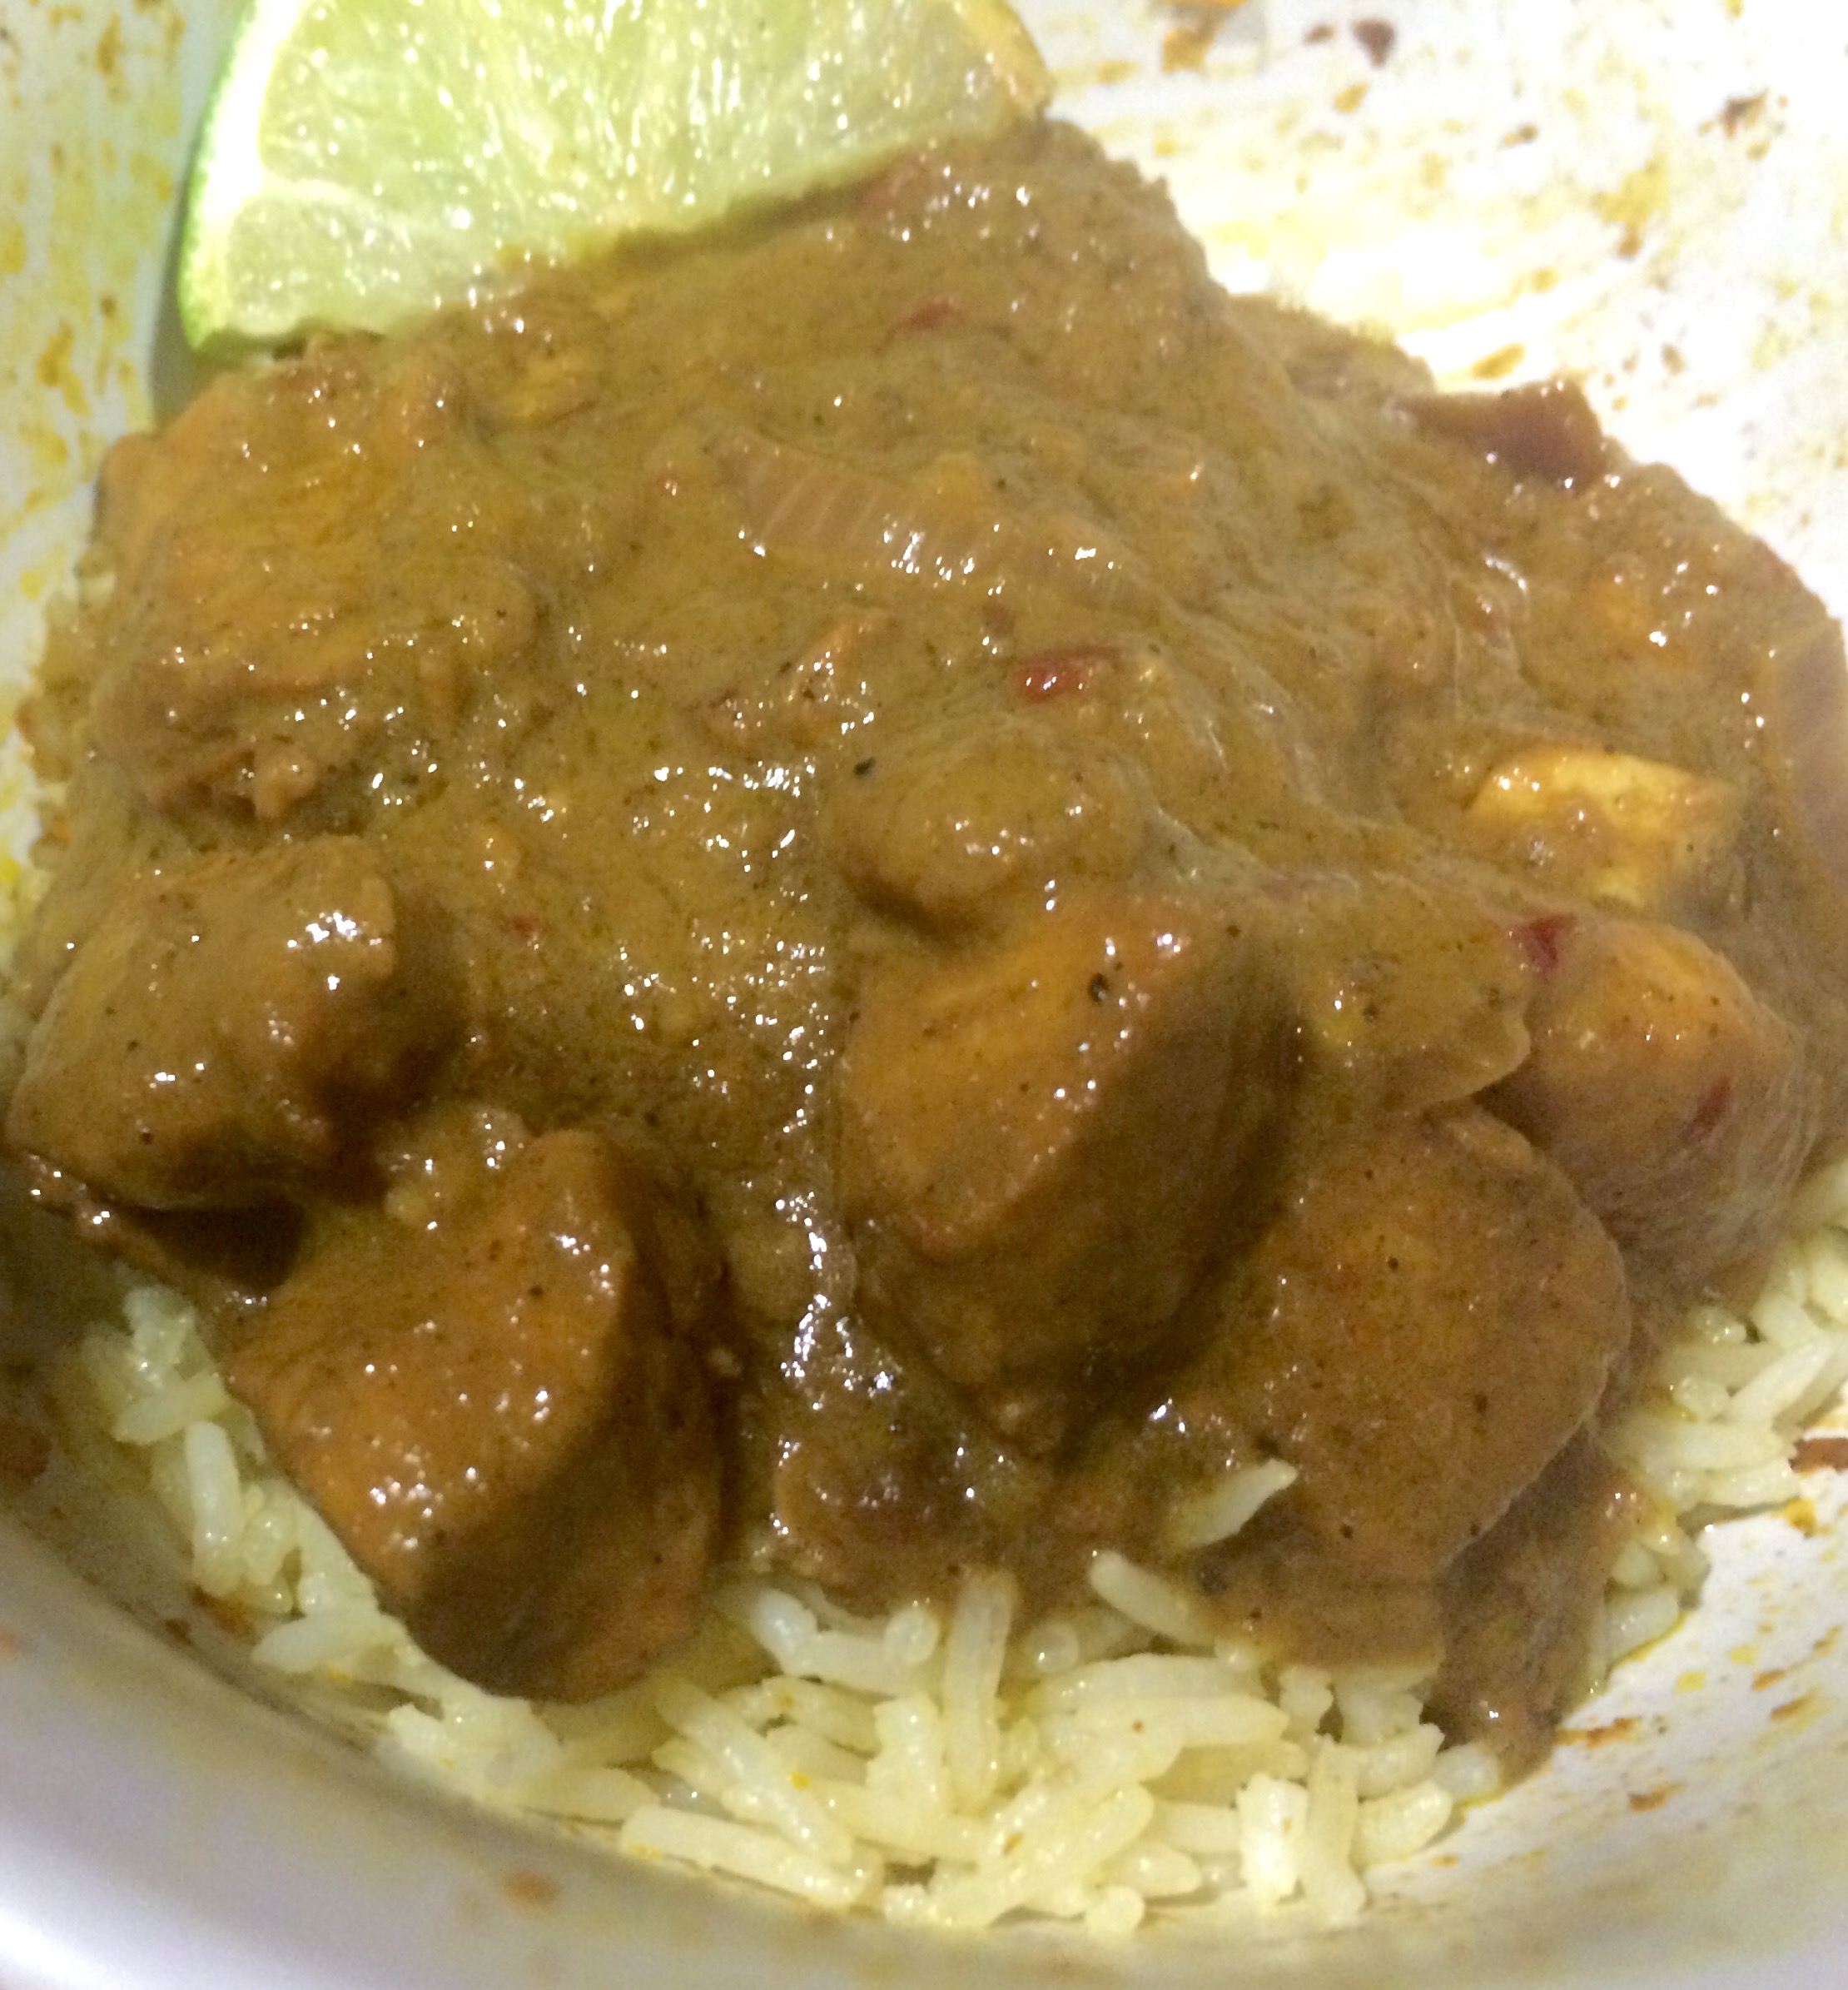
Garnish with a wedge of lime and serve! A dollop of Greek yogurt or raita would be delicious to help cool down the palate as well.
A Taste for the Chef
There’s a deep Indian-spiced, curry flavor to the dish, with an escalating heat from the Thai chilies—no bite though, rather it’s a kind of heat that rests on the back of your tongue. You also taste the warming flavors of curry, garam masala and ginger, as well as an earthiness from the roasted shallots.
The chicken almost braises in the curry sauce, and doesn’t get chewy while cooking in the sauce. The potatoes also have a great mouth feel; they absorb some of the sauce, and the starchiness of the potatoes helps thicken up the gravy. The lemongrass complements the lime throughout the dish, and gives it a subtle citrus flavor, which helps cut across the heaviness of the dish itself. The dried shrimp rehydrates in the marinade as well as the curry, and much of it melts. The leftover pieces become chewy and add a nice fishiness to round out the flavor profile. Rice or naan is a great vehicle to scoop up the thick curry sauce, although the dish is filling enough to eat on its own. It’s so good you may lick your plate clean!
Hello foodies, amateur chefs, lifelong culinarians, or anyone that’s hungry,
I’m starting this blog to share my experiences in the food world. Although I’m not a chef and I never went to culinary school, I do love to eat and love to cook. One of my favorite activities is to try and recreate restaurants dishes at home, but with my own spin. I’ll play around with the flavor combinations, the protein, the ingredients, and come up with something that shares similarities, but it uniquely my own. In this blog, I’ll post my review of restaurants that I eat at, and then later in the week, I’ll post a recipe for a dish inspired by what I’ve eaten. Plus, I’ll also try to share some of my favorite recipes along with a story of how they came to be or what the inspiration was for the origin of that dish. So, I hope you join me for the tasty food ride. Buckle Up, and Bon Appétit! Jonathan


 1/4 cup of wheat germ—breadcrumb lam work well too, but I think the wheat germ in the actual meatball gives it a little bit of sweetness that you often find in slow cooked chicken parmigiana dishes