Summer Wedding Celebration!

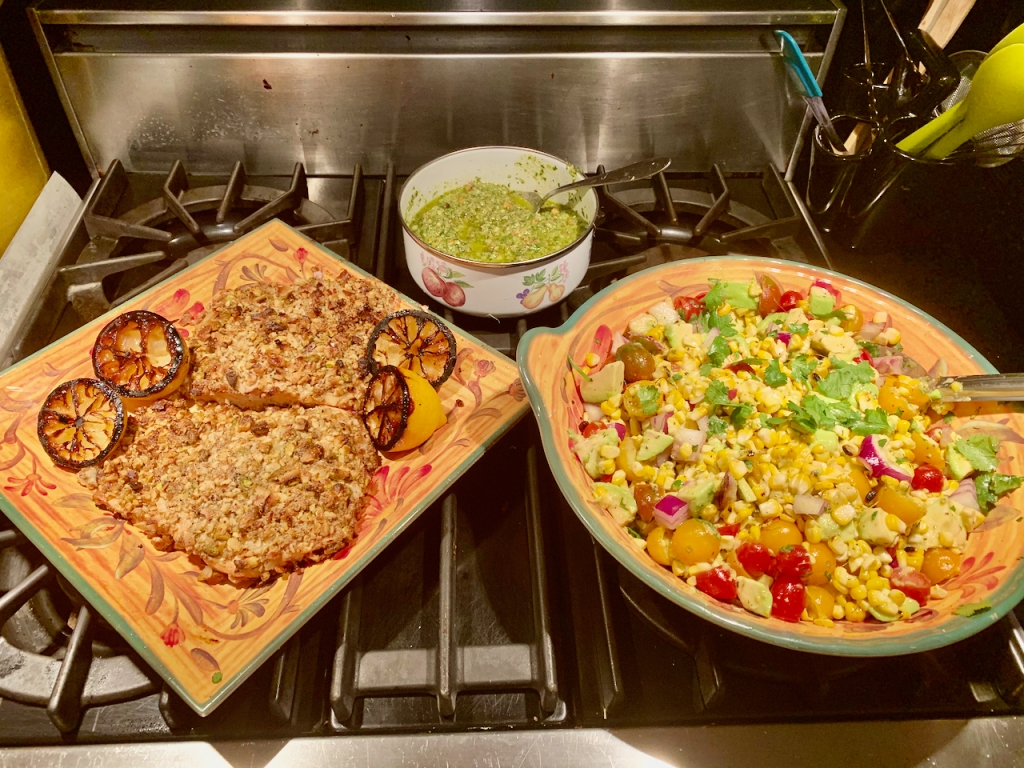
My family is celebrating my brother’s upcoming marriage with a small, outdoor wedding. But, I wanted to share the recipes for what we’ll be eating with you, so that you can recreate those flavors at home! So follow along with Chef Jon in the video above (or on YouTube HERE) or by following the recipe below, as we make Pistachio-Coconut Crusted Salmon with an Arugula-Pistachio Pesto and Grilled Corn, Tomato and Avocado Salad. Perfect for a summer celebration!

Pistachio-Coconut Crusted Salmon 

Ingredients

  • Salmon fillets, skin on
  • Garlic, 3-4 cloves
  • 1/2 cup of shelled pistachios
  • 1/2 cup shredded coconut flakes, unsweetened
  • 1 tbsp of dijon mustard — can substitute mayo if desired
  • Olive oil
  • 2 tsp of salt
  • 1/2 tsp of black pepper
  • 2 lemons, halved and grilled cut side down (optional)

Directions

  1. Preheat the oven to 400 degrees
  2. While the oven is preheating, let’s make the crust — in the bowl of a food processor, add the pistachios, garlic, coconut, 1 tsp of salt and pepper
  3. Pulse in the food processor until the mixture comes together and is similar in texture and size to sand — you can do this without a food processor by putting mixture into a plastic bag and taking your aggression out on it with a rolling pin!
  4. Pat the salmon dry with a towel, and then season with the remaining salt, and transfer it to a baking sheet lined with parchment paper — you can use tin foil, but parchment paper will make sure the salmon won’t stick. Plus, makes for super easy cleanup!
  5. Using a brush or a spoon, spread the dijon all over the flesh of the salmon — this is the glue the helps the crust stick
  6. Using your hands, cover the mustard-covered salmon with the crust mixture. Make sure to cover the fish evenly, so it will cook evenly, and cover it all over — we don’t want any parts uncovered
  7. Once the fish is covered, pour some olive oil over the top to help with browning the crust
  8. Bake the fish for 10-12 minutes then remove from oven and let the fish cool for at least 5 minutes
  9. Garnish with the Arugula-Pistachio pesto, grilled lemons and serve with Grilled Corn, Tomato and Avocado Salad. Yum!

Arugula-Pistachio Pesto

Ingredients

  • 1-2 cups of arugula or baby arugula
  • 1 cup of pistachios — you can substitute walnuts if you’ve used up all your pistachios on the fish
  • 1-2 tsps of lemon zest
  • 1-2 tbsps of lemon juice
  • Garlic, 4-5 cloves
  • 1/2 cup of Parmigiano-Reggiano cheese or Pecorino Romano or an aged, hard cheese
  • Olive oil

Directions

  1. In the bowl of a food processor (or mortar and pestle) add all of the ingredients except for the oil
  2. Pulse the mixture continuously while adding olive oil until it turns into a loose paste. I like mine a little coarse and chunky, but you can choose your own thickness
  3. If you find it too thick, add more olive oil or a bit more lemon juice. Make sure to taste it!
  4. Empty mixture into a bowl and let it sit at least 10-15 minutes before using — this pesto is also great as a pasta sauce. Just mix the cold or room temperature pesto into hot pasta. So good!

Grilled Corn, Tomato & Avocado Salad 

Ingredients

  • Corn, 4-5 ears
  • Cherry tomatoes, 1 pint, cut in half
  • Red onion, 1 medium or 1/2 large onion, diced
  • Avocados, 2 — make sure that your avocados are ripe, but not mushy, chopped in 1/2 inch cubes
  • 1/4 cup of champagne vinegar or white wine vinegar
  • 2 tbsp of honey
  • 1 tbsp of dijon mustard
  • 2 tsps of dried mint
  • 1/4 cup of lemon juice
  • 1/3 cup of olive oil
  • 1/2 cup of fresh cilantro

Directions

  1. Heat your grill or grill-pan to medium heat — you want it hot, but not smoking
  2. While the grill is getting hot, clean your corn by removing both the husk and silk strands — you want corn to grill contact to happen
  3. Place the corn on the grill (and some lemon halves which make a great garnish) — don’t worry about turning the corn too too often since you want some of that char and grill color on the corn. You should probably give it a nudge every 3-5 minutes — it will only take about 10-15 minutes total to cook
  4. While the corn is grilling, dice your onion and chop the tomatoes in half and place in a large bowl big enough for mixing
  5. Once your corn has come off the grill and cooled for a few min, cut off the end of the corn so you have a straight edge, and balance the corn on its straight end
  6. Using a sharp, chef’s knife, starting at the top of the ear, cut of the corn kernels by cutting straight down, and rotate the corn once you get to the bottom and repeat until you’ve cut all of the corn off the cob. Repeat for all of the ears or corn. Add the corn to the tomatoes and onions
  7. Cut your avocados by running a sharp knife along the outside, around the pit until you’ve gone all the way around. Use your hands to twist the 2 halves apart
  8. Take your knife and thwack it into the avocado pit so it sticks into it, then twist to detach the pit from the avocado
  9. Use a spoon to scoop out the avocado meat and chop into 1/2 inch pieces
  10. Drizzle the avocado pieces in lemon juice to keep them bright green before you mix into the corn salad mixture.
  11. For the dressing: mix honey, champagne vinegar, olive oil, dijon, salt, pepper, cilantro and mint in a bowl and mix vigorously until the dressing is one homogeneous mixture — I like to use a mason jar.
  12. Pour the dressing over the corn-tomato mixture (reserving some dressing if needed later) and add the avocados
  13. Gently toss everything together until all of the ingredients have a little bit of dressing on them, and make sure to be delicate with the avocado so it doesn’t get mushed
  14. Garnish with more chopped cilantro, and erve with your favorite fish or chicken dish on a beautiful summer day — like for a wedding celebration perhaps. Bon appetit!

Cooking Under Quarantine — Curry In A Hurry!

Ingredients:

  • Boneless chicken breast or thighs (Substitutes: tofu), 1-2 lb, cut into chunks
  • Curry paste (green or red), 2-3 heaping tbsps
  • Fish sauce, 1 tbsp
  • Coconut milk, 1 can or 1.5 cups
  • Scallions, 1 bunch
  • Garlic, 2-3 tbsp or to taste
  • Onions, 1-2 small onions or 1 large onion
  • Carrots, 3-4 carrots
  • Bell pepper, 2 bell peppers
  • Potato, 2-3 potatoes
  • Peanut oil (or vegetable or canola — something neutral)
  • Thai chilies, Sambal Olek (chili paste) or other hot pepper (optional)
  • Cilantro (optional)
  • Rice (optional)

Directions:

  1. Chop some potatoes into 1/2 inch pieces, toss with a little bit of oil, salt and pepper, and roast in the oven for 20-25 minutes on 450
  2. While that’s going, cut your chicken into medium-sized chunks — you can also use already sliced chicken or chicken tenders, but I think it’s fun and rustic to DIY
  3. In order to get a good sear on the chicken, you should heat your wok or sauté pan until it’s very hot, then throw the chicken in with a little bit of neutral-flavored oil like canola
  4. While the chicken is browning, mince your garlic, scallions and chop your other veggies (onion, peppers, carrots
  5. Once the chicken is cooked, but not cooked to death, take out and reserve for later,  and toss veggies into the hot wok starting with the garlic to perfume the pan
  6. Once you’ve sweated the veggies, add the scallions and deglaze the pan with some fish sauce (or soy sauce)
  7. Add a few heaping spoonfuls of curry paste and make sure that it gets evenly distributed so that it gets incorporated throughout the dish
  8. After cooking the curry paste into the veggies for a few minutes, add your coconut milk and mix thoroughly, and this would also be the time to add some sambal olek chili paste or dried chilies if you like a spicy curry. Can skip this if you want.
  9. Simmer for a few minutes, then add the chicken back into the pan along with the roasted potatoes which should be done at this point. This would also be a time to add other starchy ingredients you might be using: roasted squash, pumpkin, sweet potato, tofu, etc.
  10. Simmer uncovered for about 10-15 min so that curry thickens up
  11. Serve immediately over noodles or rice and garnish with cilantro and Thai chilies, or put it in the fridge and eat it the next day. So delicious as leftovers — Yum!

Enjoy and let me know how yours turned out!

BYO Battle (Philly Restaurant Week Round Up, Part 2)

For the next round of Philadelphia Restaurant Week, I’ve decided to pair up two of my favorites—Pumpkin and Russet. What do these two have in common? They’re both proponents of the farm-to-table movement and locally-sourced ingredients. So let the battle commence!

Photo Jan 17, 9 09 53 PMPumpkin
1713 South Street
Philadelphia, PA 19146

This is such a cute place! The first thing that struck me when I walked through the door was the size. Pumpkin is definitely cozy with about 24-26, but the mirrors on the wall allow for the illusion of more space. With about about 26 seats in the dining room, which has a rustic farmhouse meets contemporary chic feel with the rich wood tones, marble style tabletops and dim lighting—this would definitely be a good date place.

Photo Jan 17, 9 10 48 PM
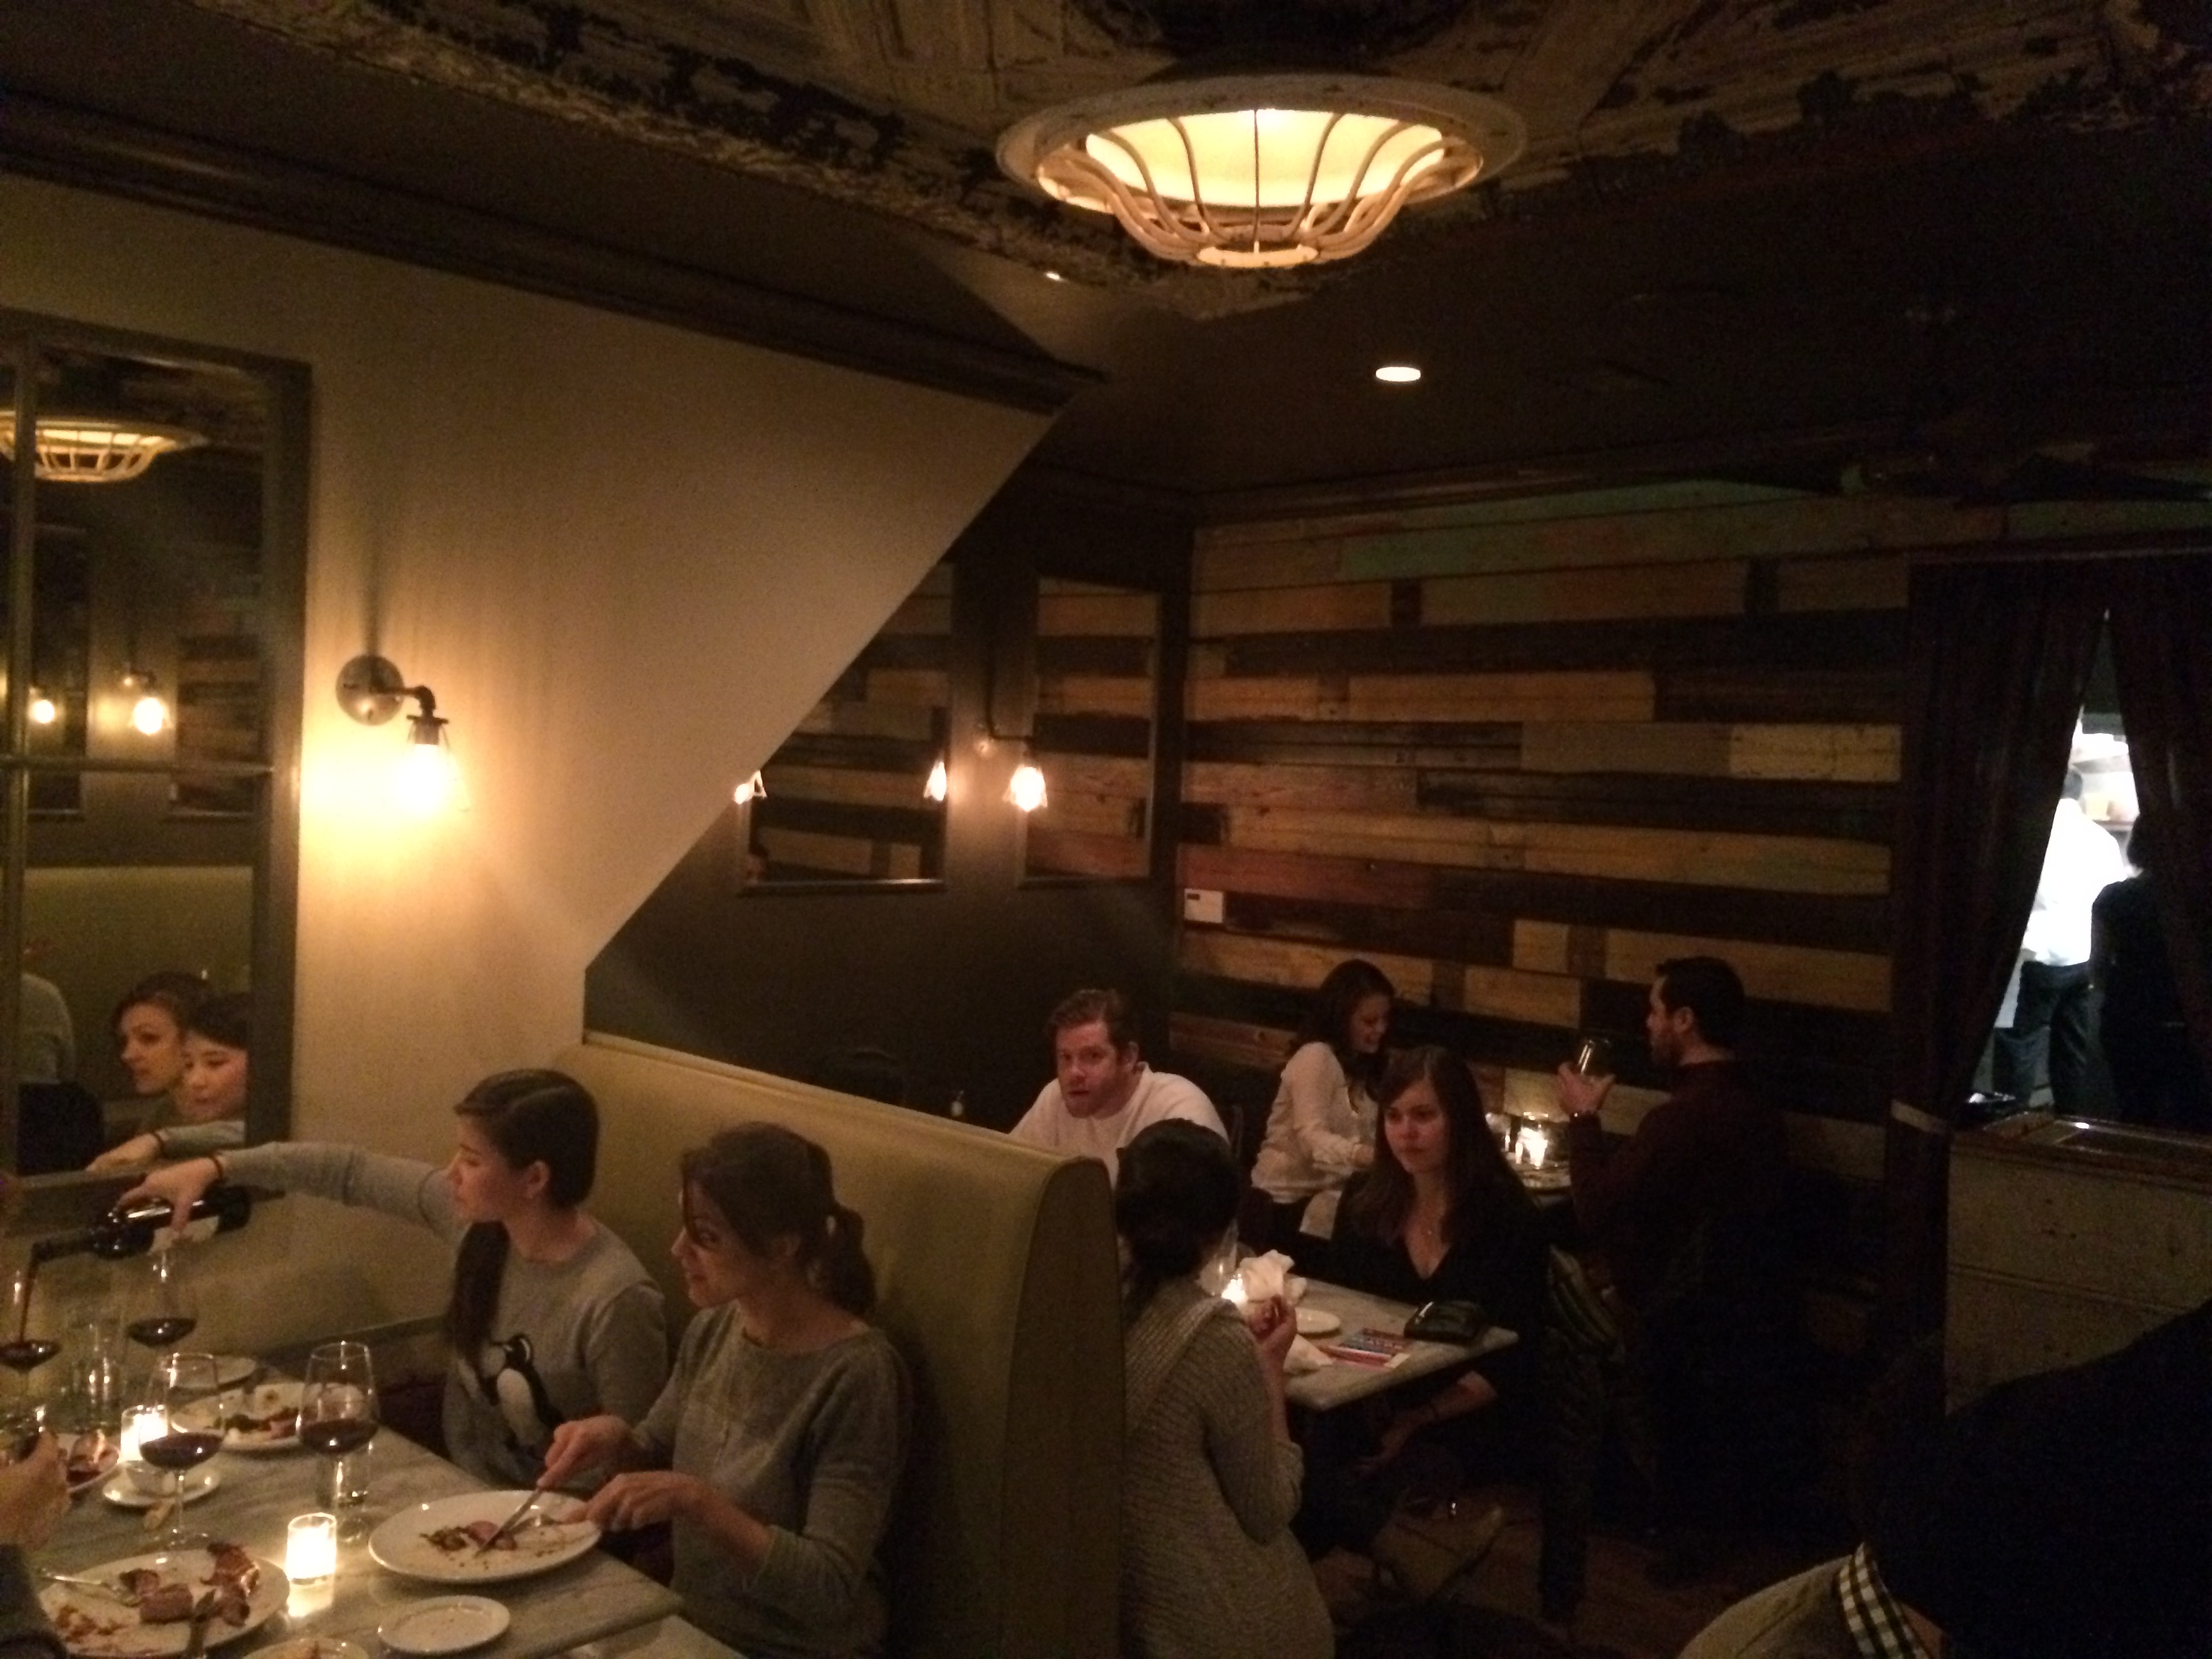
Pumpkin opened in 2004 with a seasonally changing menu in the early days of the farm-to-table movement’s resurgence in American cuisine. In addition, they are also a BYOB restaurant, which is a wonderful feature of many eateries in the Philadelphia food scene. Both the waiter and runner here were extremely knowledgeable about the restaurant week menu and food in general. I was surprised, but probably should not have been.

The crusty bread a had a nice crispy chew, and the garlic infused oil was fruity and savory to really whet the appetite. With such good bread, I was very tempted to order the burrata appetizer. Plus, it sounded delicious: soft, creamy cheese, la Quercia ham—described as American prosciutto—treviso radicchio in place of escarole—lots of textures. Decisions, decisions…

Photo Jan 17, 9 26 22 PMPhoto Jan 17, 9 26 27 PM
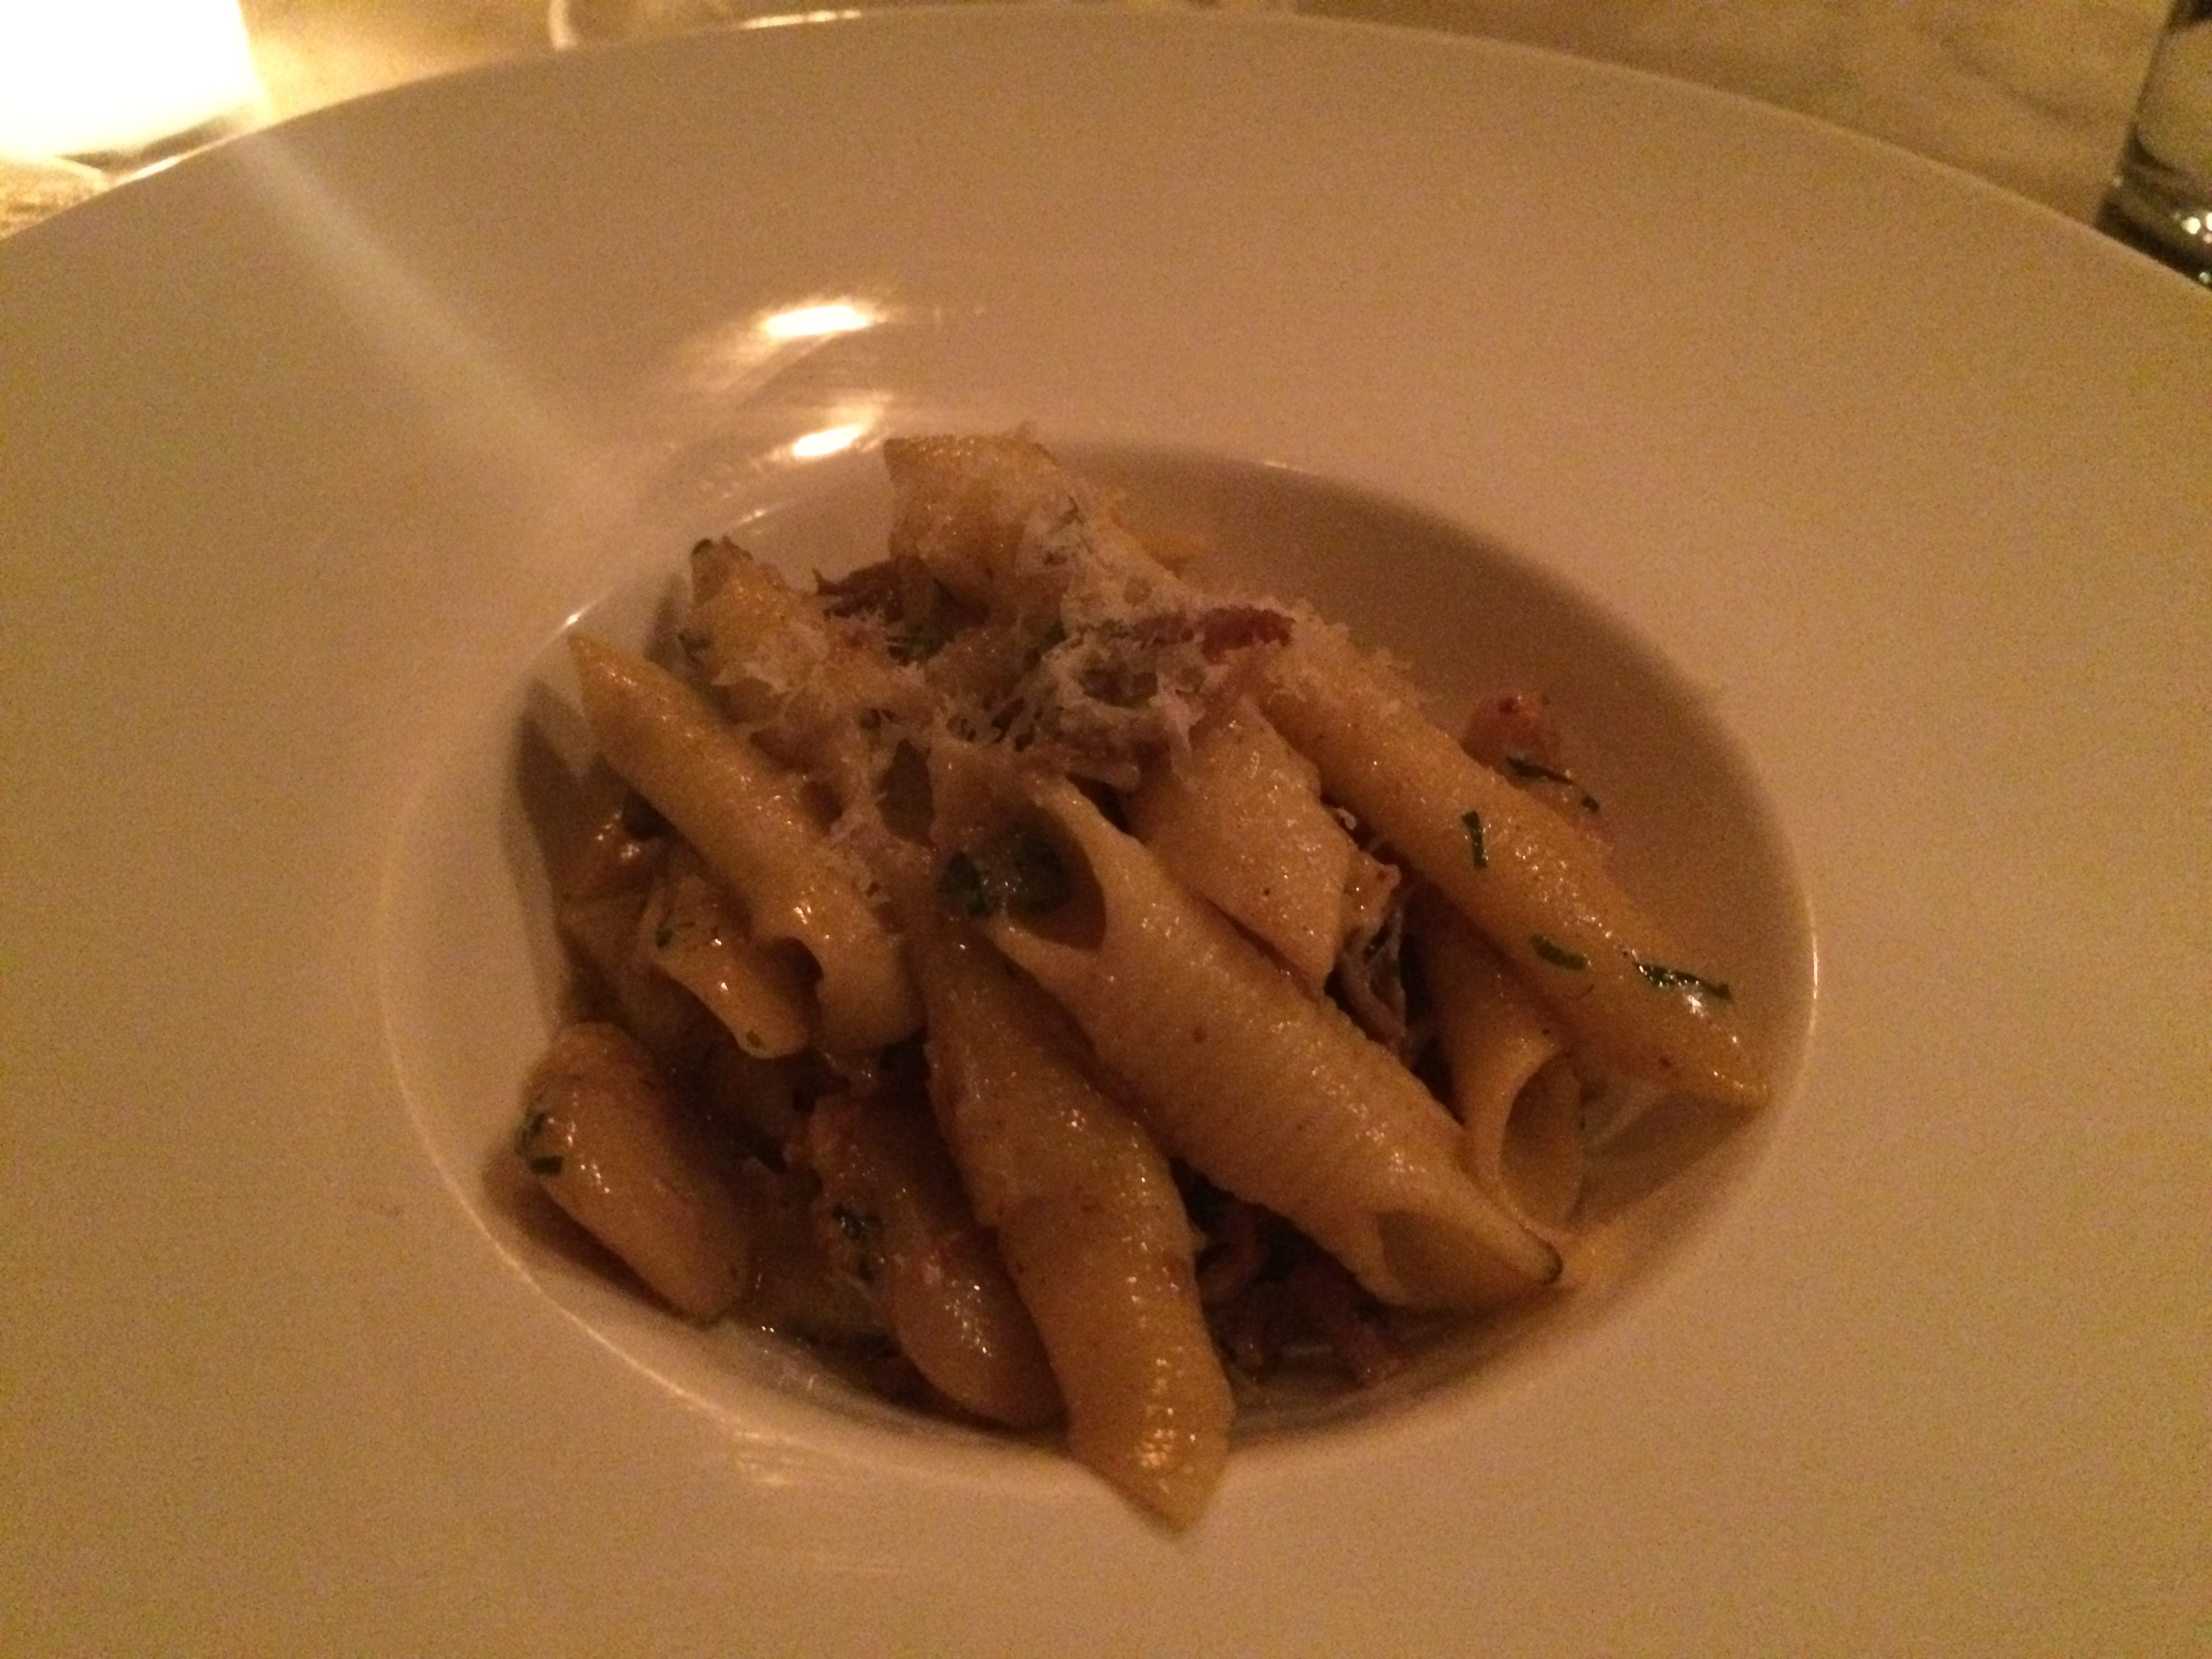
I stuck with my gut and went with the Garganelle Pasta appetizer. The garganelle was almost like penne but wider with a slight curve, and was just over the edge of al dente with a nice bite. The braised pork shoulder also had a good chew and wonderful umami falvor. The hearty and starchy white beans weren’t too buttery, and instead gave the dish some extra thickness. The kale was slightly crispy, but cooked down so it became more of a background note that was lost in the shuffle. The sauce—or broth really—was subtle and absorbed flavor from light dusting of pungent parmesan, and the acidic lemon zest helped cut through the richness of the pork and heaviness of the pasta. It was a great appetizer portion, and a wonderful way to start the meal.

20160120_222305Up next was the main event—the Long Island Duck. The duck was served over some dirty farro. To make a grain “dirty,” I learned, means to cook it with chicken livers!!—Yum! I am totally #TeamLiver or is it #TeamDirty? Anyway, the chicken liver makes the farro slightly sweet and lends it an unctuous meaty flavor. The sherry, caramelized pearl onions blended complimented the sweetness of the faro and had a slightly acidic, almost pickled flavor to them. They weren’t cooked to death as, unfortunately, many caramelized onion garnishes are, and the choice of pearl onions over traditional slices helped them stay together and provide a nice textural contrast with the slight chew of the farro. The star of the dish was the Long Island duck breast—cooked to a perfect medium rare temperature. It was super moist with crispy skin—though it would have been even crispier if the breast had not been sliced—texture vs. presentation? Either way, it was delicious. As I ate my way through this very luxurious course, there was a building heat that was perhaps form some cayenne in the faro or the braised collard greens underneath the duck, which was smart plating to have the greens absorb the running duck juices. The greens themselves, cooked down with the classic combination of bacon and hot sauce, made for a perfect bite with the duck—slight smoky, salty, sweet and spicy all at the same time. This dish was a wonderful blend of modern creativity and classic Americana, and as the chef is originally from North Carolina, he knows how to cook Southern!

Photo Jan 17, 9 54 09 PM
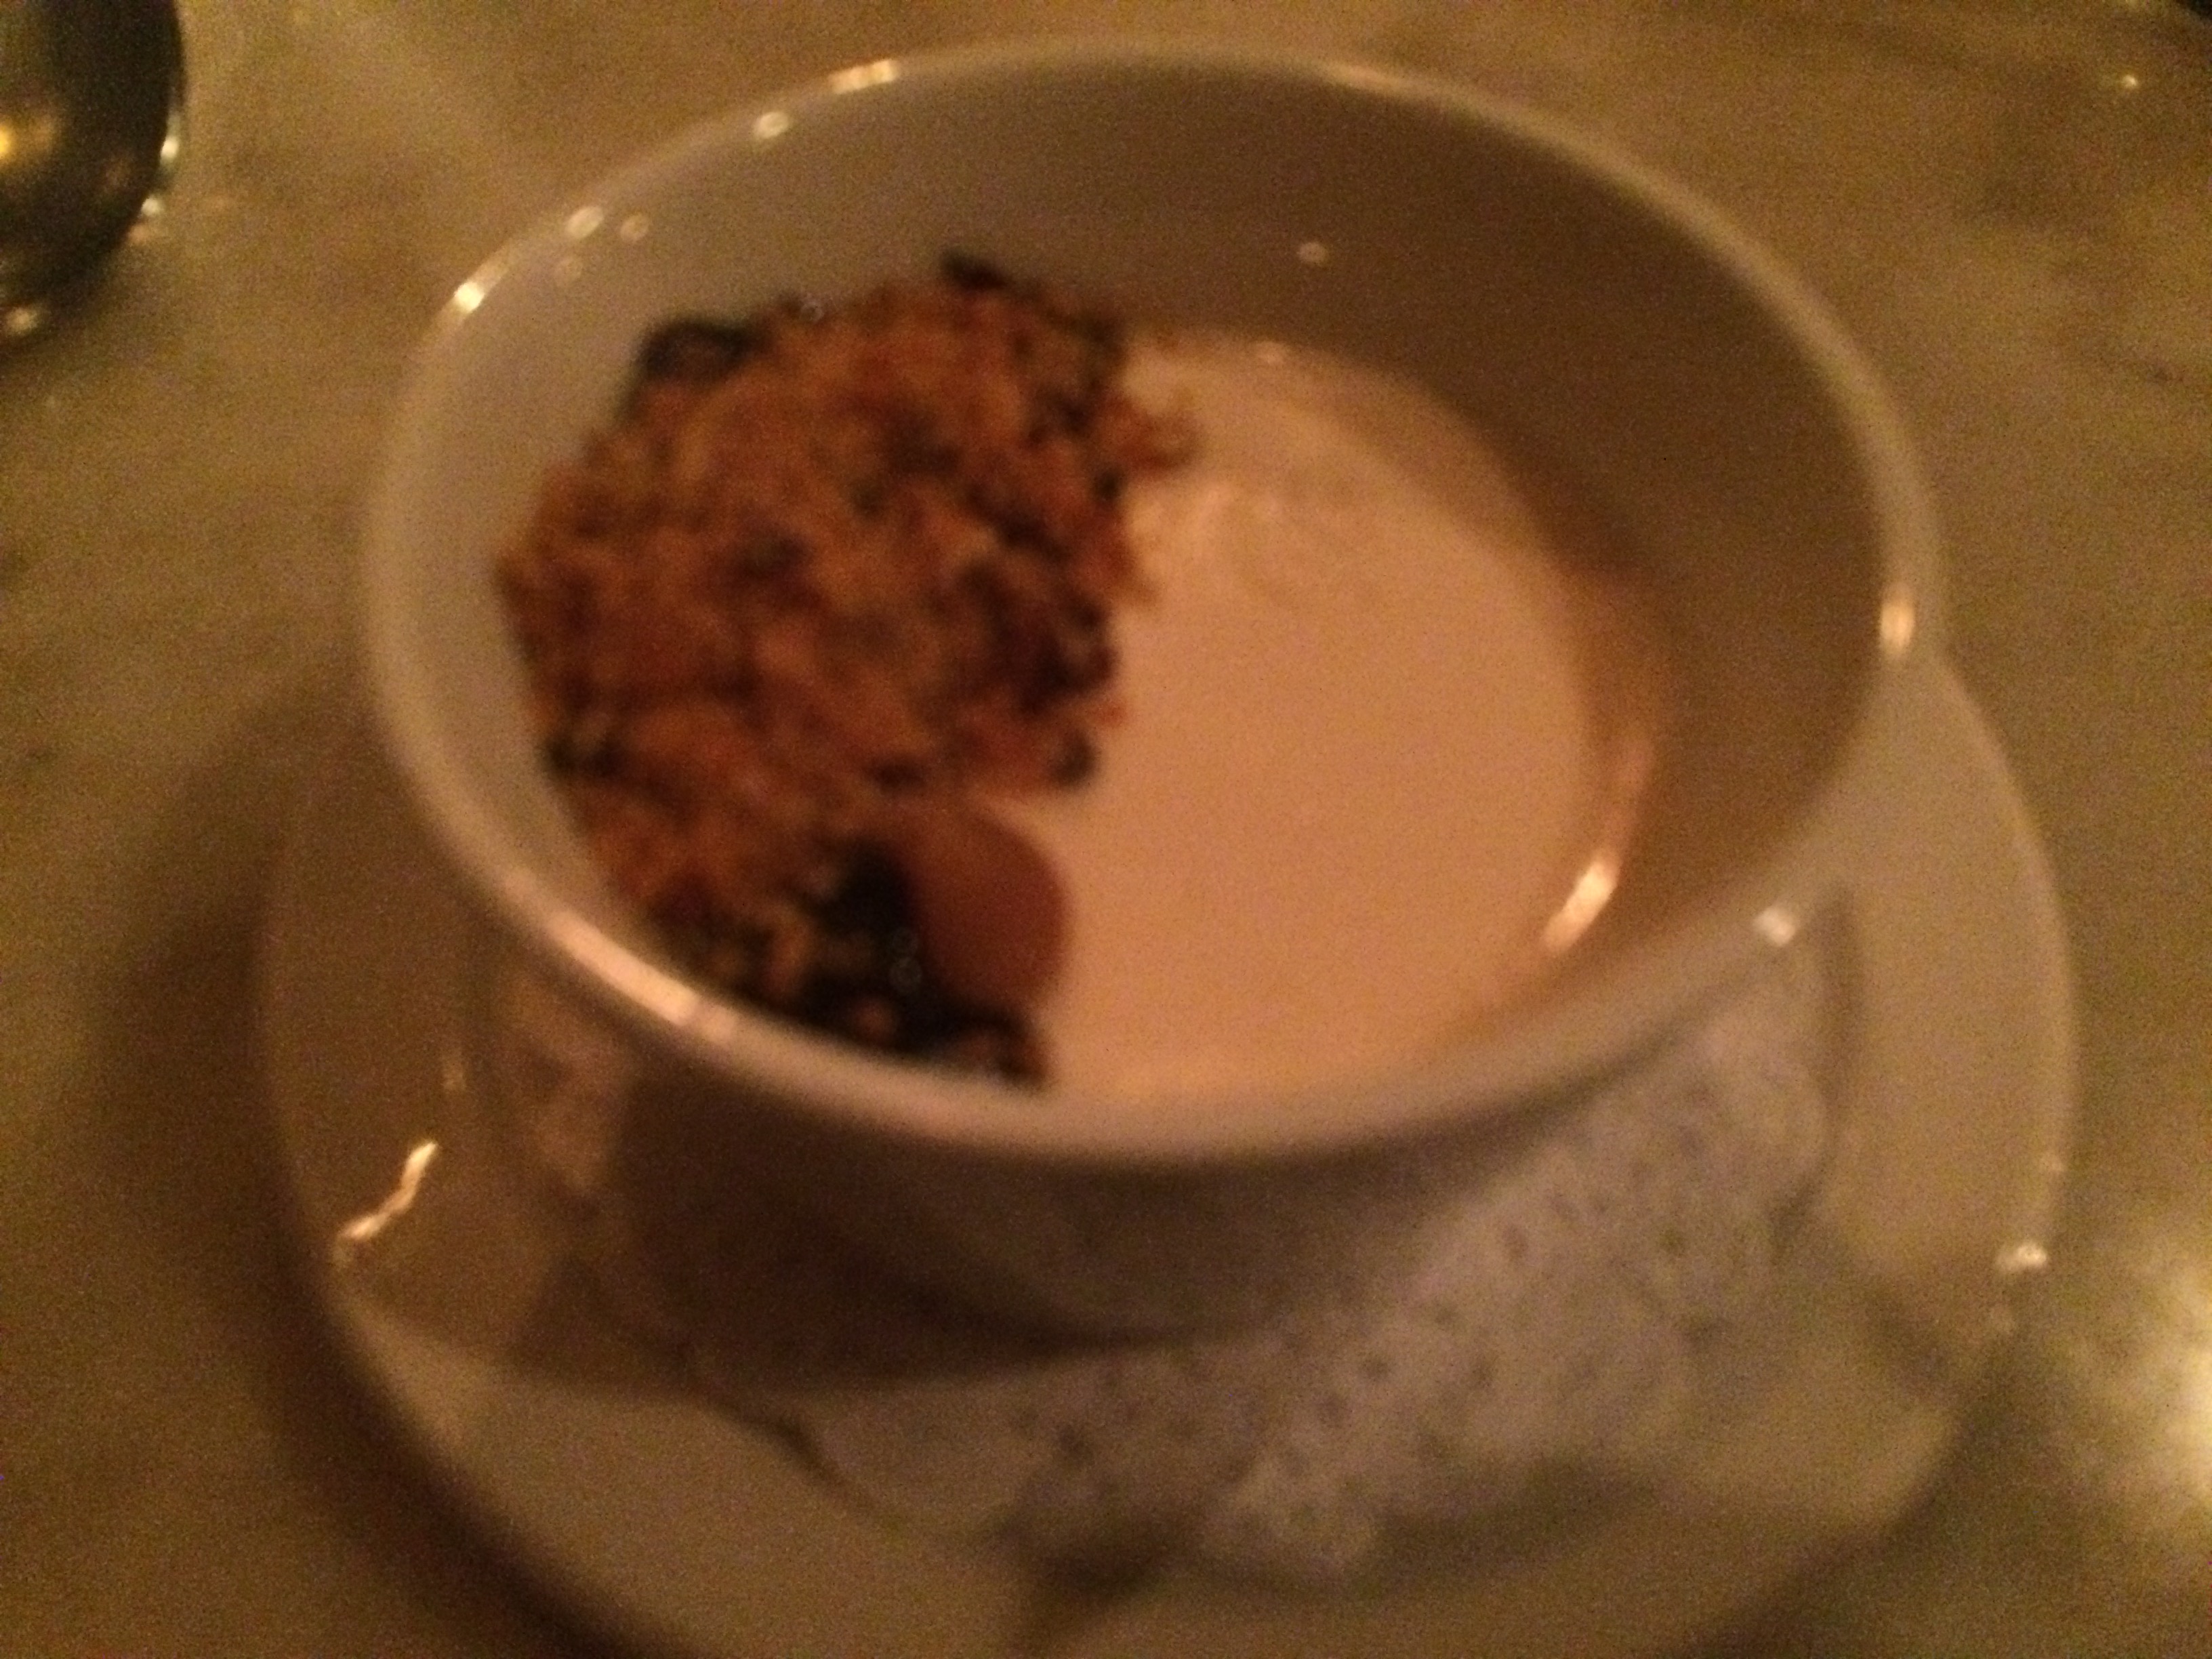
For dessert, I got the Pot de Creme, which is really just a fancy, French term for a thick pudding. Pumpkin’s version is pretty solid. The creme had a subtle malted milk flavor and took on flavors well, from the very rich chocolate caramel crumble .to the delicious and crunch praline crunch, which was necessary to add some change of texture to an otherwise soft bowl of dessert. The somewhat hidden caramel core in the middle of the cream was a nice secret discovery. #SweetTreat! Surprisingly, the pot de creme was refreshing, and a good way to end a heavy meal.

Photo Jan 17, 10 08 57 PMOverall, this menu seemed very well thought out, and a good winter meal. A hearty, hot appetizer, a play on a meat-and-grain stick to your ribs entree, and a sweet caramel and chocolate dessert. The to-go packet of pumpkin seeds was a nice touch. Pumpkin should definitely be on your list of places to eat at in Philly, especially for special occasions or for their Sunday night pre-fixe supper—though don’t forget to bring cash as it’s a cash only establishment. Totally worth a trip to the ATM on the way over!

Russet
1521 Spruce Street
Philadelphia, PA 19102

Photo Jan 19, 7 47 20 PM
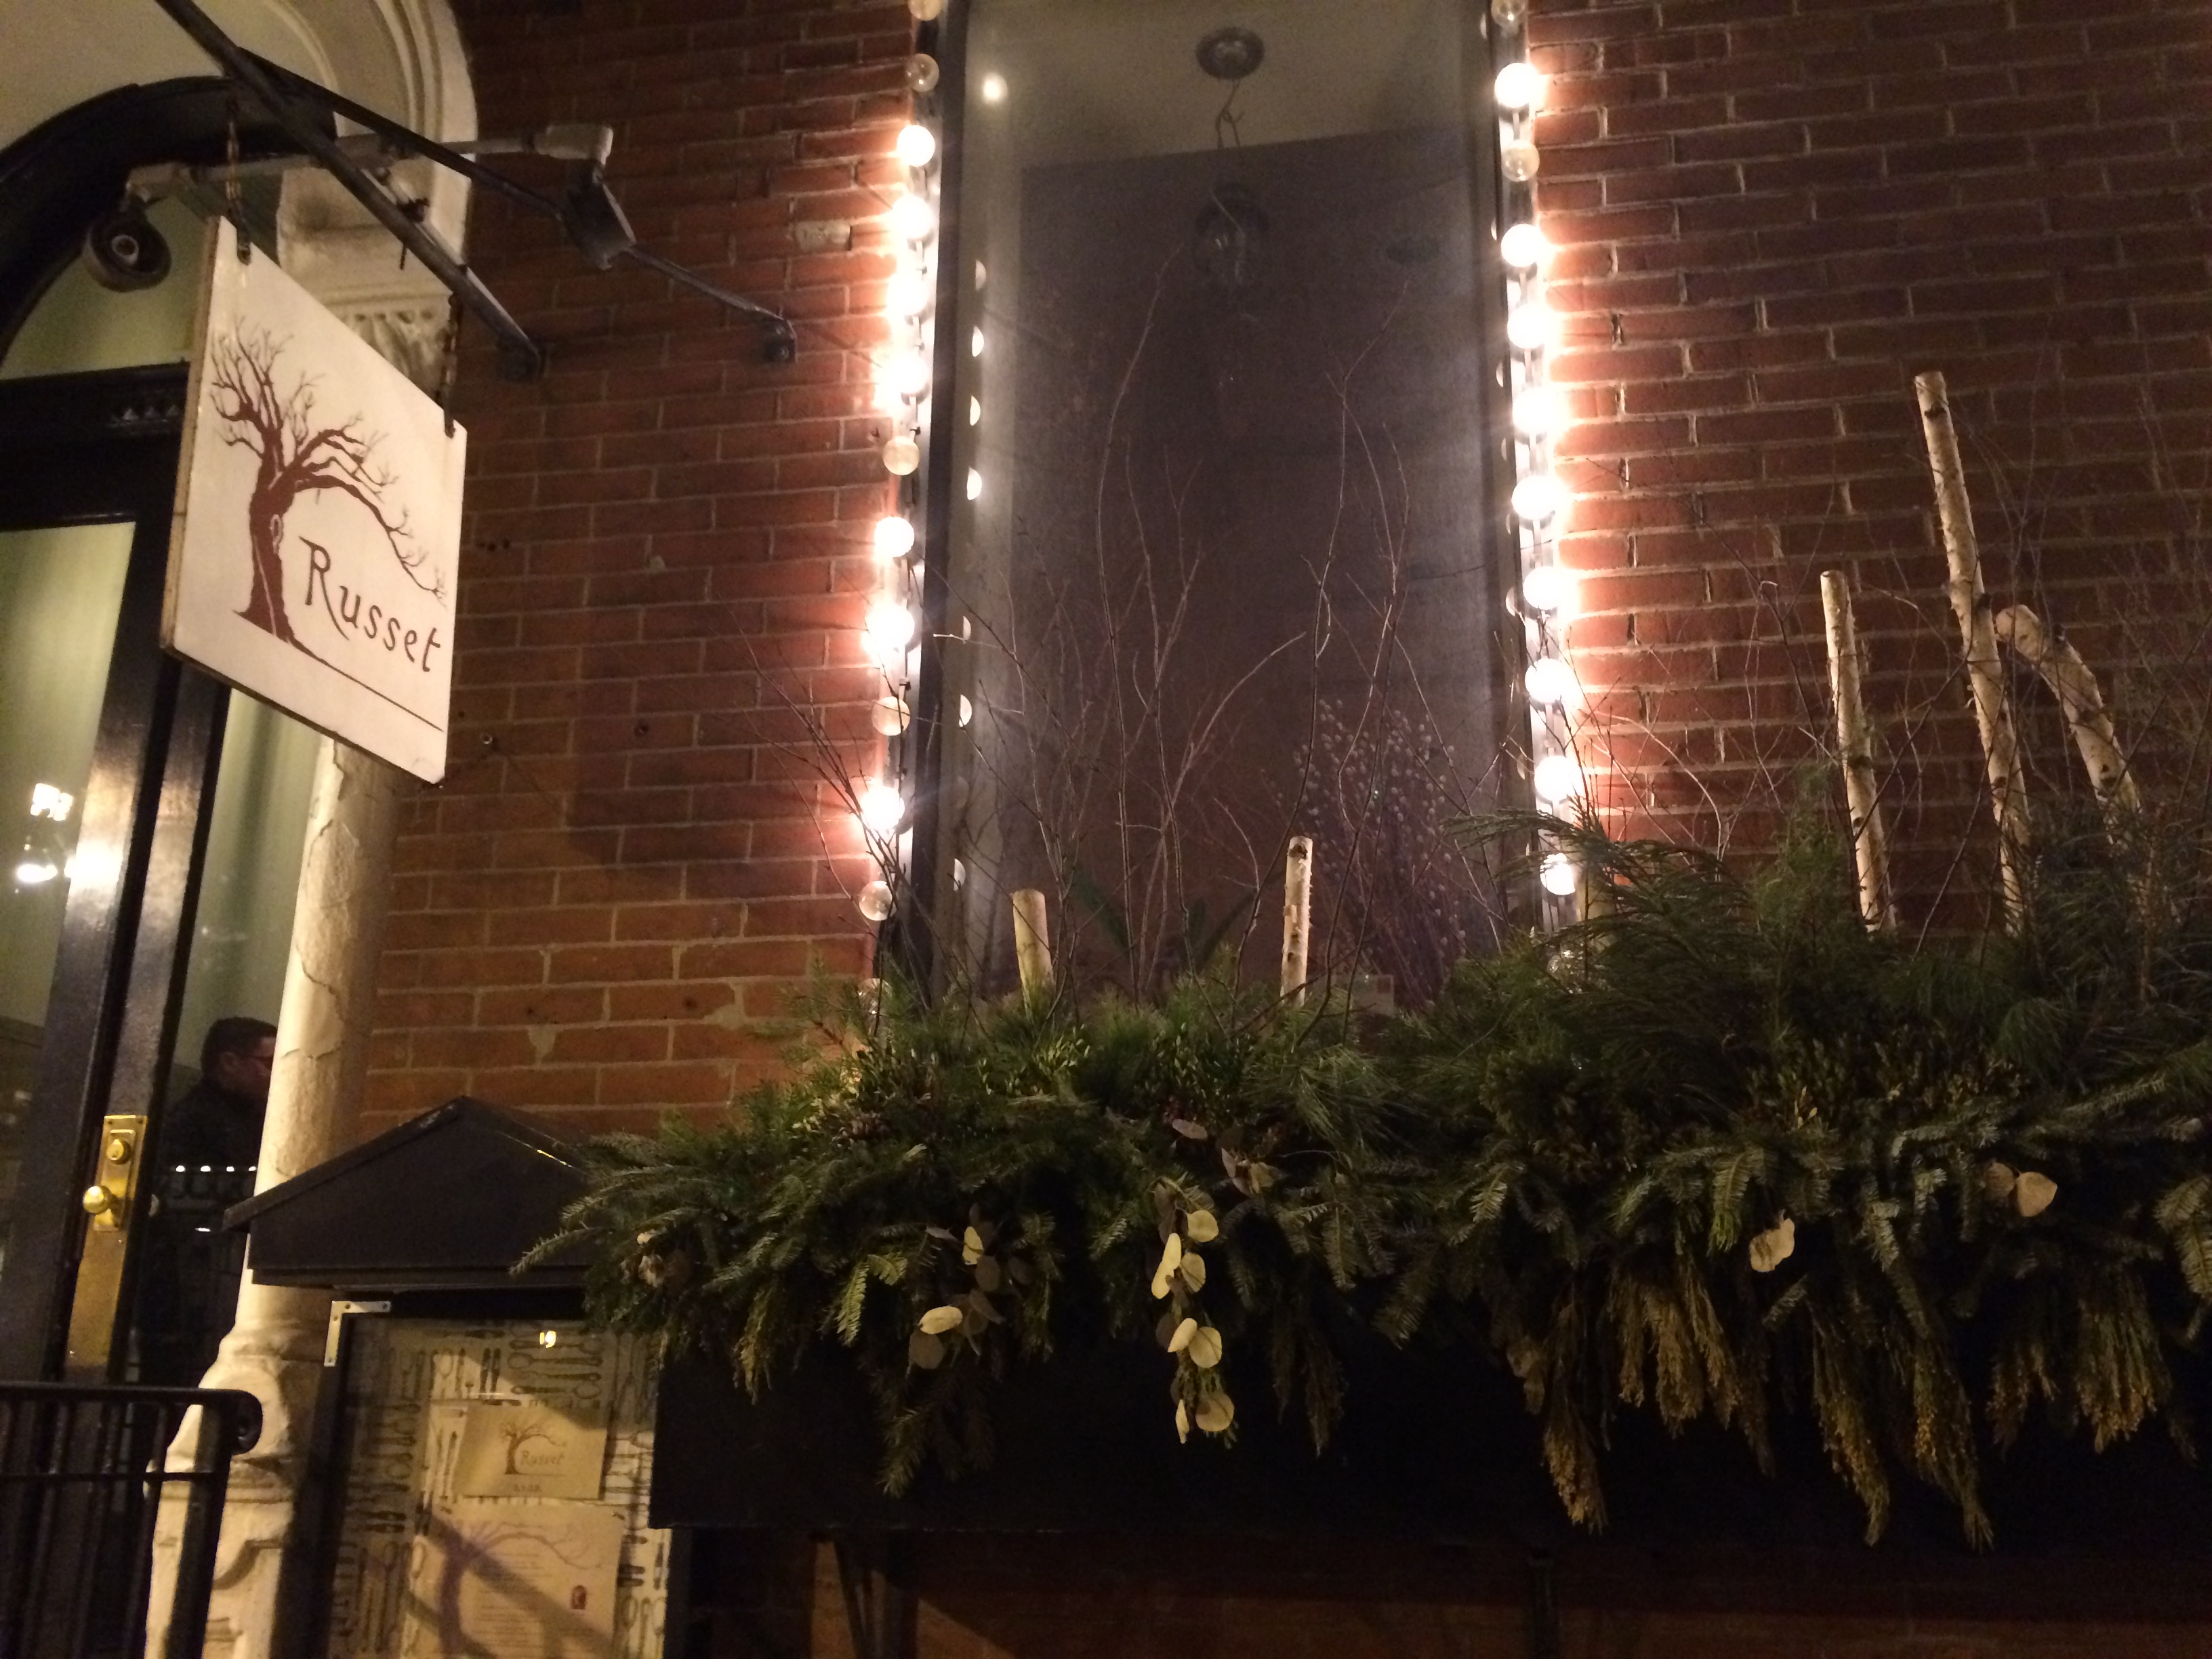
The first thing I did when me and my friend were seated at our table was to ask why the restaurant was named “Russet,” which I had imagined referred to the humble potato and would fit the theme of the farm-to-table and local food movement that the chef favors. I was wrong. The restaurant is actually named for the “Russet” apple…how quaint lol. I still appreciate that the name refers to a natural food, and who doesn’t love a good apple?

Russet is also a BYOB establishment—we should’ve brought some wine, but oh well. It is a small place, but while Pumpkin seemed to know how to utilize their space very well, here it looked very “cozy”—usually codeword for on top of each other, though it didn’t feel too crowded once we were sitting down. In the dining room, there are some great architectural touches such as an arch with columns, crown moulding, and a very eclectic feel. The house-baked semolina bread was tasty and the flavor was similar to rye bread. The sea salt bowl on the table was another eclectic touch, and helped highlight the flavor of the butter.

Photo Jan 19, 8 04 46 PMOne of the benefits of having fellow foodie friends is that they’ll come to a last minute dinner reservation to scope out a Restaurant Week menu. Plus, I get to try double the dishes as I would have been if I dined alone. Yay! I’m a big fan of pasta in any form, which should have already been obvious to you, so for our first appetizer, we got the Gorgonzola Dolce Ravioli. This was a very cerebral plate of pasta, with nuanced flavors that you wouldn’t necessary associate together, but they went very well in this dish. The ravioli were sitting in a delicate broth flavored from the garlic confit—cooked down slowly into a soft texture—and the garlic got sweet and aromatic. The gorgonzola cheese was not too sweet and also not super tangy—the gorgonzola dolce variety was the right choice with he sweet beets and salty parmesan garnish to complement the cheese. The sweet, soft chioggia beets almost “bled into” the pasta and gave some dark pink color to the (otherwise) beige plate, and the walnuts added a crunchy texture and bite to the dish. The pasta itself was cooked al dente, which was a nice touch as many places make ravioli too soft.

Photo Jan 19, 8 04 51 PM
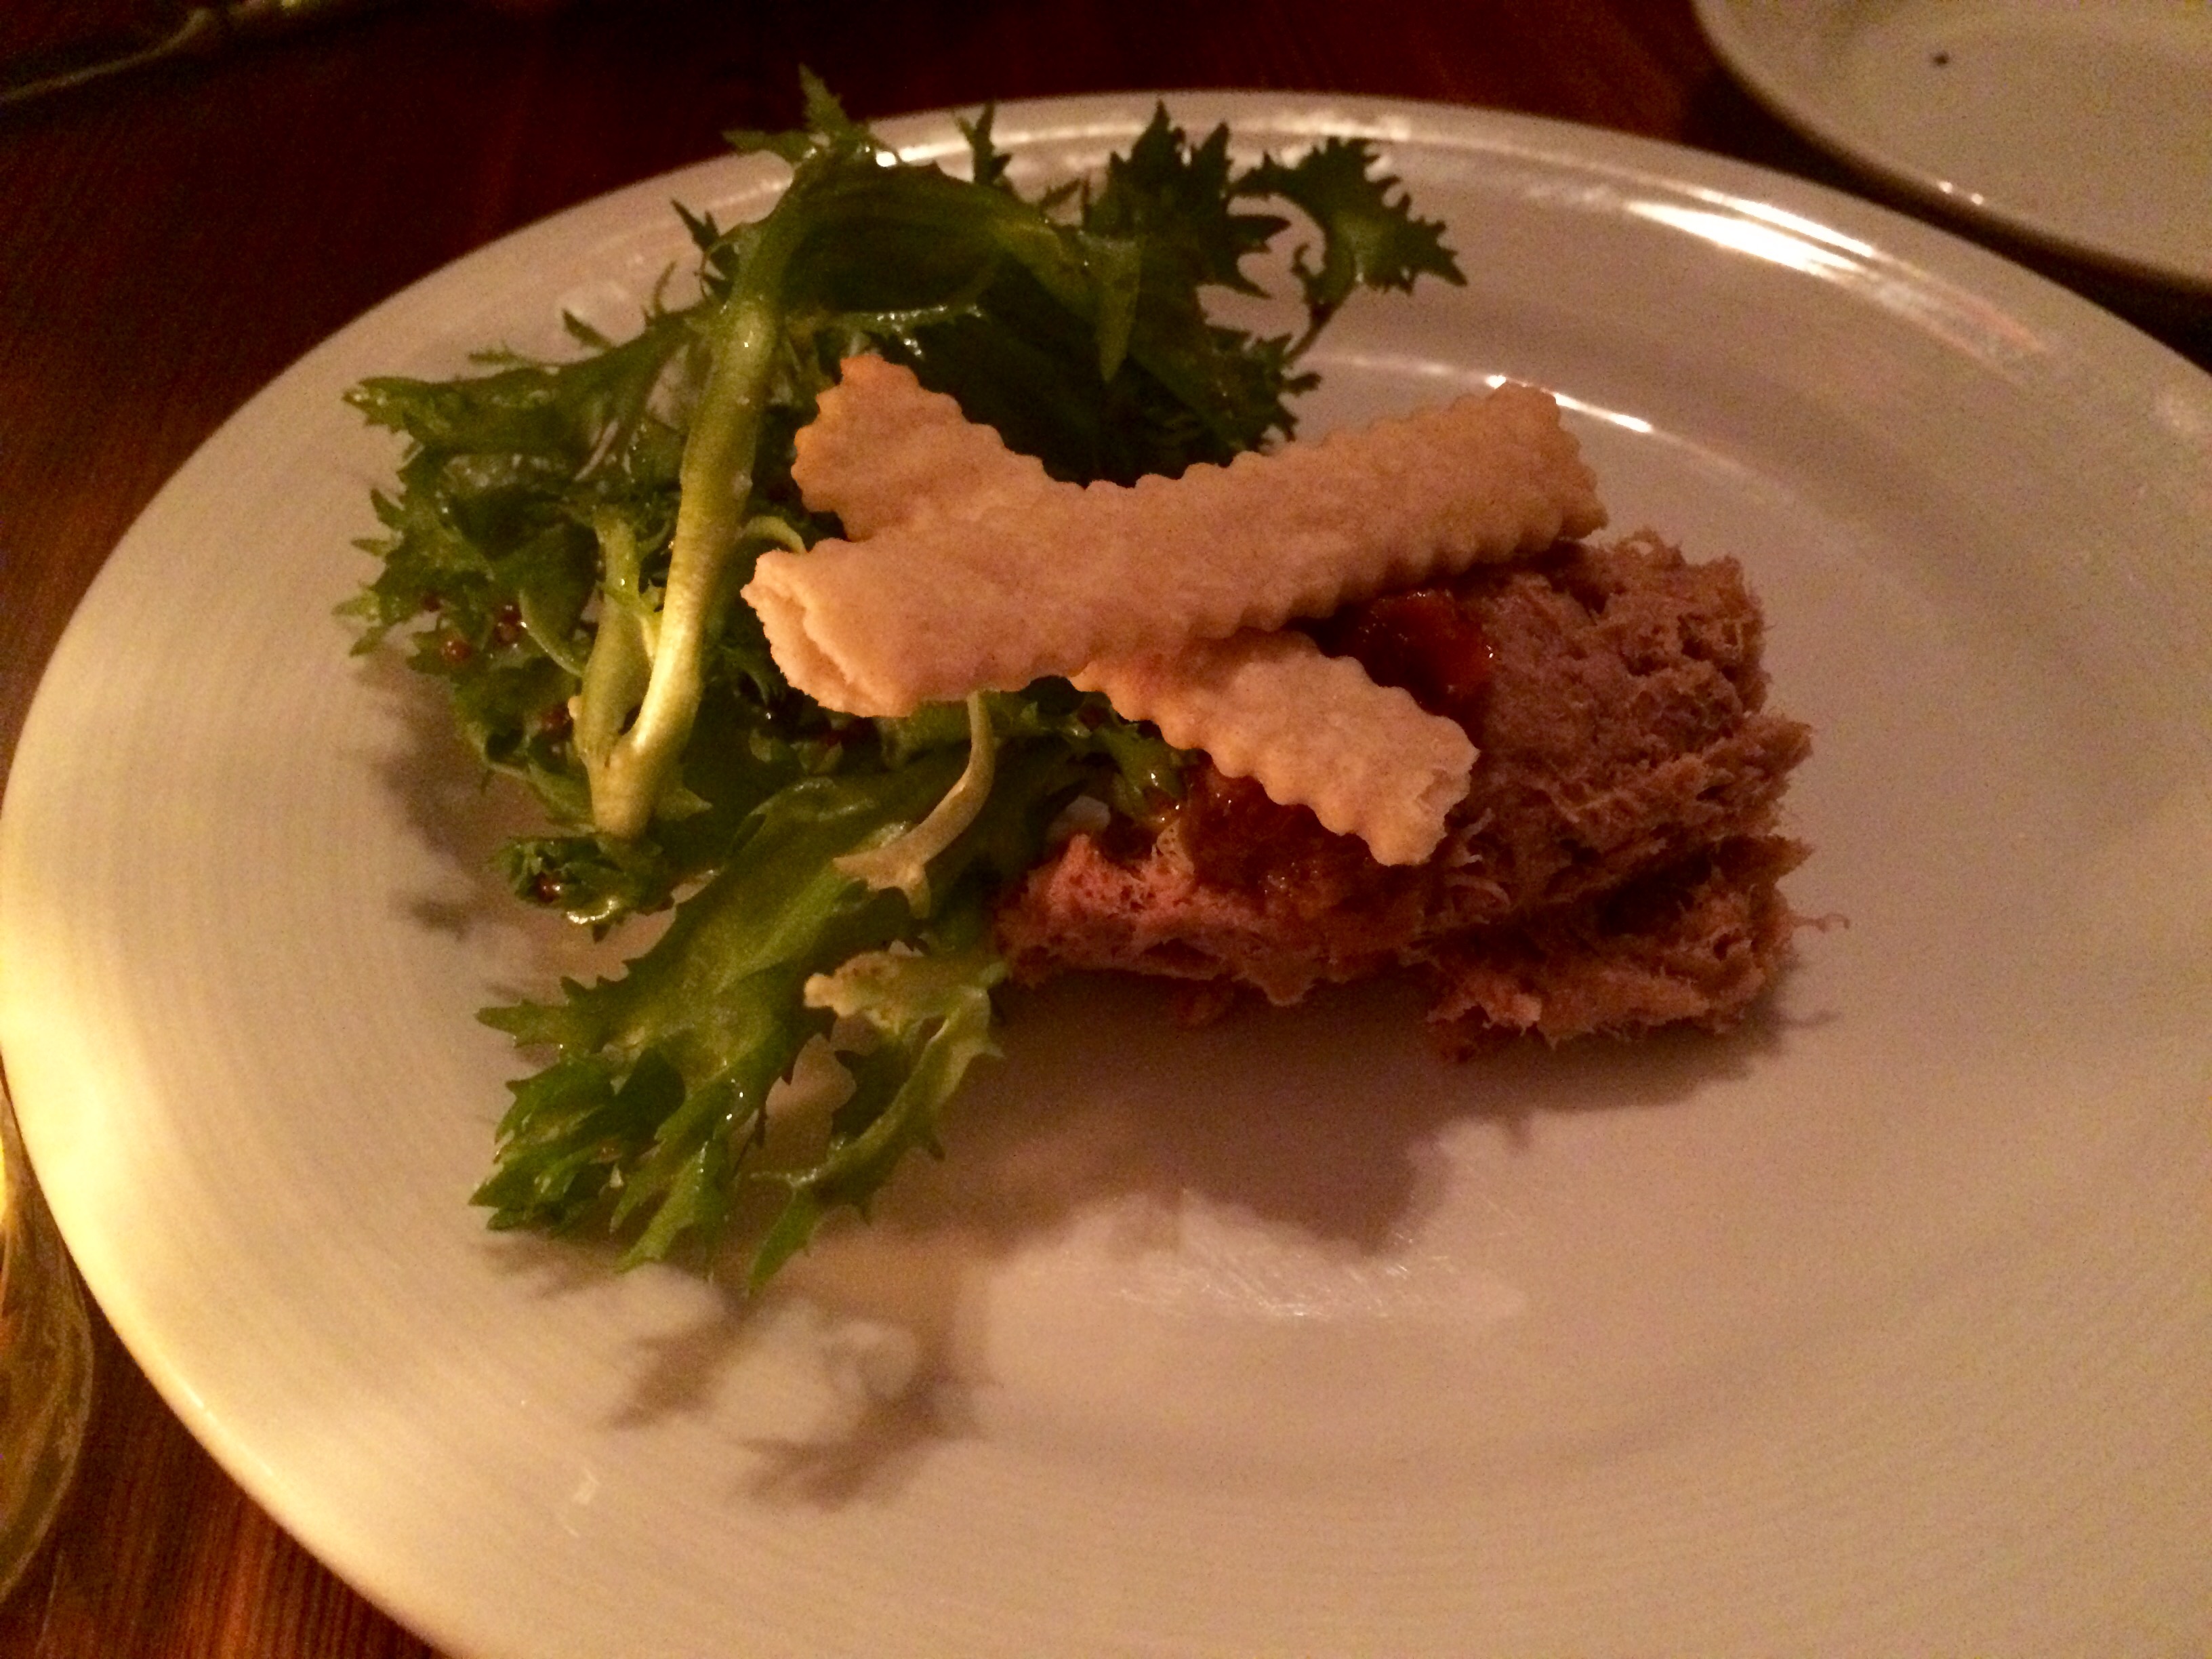
Our second first course dish was a Green Meadow Farm Duck and Pork Rillette. Lots of thought went into the presentation of this dish. There was lots of negative space on the plate, which I know is a thing, but I’m not always a fan. The frisee lettuce was lightly dressed, and provided some needed crunch and bitter notes to a very rich dish. The rillette was super smooth and lovely, while at the same time allowing the distinct tastes of the duck and pork to be tasted separately. The homemade cracker was a good vehicle for eating, and the mostarda really helped bring the gamy flavors to the forefront.

Photo Jan 19, 8 19 12 PM
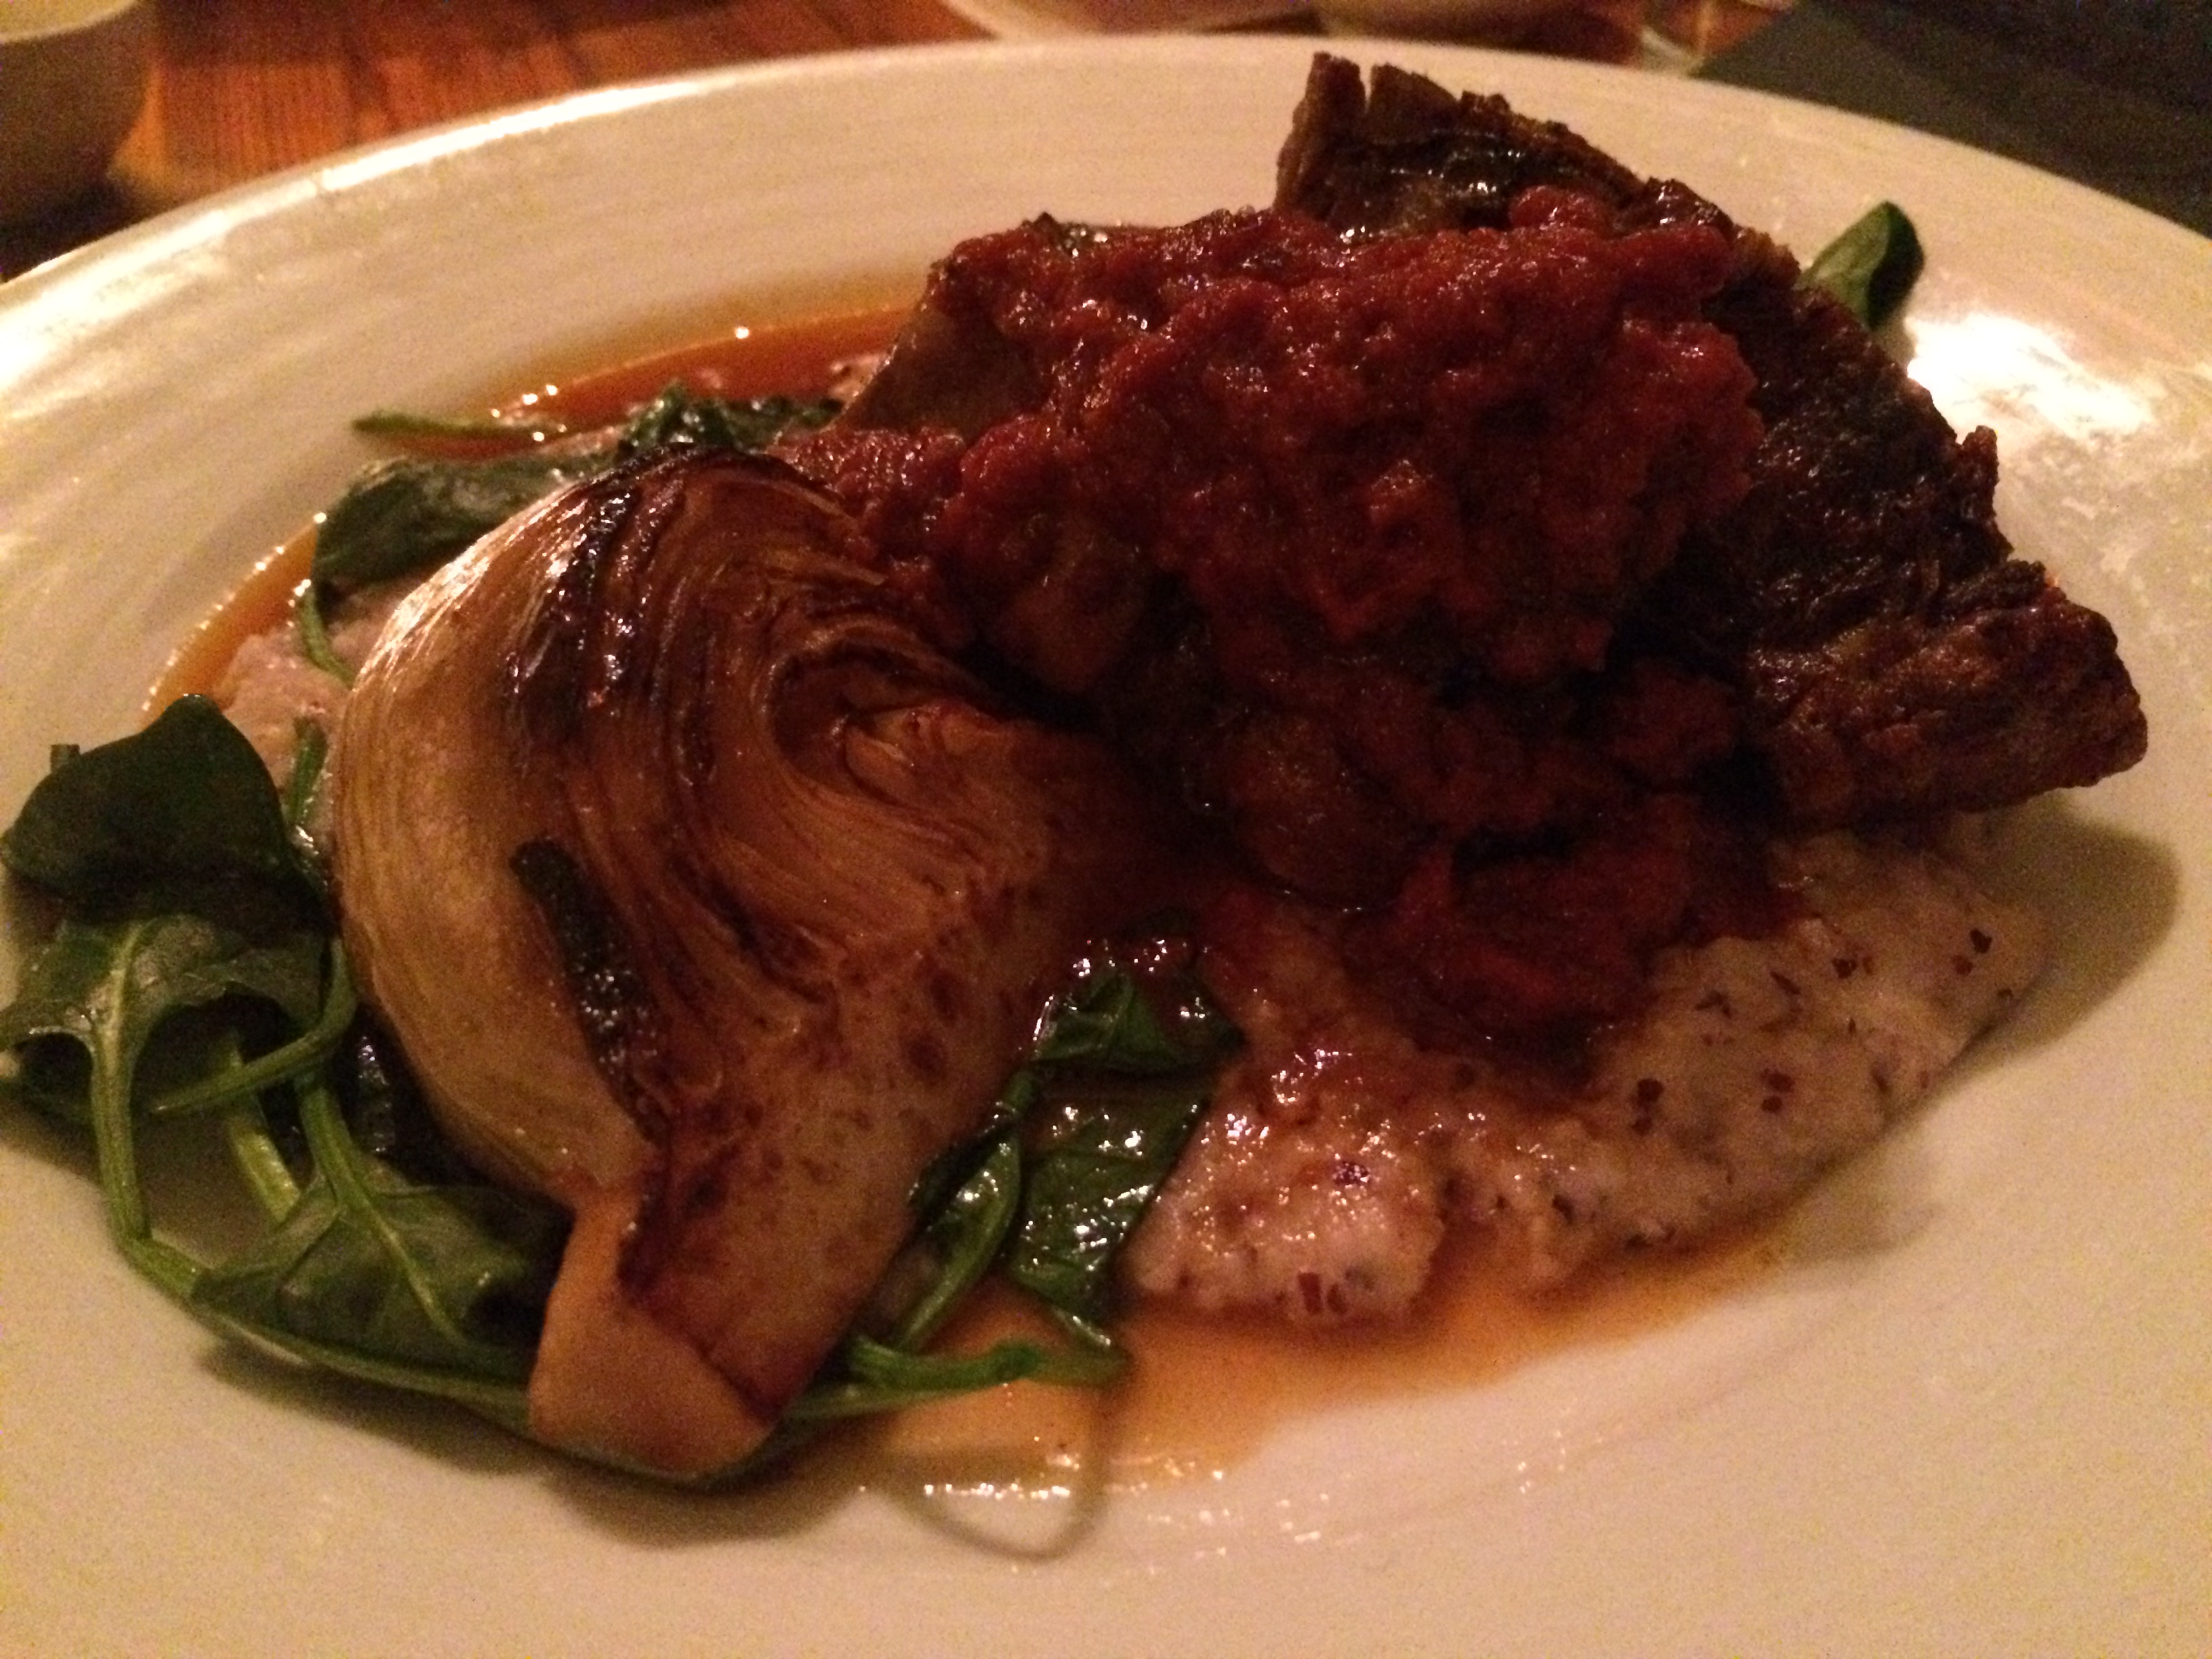
We decided on two very different entrees for the main course. The Happy Valley Beef Shoulder and the Seared Branzino. The beef shoulder was expremely tender, but still maintained a level of chew so you still knew it was beef. The tomato fondue garnish acted almost as a chutney and coated the beef with an acidic sweetness. It was very rich, and almost certainly had copious amounts of butter—I approve! The charred cabbage made for nice plating. It was braised as well, but held together. The polenta underneath was very creamy, but also a little too salty. Otherwise, this was a delicious and super creative dish—it screamed to me as an elevated play on cabbage and beef.

Photo Jan 19, 8 18 52 PMThe Seared Branzino was also a very composed dish. One of the ingredients listed on the menu, “bintje potatoes” was a mystery to me, but they were really just normal potatoes in the end. The potatoes were cooked well—as they usually do—and tasted even better when eaten with the salsa verde that not only gave the dish some freshness, but also served as a seasoning. I especially loved all of the fresh herbs in the salsa! The skin on the fish was super crisp—perfectly executed!—and was a substantial portion size. The onions, though, were sort of lost in the shuffle. Although the dish was pretty simple, it was very delicious.

Photo Jan 19, 8 49 24 PMWe decided to forego the sorbet option, and ordered the Local Ginger Cake and the Preserved Apricot Tart. The cake was very petite, and surprisingly moist—many ginger or honey cakes are often dry and crumbly. The pastry chef here is certainly up to par, and the cider sabayon cream was a nice edition. While the sabayon was technically perfect, it didn’t have enough of a citrus flavor. The cider, especially, helped highlight the ginger flavor of the cake. The tuile was meh in taste, but good textural contrast and added some height for a classy presentation. The caramel apples provided some much needed sweetness and slight tartness, though I wish it had a stronger caramel flavor.

Photo Jan 19, 8 49 05 PMPhoto Jan 19, 8 49 01 PM
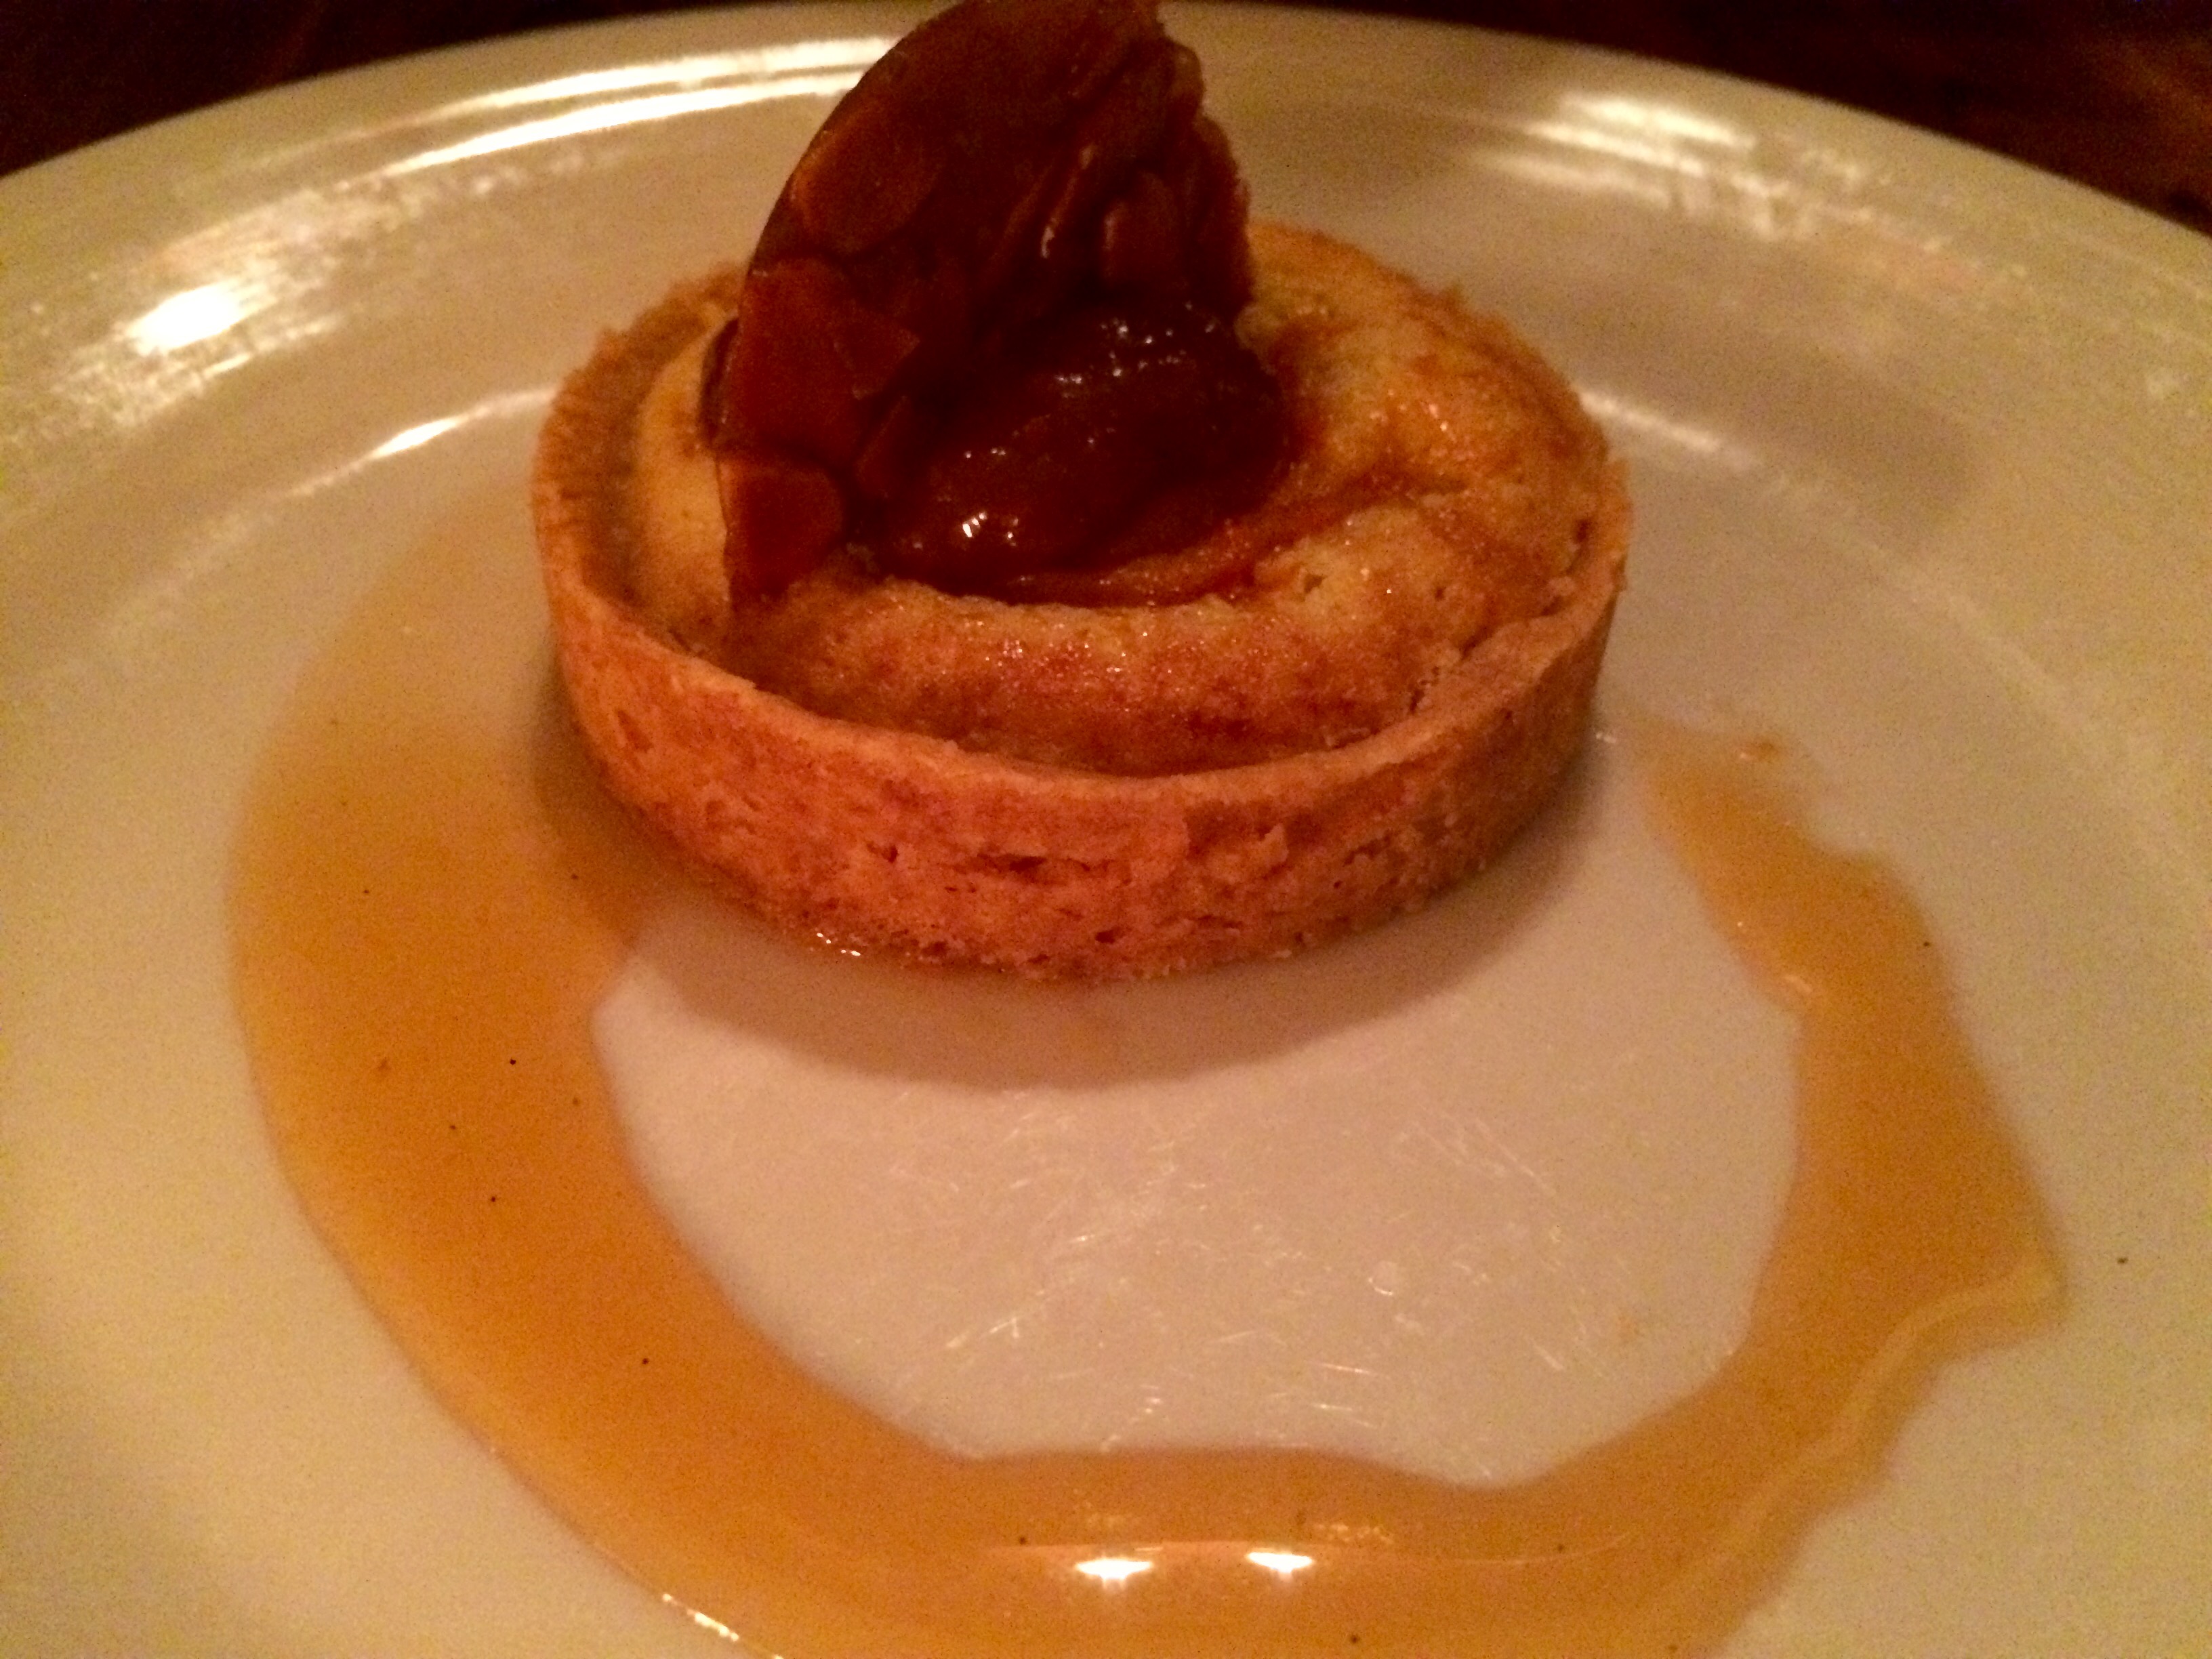
The Preserved Apricot Tart was our favorite dessert, hands down, though that’s not to say that the ginger cake wasn’t tasty as well. The tart’s crust was super flaky—again excellent baking technique—and the apricot filling was delicious! The frangipane was creamy, custardy and had great almond flavor; it wasn’t too sweet, and just tangy enough. In addition, the plating was extremely beautiful.

Another delicious meal that definitely utilized the bountiful produce characteristic of the farm-to-table movement. In fact, Russet publishes where they get many of their ingredients on the menu. You could taste the freshness of the ingredients and the passion in the food. Definitely on the list as well.

Is there a winner of this battle? The real question is if there is a loser. The answer is: no. Both Russet and Pumpkin provided great meals full of fresh ingredients, amazing culinary technique and a logical progression of flavors. If I had to choose, I would choose Pumpkin, but only because it’s closer! In fact, I’m going to go on OpenTable and make a reservation for dinner at both ASAP—and you should too!

Recipe: Sesame Crusted Tuna with Peanut Noodles and Spicy Cucumber Salad

DSC00330

Having eaten such fresh and delicious seafood in Seattle a couple of weeks ago, especially at Shucker’s, I was inspired to make my work fish dinner at home. Everything that comes out of kg kitchen has a twist though, so here’s my idea of a delicious fish dinner for company or family. Sushi grade tuna is marinated in a salty, spicy mix of soy, ginger and chili, then crusted in sesame and seared. To go with the tuna is a spicy cucumber salad, and peanut noodles that are so easy to make, you’ll be wondering why you’ve ordered them from takeout all these  years.

Sesame Crusted Tuna:

  • 1 tablespoon low sodium soy sauce—the fish sauce is already salty, so a lower sodium soy is better. A sweet soy sauce like tamari would work nicely too
  • 1 tablespoon fish sauce
  • 1/2 tablespoon toasted sesame oil
  • 1 tablespoon of rice wine vinegar
  • 1/2 tablespoon of Sambal Olek—an Indonesian red chili paste flavored with salt and vinegar. It is very spicy, without the sweetness associated with sriracha sauce
  • 1/2 tablespoon of fresh ginger
  • 1/3 of bunch of scallions, sliced
  • 3-4 large sushi-grade tuna steaks–I recommend you splurge for the high end tuna. Trust me, you’ll taste the difference
  • 2 large bulbs of baby bok choy
  1. Combine soy sauce, fish sauce, rice wine vinegar, sambal, ginger, and scallions in a medium bowl
  2. Add the tuna to the marinade, and let the fish sit in the marinade for 1-2 hours to absorb the flavors of the sauceDSC00301
  3. Remove the fish from the marinade, and shake off excess liquidDSC00313
  4. While the fish is slightly wet, drip it into sesame seeds and crust both sides with sesame
  5. In a sauté pan, heat up some vegetable oil on medium heat, and get the tuna ready
  6. Cook the tuna steaks for about two minute per side—pay attention because it cooks fast, and higher quality tuna is best cooked rare
  7. Sauté some baby bok choy with garlic and excess fish marinadeDSC00317 DSC00319
  8. To serve: lay the bok chy on a big platter, and then set the sesame crusted tuna atop the bok choyDSC00327

Peanut Noodles:

  • 1 tablespoon of toasted sesame oil
  • 2 tablespoons of vegetable or canola oil
  • 1 tablespoon of low sodium soy sauce
  • 1 tablespoon of fish sauce
  • 3 heaping tablespoons of (crunchy) peanut butter
  • 1/2 cup of warm water
  • 1 box of angel hair pasta
  • 2/3 bunch of scallions, sliced
  • 1 tablespoon of white sesame seed
  1. Combine the first 6 ingredients and whisk together until it becomes a thick, homogeneous sauce—a blender or food processor works as well, but I like the texture that the nut pieces give to the sauce when it’s hand mixedDSC00303
  2. Chill the sauce for at least 20-30 minutesDSC00318
  3. Cook the pasta according to package directions, and drain wellDSC00320 DSC00321 DSC00322
  4. Toss the hot pasta with the sauce, sesame seeds and scallions
  5. Chill for 15 minutes in the refrigerator
  6. Serve in a big bowl, garnished with chopped scallions, and some chopsticksDSC00329

Spicy Cucumber Salad

  • 2 hot house cucumbers–also known as English or seedless cucumbers. I like this variety of cucumber since it’s longer and the skin is much thinner, so you can eat it easily. Plus is has much less seeds and comes prewashedDSC00307
  • 1 tablespoon of sambal olek
  • 1/2 tablespoon of toasted sesame oil
  • 1 tablespoon of soy sauce
  • 1/2 tablespoon of rice wine vinegar
  • 1/2 tablespoon of white sesame seeds, for garnish
  1. Chop the cucumbers—skin on—into half moon piecesDSC00304
  2. In a bowl, combine the sambal, sesame oil, soy sauce and vinegarDSC00312
  3. Toss the cucumbers with the sauce and let sit for at least 20 minutes—the longer it sits, the more the cucumbers will expel liquid, and absorb the flavors of the sauceDSC00315
  4. Serve garnished with sesame seeds over the top on a bright plateDSC00316

This is a wonderful meal to serve for dinner to your family–like I did–or use it to wow your dinner guests as you take them on a culinary tour of Asia. Leftovers from all three of these dishes will taste even better the next day!

DSC00326

Vietnamese Fusion in Downtown Seattle

Stateside
300 East Pike Street
Seattle, WA 98122

IMG_4796IMG_4786It was the end of my first official day at the International Food Bloggers’ Conference in Seattle, and I was too lazy to walk very far from the hotel or cab it to the international district, and needed a break from the rich and heavy seafood that Pacific Northwest is known for—though it was delicious! I found Stateside, which had great reviews on both OpenTable and Yelp and made a reservation for later that night. I was seated at a high top table with bench seating on one side and a view of the rest of the restaurant, and look out onto Pike Street through he large glass windows. The space was very hip with a great downtown location, and you would never know this was a Vietnamese restaurant without looking at the menu. Stateside is known for its unique and modern fusion approach to traditional Vietnamese flavors, while also incorporating bits and pieces from Chinese and French cuisines. You won’t find any pho here, but rather dishes like crispy duck or mushroom fresh rolls bursting with fresh herbs, chili cumin crusted pork ribs that melt in your mouth, heirloom tomato salad dressed with rice wine and black garlic, and more. The place was crowded and hopping, and I’m glad I thought to make a reservation ahead of time. The uphill walk built up my appetite, and the smells of fish sauce and lemongrass as I walked through the door made my mouth water.

IMG_4787I started out by ordering a cocktail because that’s just what I do on vacation. No judging! The Viet Milk Punch ($11), which had recently moved to the dessert instead of cocktail menu is a modern twist on the classic sweet iced coffee drink available at many Vietnamese and Thai restaurants. It features cold brewed coffee—it’s Seattle, isn’t coffee appropriate?—condensed milk, egg white and dark rum. The condensed milk made the drink sweet, but not over the top, and the rum helped mellow our the sweetness and the egg white gives it a lovely frothiness. It was served in a pretty petite wine glass, and definitely fits on the dessert menu. Either way, it was delicious and a refreshing way to start the meal.

IMG_4789The Chili Cumin Pork Ribs ($13) seemed to be very popular on Yelp, and came highly recommended by the waiter, so made an appearance for the appetizer course. The ribs, of course, came with wet naps—how classy! lol—which just added to the charm of the place. Right away, the smell of chili came wafting from the ribs. The meat itself was practically falling off the bone, and had an intense smoky flavor from the almost whole cumin seeds. The slightly charred meat was garnished with scallions and herbs with a nice spice level—didn’t even have to ask for it to be spicier—and they were surprisingly meaty. These are not your mama’s spare ribs! Towards the bottom end of the rib is a fat cap that basted the rest of the meat—it made it so succulent and delicious.

IMG_4788Along with the ribs I had the Crispy Duck Fresh Rolls ($9)—a twisted mashup between a fresh summer roll and a crispy spring roll. The rolls were served with a mild dipping sauce made from a blend of oyster sauce, soy sauce and scallion oil. The rolls were filled with shiso leaves, Thai basil, spearmint, vermicelli noodles, and crispy duck. The roll is then flash-fried. As you bite into it you get the crunch of the duck skin, the chewiness of the fresh roll wrapper and noodles, the sweet herbaceousness of the basil, and the refreshing many flavor fo the shiso leaves. The sauce wasn’t too salty and balanced from the sweet oyster sauce and spicy scallion oil.

IMG_4792For the main event, I had my eye on one dish and with another recommendation of the waiter, I got the Bun Cha Hanoi ($19). This dish took a classic Vietnamese noodle bowl to the next level. It came in three separate bowls that I was encouraged to mix together and enjoy. Pork sausage patties that were super moist with great grill marks were served in a delicious broth made with caramelized fish sauce that flavored and tenderized the meat. The broth had an amazing umami flavor—I could drink it. Throughout the sauce there were small pieces of pork belly that provided a nice texture contrast with slight crisp on outside corners of the pork. The lemongrass shavings and palm sugar in the sauce also helped soak up fish sauce caramel so it wasn’t too salty, but there were plenty of “salt bombs” in the best way. The noodles were garnished with  scallion oil and a ton of fresh herbs that perfumed the whole dish. The third dish was a plate of pork and shrimp imperial rolls that were crispy on the outside and meaty inside. I tossed a couple of these with the sauce and noodles, and the rest I dipped into the broth. The waiter was very knowledgeable about the menu and very nice. He brought me a Fresno chili sauce (made from Fresno chili peppers, water, oil, vinegar, garlic, ginger, scallion and a bit of sugar) to go with the imperial rolls that really made them pop. This dish was not only filling, but also so creative. Yum yum!

IMG_4795After an already filling two courses, the question was this: dare I go for dessert? I was on vacation, so the answer was of course: yes. The Vanilla Goose Egg Custard ($8) had an aroma of Jackfruit when I lifted bowl to my nose, which might have come from the inner layer of the fruit inside the dessert. The top layer of the bowl was a tuile cookie in the shape of a Thai flower. A tuile is a thin, crispy wafer like cookie that’s originally from France and named after the shape of a tile. The cookie has a very slight sweetness to it that reminded me of a fortune cookie. I used my spoon to crack down through the crunchy layer and encountered a layer of Jackfruit, which is prevalent in Southeast Asia, and has a mild taste between a melon and a peach. Underneath the fruit was a layer of the goose egg custard, which was soft with an almost yogurt-like consistency, but slightly richer than everyday custard or pudding. It was nice to end the meal with a light dessert, since the rest of  it was so heavy. It actually reminded me of a breakfast parfait that I’d order with yogurt, fruit and vanilla. Some of the other desserts like the Vietnamese Coffee or Tea with Condensed Milk Creamsicles sounded delicious and uber-creative, but I had already had my Viet Milk Punch. Next time I’ll definitely try them though.

IMG_4784

Recipe: Braised Lamb Shanks with Moroccan Lemon Couscous

I recently attended the 2015 International Food Bloggers’ Conference in Seattle, organized by Foodista. Until I actually got on the plane, I was waffling back and forth on whether to actually go. I kept thinking to myself—will they like me? Does my blog have a relevant and unique voice? Will I learn anything? As a matter of fact, I had an amazing time and learned so much. So much so, that you should expect to see a major uptick in the frequency of blog posts 🙂

2015-09-19 16.37.06One of my favorite sessions was all about lamb. We got to hear all about the versatility of lamb, the variety of cuts available, insider cooking and butchery tips, and even got to sample some delicious lamb pate, lamb’s cheese and cold smoked lamb loin. Yum! So, when I got home, I was inspired to put my own spin on a lamb dinner. While lamb chops and rack of lamb might be more prevalent, and often seen on your favorite steakhouse’s menu, lamb shanks are the unsung hero of the lamb family. All they need is a little TLC and time, and they become tender, succulent and out of this world delicious. My version of braised lamb shanks is great for entertaining guests at an elegant dinner party, impressing that special someone, or even cooking for your family—perfect for the slow cooker! I serve mine with Moroccan inspired, lemon couscous and homemade pita chips (see recipe here), but feel free to substitute mashed potatoes, creamy polenta or any number of sides. Enjoy!

DSC00271DSC00209Ingredients:

  • 4 medium to large lamb shanks—you should be able to find these in the meat section of your grocery store, but if not, then you could just ask your butcher. Short ribs could be a good substitute, but they won’t have the same presentation
  • 1 tablespoon and 1 teaspoon of AP (all-purpose) flour
  • 1/2 teaspoon of cinnamon
  • 1/2 teaspoon of black pepper
  • 1 teaspoon of salt
  • 1/2 teaspoon turmeric
  • 1/2 teaspoon dried parsley
  • 1/2 teaspoon dried sliced onion—minced onion works fine too
  • 1/2 teaspoon ground cumin
  • 6 sprigs of fresh rosemary
  • 1 bunch of fresh Italian parsley
  • 1 package of fresh mint
  • 2 large Spanish onions, chopped
  • 5-6 large carrots, cut into chunks
  • 5 medium garlic cloves (or 4 large cloves), chopped
  • 1 can of chickpeas, drained
  • 28 oz can of crushed tomatoes
  • 1 lb. package of cherry tomatoes
  • 1 1/2 cups of red wine—use something you’d drink, since the flavor will end up concentrating as you cook out the alcohol
  • 4 1/2 cups of chicken, veal or beef stock—I only had chicken broth, but veal or beef is really the best to use in this recipe
  • 2 lemons
  • 1 teaspoon of paprika
  • 1 teaspoon of garlic powder
  • 2 cups of couscous
  • 1/4 cup of slivered almonds
  • 1/2 cup of dried dates, halved or quartered

Lamb Shanks:

  1. Pat the lamb dry, this will help them stay moist when you cook itDSC00218
  2. Mix the flour, cinnamon, pepper, salt, turmeric, dried parsley, dried onion, cumin, and a teaspoon of chopped rosemary (about 1 sprig) in a medium-sized bowl
  3. Coat the lamb in the seasoned flour mixture—this will do double duty for you by helping make a crust on the lamb, and also thicken up the braising liquid into a sauce later on
  4. In a dutch oven or heavy bottom pot heat oil—use a neutral oil since you’ll require a very high cooking temperature to sear the outside of the meatDSC00220
  5. Add the lamb shanks—in batches if necessary—and brown for a few minutes on all sides. Contrary to popular belief, the sear does not “lock in the juices,” rather it helps make a great crust and caramelizes the spices on the outside of the meat DSC00223 DSC00224 DSC00225DSC00226
  6. Once the shanks have browned take them out and put aside on a plate—don’t clean out the pot. All of those delicious drippings and brown bits on the bottom of the pan = flavor!DSC00227 DSC00228DSC00229
  7. Add a bit more oil and add in the chopped carrots and sauté for another couple of minutes, then add the garlic and one onion to the potDSC00230
  8. Cook for a few more minutes, and then add the chickpeasDSC00232
  9. Once the veggies have started to brown, it’s time to deglaze the pan—deglazing means you add liquid (in this case tomatoes, wine and broth) in order to scrape up the browned bits on the bottom of the pot
  10. Add the crushed tomatoes, and bring to a simmer
  11. Add about 1 1/2 cups of red wine and 1 cup of the stockDSC00239
  12. When it starts to bubble slightly, it’s time to add the lamb back in, and don’t forget the meat juices DSC00235Add the roasted tomatoes, as well as a few sprigs of rosemary and parsley to the pot and give it a big stir
  13. Let the pot simmer on medium for about 20-25 minutes uncovered—this helps cook out the taste of raw broth and wine. Give it another big stir and move the lamb and veggies all around the pot
  14. Cover with a tight-fitting lid, reduce the heat to medium low and let it braise for at least 2 hours—you should stir the pot every 25-30 minutes, but don’t mess with it too much. This is important spa time for your meaDSC00263
  15. After a couple of hours, the meat will super tender and following off the bone—In fact, your shank bones should look like they’ve been frenched, which means the end of the bone is cleaned of meat so you can hold it like when you order rack of lamb at a fancy restaurant DSC00265
  16. Remove  the lamb shanks, and crank the heat back up to medium to medium high for another 5 minutes uncovered. The sauce will continue to thicken a bitDSC00267
  17. Plate the lamb shank with the bone prominently displayed, and smother the meat with the braising liquid that’s chock full of carrots, herbs, onion, garlic, chickpeas and meat that’s fallen off the boneDSC00269
  18. Garnish with the gremolata, and serve alongside some couscous and some homemade pita chip for dipping

DSC00273

Gremolata:

  1. Mix together about 1 tablespoon of chopped parsley, 1 teaspoon of chopped rosemary (about 2 sprigs), and zest of a lemonDSC00245 DSC00254
  2. Use as garnish for heavy dishes, and add when it’s still hot—the gremolata will not only help cut through the richness of the dish, but also perfume the plate as the heat slightly cooks the herbs and lemon peel

Couscous:

I like my couscous a little more moist and stuffing-esqe as opposed to many recipes that like each of the couscous pearls to be separate from each other. Try it my way, and if you don’t like it, then go back to the other way next timeDSC00255

  1. In a medium-sized pot, add some oil
  2. Add the remaining onion to the pot and start to sweat the onions
  3. Season with salt, pepper, garlic powder and paprikaDSC00258
  4. Saute the onion until it starts to brown and caramelize
  5. At this point, add 3 1/2 cups of chicken stock and the juice of both lemons to the pot. Increase the heat to medium or medium-high
  6. Bring the liquid to a boil, and then add the couscous. Stir to make sure all of the couscous is covered, and not sticking together
  7. Turn the heat off and cover the couscous
  8. After 4 minutes, add the dates, slivered almonds, as well as the remaining parsley and mint
  9. If the couscous seems dry or not soft enough for you after 5 minutes, add some more stock or lemon juice, stir and cover again for a few minutesDSC00261 DSC00262
  10. Serve the couscous garnished with some lemon slices and a squeeze of lemon over the top

DSC00277

DSC00277

Recipe: Mediterranean Inspired Lamb Flatbread

The other day I was in the mood to make some fish tacos at home, but the local market I went to only had these small onion flatbreads. So, I decided to scrap the idea for the night. The  flatbreads actually turned out deliciously for my “new” tacos—or really chalupas maybe—and I ended up having a few of them leftover. So I thought of what I could do with a flatbread and was feeling in a very Mediterranean mood. I felt this was a very appropriate recipe since I’ve dedicated the last couple of weeks of blog posts to my recent vacation in the Middle East, and decided to do a fusion of Greek and Israeli cuisines.

These (not so mini!) lamb flatbreads were an experiment, but I knew the flavor combinations would mesh well together. The spicy lamb mixture, the creamy and tangy feta sauce, the briny pickled red onions and the soft, chewy onion flatbreads make a killer combination for dinner, appetizers or even to entertain!

Ingredients:

  • 1 lb. of ground lamb
  • 8 oz block of Feta cheese–I’m going to echo the Barefoot Contessa by saying that you should make sure to use a quality feta in your dish—preferably Greek or Bulgarian
  • 1/2 cup of lemon juice
  • 1 cup of Greek yogurt, plain
  • 1 teaspoon of mint, dried
  • 6 large garlic cloves (or 8-9 small cloves)
  • 2 teaspoons of black pepper
  • (optional) Balsamic vinegar
  • 1/2 teaspoon Cumin
  • 1 teaspoon Oregano
  • 7-8 dried red chilies
  • 1/2 can of pitted Black olives
  • 1 teaspoon Olive oil
  • 1 large red onion
  • 1 tablespoon and 2 teaspoons of salt
  • 1 tablespoon Sugar
  • 1/2 cup of apple cider vinegar
  • 1/2 teaspoon of crushed red pepper flakes

Feta sauce:

  1. In the food processor, add the 3/4 of the feta cheese, lemon juice, yogurt, mint, 1 large or 2 small garlic cloves, and 1 teaspoon of black pepper
  2. Whir it up until the feta is completely broken up, but the sauce still has some consistency to it—I like my sauce to still have some body to it, but blend to your own preference
  3. Taste for seasoning!—I don’t add any salt since the feta is already so salty, but everyone has a different palette.

Pickled red onions:

  1. Peel and slice the red onion thinly and place into a sieve or pasta strainer with small holes
  2. In a jar or bowl—whatever canister you’d like to use to make your onions, I use a mason jar for my leftover—pour the sugar, tablespoon of salt and crushed red pepper
  3. Cover with water and fill the jar, but leave enough room for the onions as well. Stir to dissolve
  4. Add the vinegar—plain white vinegar is alright as well. Even rice wine vinegar could make these delicious for a banh mi sandwich
  5. Boil a few cups of water in a kettle or on the stove, and when the water comes to a boil, pour over the onions
  6. Place the par-blanched onions into the sugar-salt bowl. There should be enough water/vinegar mixture to cover all of the onionsPhoto May 18, 11 48 35 PM
  7. Leave for at least one hour, but I left mine most of the dayPhoto May 18, 11 50 55 PM.jpg

Lamb mixture:

  1. In your food processor—no worries if it has residual sauce, it’s all going on the same dish—finely chop the olives, chilis, and remaining garlic
  2. Mix together the lamb, salt, cumin, oregano, chile-olive-garlic mixture, olive oil, and the rest of the pepper in a bowl—use your hands to really get the meat to absorb the marinadePhoto May 18, 8 42 24 PM.jpg
  3. Don’t mix the mixture too much or you might make the meat tough when it eventually cooks
  4. Let the meat sit and absorb the spices and marinade ingredients for at least 30-45 minutes and up to overnight

To assemble the flatbreads:Photo May 18, 11 33 11 PM.jpg

  1. Lay flatbreads flat on a baking sheet—a pita or even naan bread would be a good substitute. Just make sure you use a bread that has a large flat surface and has some heft to itPhoto May 18, 11 35 25 PM.jpg
  2. Spoon some feta sauce on the bread and spread around the surface with a spoon to almost the edge—I put a good amount of sauce, but don’t use it all!Photo May 18, 11 38 00 PM.jpg
  3. Using your hands, spread the equal amounts of the lamb mixture onto each flatbread and form into semi thick layer—at first I was going to cook the lamb first, but actually ended up forgetting to. By the time I remembered, it has already started cooking and the fat from the lamb ends up absorbed by the bread and flavored the whole dish amazinglyPhoto May 18, 11 38 40 PM
  4. Sprinkle some feta over the top of the lamb, and slide these babies into the ovenPhoto May 18, 11 47 18 PM
  5. Bake in the oven at 375 degrees for about 10 minutes—some ovens vary so if your oven tends to get super high, maybe stay on 350 insteadPhoto May 19, 12 05 53 AM
  6. Remove from oven and let rest for a couple of minutes Photo May 19, 12 05 55 AM
  7. Scatter some picked red onions all over the flatbreads after it comes out of the ovenPhoto May 19, 12 07 49 AM.jpg
  8. Crumble some fresh feta over the top, as well as a few dollops of feta sauce
  9. This last step is purely optional, but I thought it gives it a wonderful fruity afternoon and a bit of panache. Pour a little bit of thick balsamic vinegar over the top to garnish. I used a deliciously thick grapefruit, white balsamic that I had in the pantryPhoto May 19, 12 09 44 AM.jpg
  10. Slice with a pizza cutter and enjoy! Απολαύστε το γεύμα σας!

Feasting on Chakra in Jerusalem (Part V: What I Ate On My Israeli Vacation)

Chakra
41 King George Street
Jerusalem, IsraelPhoto Jun 06, 1 47 52 PMAlthough Tel Aviv is certainly a very popular destination for visitors to Israel, and considered the cultural center of the country, it is actually Jerusalem that is the nation’s capital. One of the oldest cities in the world—central to three major religions of Judaism, Christianity and Islam—Jerusalem sits in the middle of the country between the Dead Sea and the Mediterranean Sea in the Judean Mountains. A city entrenched in history, the oldest area is surrounded by walls, but modern Jerusalem has developed far beyond the ancient walls of the Old City. Downtown Jerusalem has become a hub of hipster coffee shops, posh hotels, high-end shopping, and gourmet restaurants intermingled with outdoor markets, religious centers and government buildings.

IMG_3145In the middle of downtown Jerusalem is Chakra. Chakra is a hip restaurant located on the busy King George Street with a large indoor-outdoor space that was busy when we arrived. There was a pleasant hum in the air, and the restaurant buzzed with energy on Saturday night. What’s nice is that Chakra is open on Shabbat, while there are quite a few restaurants in Jerusalem that are closed on the Jewish Sabbath, until at least an hour after sundown.

IMG_3148.JPG IMG_3147We were a large group, so we did not get the chance to choose individual dishes, and instead were served multiple plates of a variety of dishes. Though, many of us also ordered individual cocktails, and we were served lots of wine, as well as water and lemonana—a mint-lemonade drink served throughout Israel. The first brought out was the stone oven focaccia, tomato and olive oil—the delicious flatbread was still hot from the oven! It was the perfect accompaniment for the coming appetizers, and soon after some olive oil and harif were brought to dip. Harif is a traditional Israeli condiment made from spicy peppers and is very acidic, but also earthy taste and grainy texture.

IMG_3149IMG_3151Next up was the first of the appetizers—chopped liver with fig jam. Though this seemed very Yiddish, as opposed to Israeli, it fit in well with Chakra’s international fusion inspired menu. The spread was super creamy and had a luxurious mouthfeel to it. The fig jam was sweet and perfectly complemented the saltiness and musty, headiness of the liver. This was a wonderfully gourmet version of a traditional Jewish dish. At the same time that the chopped liver came out, we were served zucchini carpaccio with feta and tapenade. The zucchini was sliced very thinly and became almost see-through, and was garnished with salty feta cheese, briny olives, and juicy tomato. It was a light salad and the zucchini was thin enough that it absorbed the subtle dressing.

IMG_3152

IMG_3150The lemon garlic cauliflower was simple, but delicious. The cauliflower was roasted and dressed in lemon juice and zest, as well as garlic. The florets had a slightly crisp exterior and didn’t become mushy like many cauliflower dishes. It was spicy and slightly smoky with a lemony bite. The open fire eggplant, sheep milk yogurt and tomatoes was good, but nothing special. The eggplant was roasted in its skin—a very common Israeli appetizer—and served with a yogurt sauce. Although the flesh was very creamy and the yogurt was tart and tangy, the dish was sort of bland.

IMG_3153FullSizeRender-5The next couple of dishes were my personal favorites—beef carpaccio, parmesan and rocket and spicy tuna bruschetta & aioli. The beef was paper-thin and seared on one side. It was dressed with a strongly acidic vinaigrette, and the deliciously fatty meat was so-so tender. I wish I had another plate all to myself! The shaved parmesan and rocket, or arugula, helped cut through the heavy meat and the arugula provided a peppery bite. The tuna was chopped roughly, and mixed with Asian spices, and maybe some wasabi. It was piled onto toast points and then artfully arranged on the plate. These two cold dishes were very refreshing and helped prepare for more to come.

FullSizeRender-1The first entrée of the night was tomato and mozzarella risotto. The arborio rice was cooked al dente, and maintained a slight bite to it, and a deep tomato flavor. The mozzarella melted into the risotto, and there was a light garnish of parmesan atop the rice. This was a truly excellent dish and satisfied a craving for creaminess I didn’t even realize I was feeling. We were also served some caesar salad that was good, but unremarkable.

FullSizeRenderFullSizeRender-3FullSizeRender-4The main course consisted of three meat dishes—kebab with grilled vegetables and tahini, soy and honey chicken breast, and lamb shank gnocchi. The beef kebab was smoky and the ground meat was moist. The tangy tahini played well with the spice level of the kebab’s crust. The chicken was bone-in, and had a wonderful crust from the grill. The soy and honey caramelized on the chicken skin and kept the meat juicy. The lamb was absolutely delicious. It was cooked down with peas, and super tender—very stew-like. The gnocchi were pillowy soft and soaked up the, in essence, lamb ragout.

Photo Jun 06, 1 02 47 PMThe girl sitting next to me was a vegetarian, and the restaurant was very accommodating and brought her a bonus dish—beet tortellini with Roquefort butter. The tortellini dough was very delicate and you could see the beautiful pink, beet filling through the pasta. The tortellini were extra-large, very filling, and not too sweet. The sweetness may have been tempted by the Roquefort butter sauce that imitated a cream sauce and made the dish rich and luxurious.

Photo Jun 06, 1 29 04 PM

Photo Jun 06, 1 27 42 PM

Photo Jun 06, 1 30 56 PMEven though we didn’t have that much room left, after our veritable feast, we were then served dessert! The panna cotta was flavored with wild berries, which gave a nice sour flavor to the sauce. The panna cotta itself was formed from a vanilla custard, and perfectly set. There was also a chocolate cake a la mode. The cake was deliciously moist, chewy, fudge with a slightly crisp edge. The ice cream was just icing on the cake—pun intended! The final dessert was sorbet with cookie surprise. The sorbet was tangy with a lemon-like flavor and almost edged into ice milk or sherbet territory since it was so creamy. The cookie surprised was crumbled on top and added a nice textural contrast to the otherwise one-note dessert. This was a nice way to end a decadent meal on our last night in Jerusalem.

IMG_3146.JPGI might have been part of a large group, but this might have been one of my best meals on the trip! Chakra has an amazing atmosphere, fabulous food, lovely location, and wonderful waitstaff. I definitely will be returning on my next trip to Jerusalem—and it should be on your list as well.

Recipe: Everyday Special Tomato Sauce

I am a self-labeled foodie, and I love cooking as much as going out to eat…but I’m also a foodie on a budget. So, I’m always looking for ways to save some money, while at the same time not skimping on the flavor. One of the easiest and tastiest ways I’ve found is by making my own sauces. A quality jar of tomato sauce at the grocery store can run you anywhere between $5-$10. What I like to do is buy the much cheaper canned tomatoes, and make my own sauce at home. Not only will this save a lot of $ over time, but I can flavor it exactly as I like.

This is sauce that I came up with a few years ago and it’s my go to tomato sauce recipe. Flavored with garlic, oregano, crushed red pepper as basil, it has a bold, all day taste, but can be made in 30 minutes.

Ingredients:

IMG_18971 28 oz can of whole peeled tomatoes—I prefer San Marzano because they’re sweeter, but any brand works. Just make sure they’re not flavored with anything. Also, don’t get tomato purée or sauce in a can, ugh.

1 package of grape or cherry tomatoes–any kind of tomatoes really works well, even vine ripened or beefsteak tomatoes

Salt

Pepper

4-5 cloves of garlic, minced

1 tin of anchovy fillets, packed in oil and salted—don’t worry if you don’t like eating anchovies or worry that it’s too fishy. The anchovies will melt in the pan, and give your sauce the salt it needs, and a deep umami flavor. This is actually a trick I learned from Rachael Ray a while ago. I was skeptical when she added as well, but it takes the sauce to another level

1 tablespoon of crushed red pepper flakes

½ tablespoon of oregano, dried

½ tablespoon of basil, dried—if you’re going to serve this sauce right away, then a handful of fresh basil is a great way to finish the sauce before it gets tossed with some pasta

Olive oil

 To Make the Sauce:

  1. Set your oven to 400 degreesIMG_1888
  2. Add the grape tomatoes to a baking pan and toss with olive oil, salt and pepperIMG_1892
  3. Roast in the oven for 15-20 minutes as you complete the rest of the stepsIMG_1893
  4. Heat some oil in the bottom of a sauce pot on medium-high heat until very hot, but not smokingIMG_1894
  5. Add the anchovies to the pot. As they hit the hot pan, they will begin to melt. Make sure to break them up with a wooden spoon to help them alongIMG_1895
  6. As the anchovies are melting, add the garlic and cook together. Your kitchen will begin to smell amazing. Like your favorite Italian restaurant!IMG_1896
  7. Let the garlic and anchovies cook for a couple of minutes until the garlic browns a bit
  8. Add the red pepper flakes, oregano and basil to the pot and stir everything together for a couple of minutes more
  9. Add the canned tomatoes to the pot and scrape up any bits that might have stuck to bottom of the pot
  10. Reduce the heat to medium and add the roasted tomatoes to the pot as well. Stir well to incorporateIMG_1898
  11. Cover and cook for about 5-10 minutes. Resist the urge to keep checking on it. Let everybody get to know each other in the hot tub!
  12. Uncover and stir. Taste the sauce for seasoningIMG_1900
  13. If it tastes right, then use an immersion hand blender and pulse the sauce until it is mostly smooth but slightly chunky. If you like a smoother sauce, I would purée it up in a blender or food processor. I like a slight chunkiness to my sauceIMG_1901
  14. Continue to cook the sauce on the stove for another 3-5 minutes, uncovered this time aroundFullSizeRender-1

Once the sauce is ready, you can eat it right away, or store it. I always make a big batch of sauce, so I have some to use that day and a jar or two to keep in the freezer. If frozen, it’s good for a couple of months at least. You can use the sauce for pasta, lasagna, meatballs, pizza, as a base for chili, or any number or recipes.

Philly Burger Round Up: Week 2 – Good Dog Bar and Restaurant

 For the second installment of my Philly Burger Round Up, I decided to visit the location of one of my first burger experiences in Philadelphia, Good Dog Bar and Restaurant. Good Dog Bar is a casual gastropub located on 15th Street in Center City that has been around for over 10 years. It has a decent selection of craft beers, creative cocktails, but most importantly, decidedly delicious food. This place is no frills in the best possible way, and the food is what matters in the end. The menu is made up of mostly modern comfort foods like burgers, Buffalo Shrimp, truffled cheesesteak empanadas, and one of my personal favorites, duck pot pie.   IMG_1726-0I went with a classic, the Good Dog ($12.50) burger, which consists of 1/2 lb. of beef—ground in house—stuffed with Roquefort cheese, and topped with caramelized onions. It’s served on a brioche bun. I ordered my burger medium rare, and it was cooked nicely—the temperature was spot on! The blue cheese inside the burger not only kept it moist, but also oozed out when I cut my burger in half. The onions weren’t too sweet, but gave the sandwich a nice change in texture. They were soft, but still chewy. The bun was a bit dense, but absorbed a lot of the burger juice. The sandwich didn’t need any ketchup since the burger was so juicy.

IMG_1728The burger came with a large side of mixed regular potato and sweet potato fries, which accompanies all of Good Dog’s sandwiches, as well as their signatures fry sauce—a homemade garlic aioli—for dipping. Aioli is similar to mayonnaise, but made with garlic and does not always have vinegar, and it is not as thick as mayo. The fries were fresh-cut and crisp, and the aioli helped cut through the heaviness of the burger and fries.

Overall, the Good Dog burger was delicious, and was everything a bar burger should be; it was comforting, juicy, meaty, no frills with great gourmet touches. It was a stick to your ribs kind of burger, and unique enough that it earns high marks. Always a classic, and all it needs is a good beer to help wash it down. Good Dog Bar has plenty of drinks and other tasty dishes to help complete your meal!

Grade: A-