Fall Harvest Chicken Pot Pie

For our next episode of Cooking Under Quarantine, we’ll be making another wondering Fall dish — chicken pot pie! This is one of my personal favorites, and this version features festive fall flavors and is wonderful for the cooler weather. The filling is made with roasted root vegetables and tender chicken, with a homemade crust. This dish comes together very easily and is very versatile and adaptable to what you have in your pantry and fridge. So follow along with Chef Jon, and let us know how yours turns out!

Cooking Under Quarantine – Fall Harvest Chicken Pot Pie

Ingredients:

  • 2-3 medium parsnips
  • 2-3 medium carrots
  • 2 sweet potatoes or yams
  • 1 butternut squash, peeled and chopped
  • 2 cups + 2 tablespoons of all-purpose flour
  • 2 tablespoon of sugar
  • Salt
  • Black pepper
  • ​4 cups of chicken stock — can also sub vegetable stock
  • Dried rosemary, 1 tablespoon
  • Poultry seasoning, 2-3 tablespoons — or combo of dried sage and dried thyme
  • Turmeric, 1-2 tablespoons
  • 2 sticks of butter or margarine
  • 1/2 cup ice water
  • 1 lb of boneless, skinless chicken thighs — can use chicken on the bone as well, but will need to cook longer
  • 1 large Spanish or yellow onion
  • Garlic, 6-7 cloves
  • Olive oil

Equipment:

  • Parchment paper
  • 2 baking sheets
  • 1 large skillet or pot
  • Food processor (optional)

Directions:

  1. Preheat the oven to 425 degrees Fahrenheit
  2. Season the chicken with olive oil, salt and pepper and bake for 25-30 minutes
  3. Chop the carrots, parsnips, butternut squash, and sweet potatoes into chunks — don’t worry if they’re not all the exact same size. That’s what makes this dish rustic, and they’re also going to be covered with our crust.
  4. Toss the veggies with olive oil, salt, pepper, and rosemary and spread on a parchment lined sheet pan, and roast for 45 minutes to 1 hour
  5. Meanwhile, let’s make the crust — this is a super simple crust, but you can also feel free to use a store-bought pie crust or puff pastry
  6. For the crust: add 2 cups of flour, sugar, butter/margarine, turmeric, half of the poultry seasoning, and 1 teaspoon of salt into the bowl of a food processor. Don’t have a food processor? Feel free to use a hand mixer, pastry cutter, or even 2 forms — just try to resist the urge to use your hands since we want the butter/margarine and the dough to stay cold
  7. Pulse the ingredients together, then start to pour the ice water (ice included) through the feeder (or add a bit at a time if not using food processor) until the dough starts to crawl up the side of the bowl and becomes a loose ball of dough
  8. Empty the dough out onto a floured board or counter and gently form into a ball —resist the urge to knead!
  9. Wrap the dough in plastic wrap and refrigerate for at least 30 minutes, but up to overnight
  10. While the dough is chilling, sauté chop up the onions and garlic, and start to sauce the onion on medium heat with a little bit of olive oil and season with salt and pepper
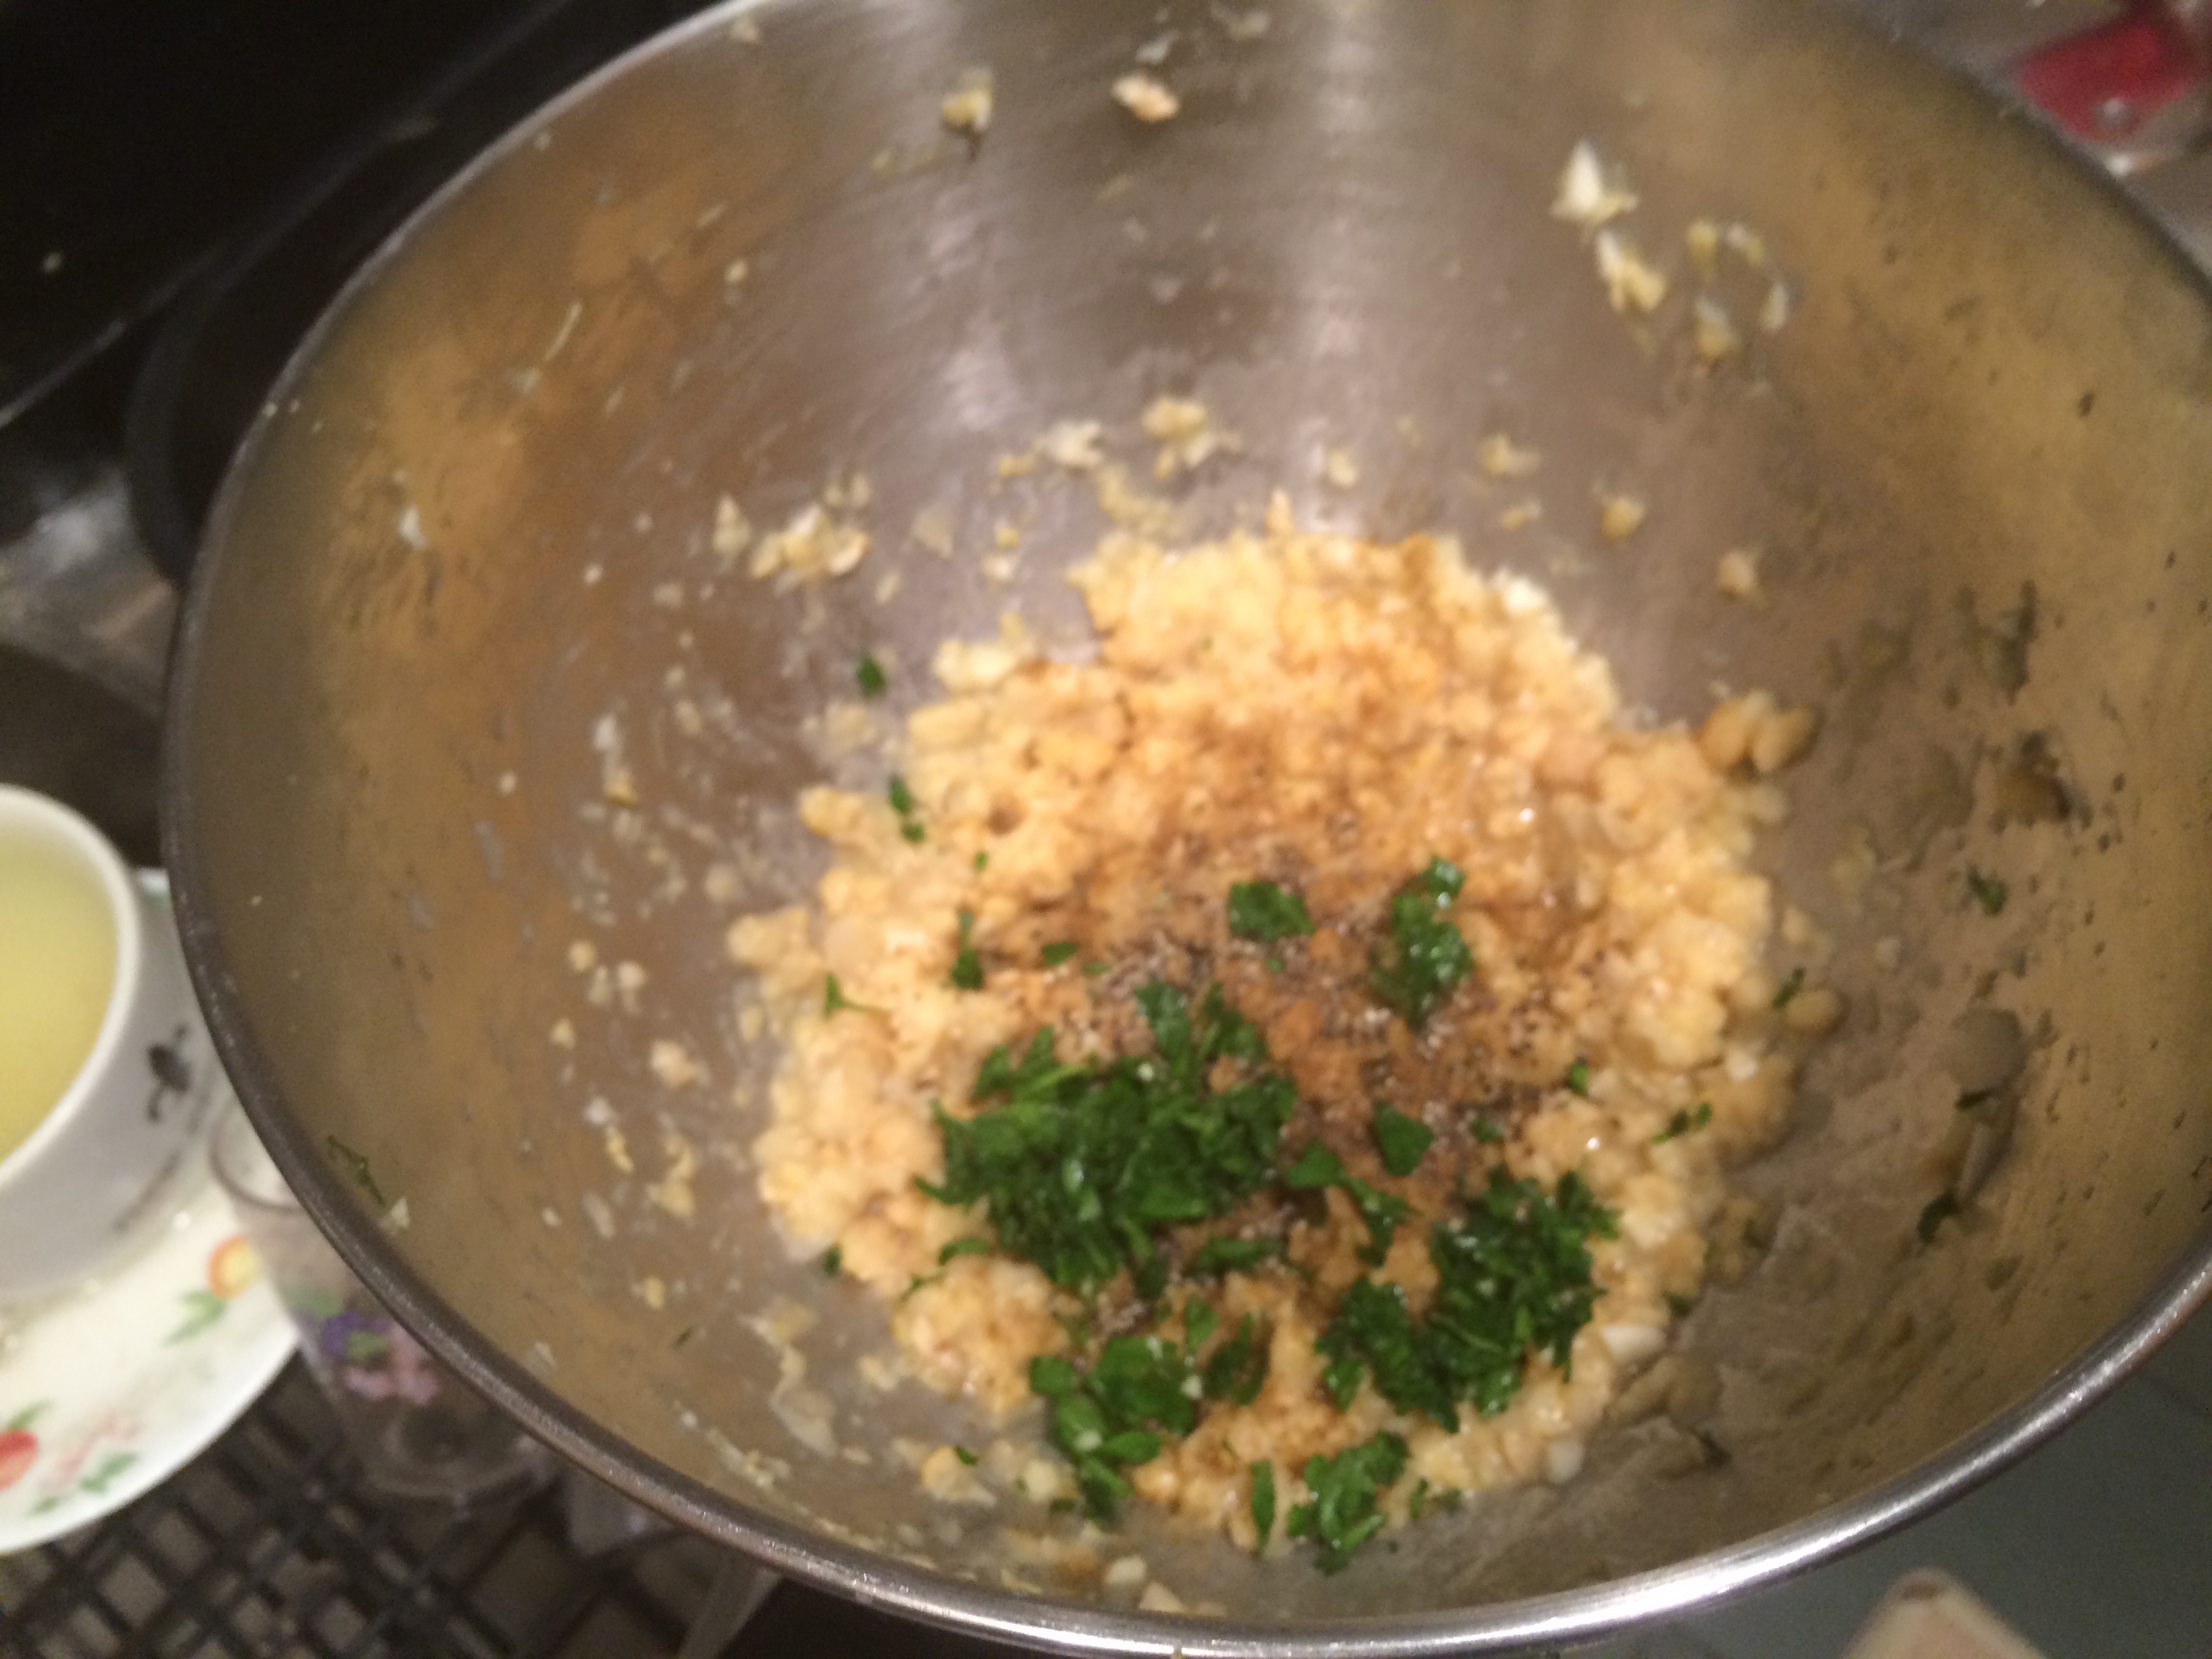
  11. Once the onions are golden brown, add the garlic and rest of the poultry seasoning and a bit more olive oil
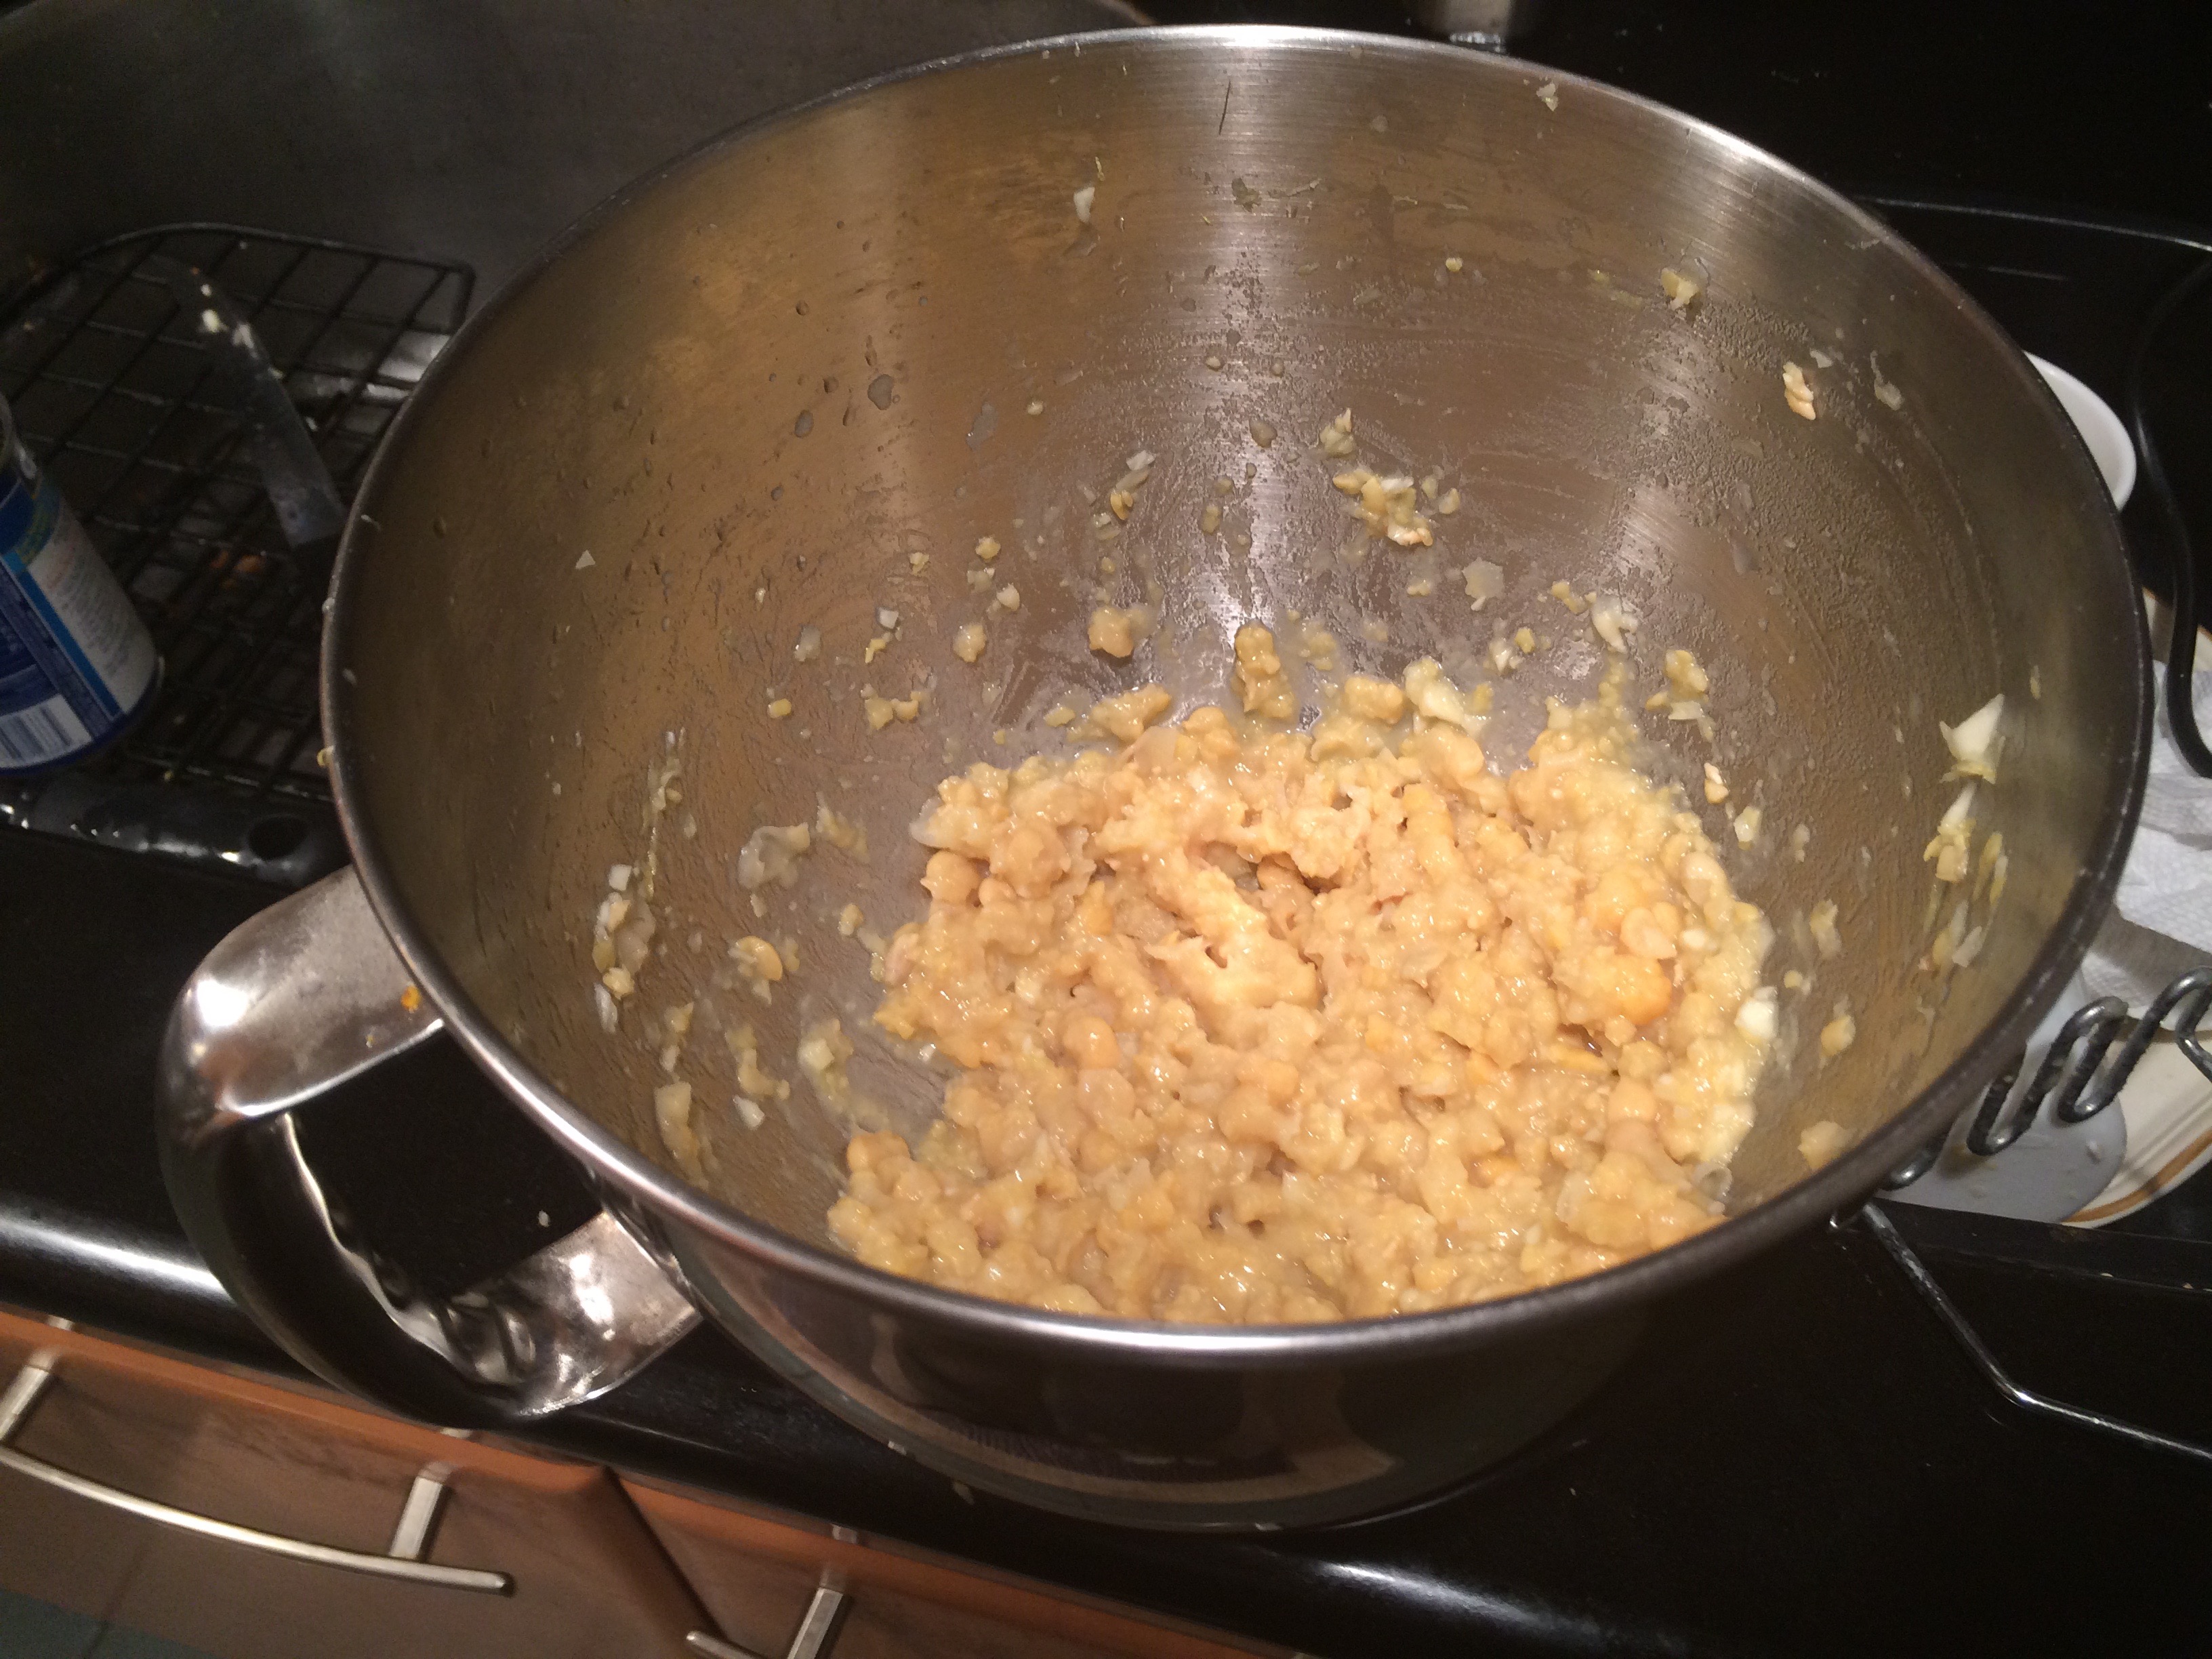
  12. Make a roux in same pan by adding a couple of tablespoons of flour — don’t worry about the onions clumping up. They will loosen up when we add the liquid later on
  13. Let the roux cook until it’s nicely browned but not burnt, then add the chicken (or veggie) stock
  14. Lower the heat to simmer and once the sauce has thickened, add the wine
  15. Let the sauce thicken again until it’s about the consistency of gravy, then add the chicken and roasted veggies
  16. Turn off the heat and  mix well — you want the chicken and veggies to all be coated with the sauce and for all of the ingredients to become one
  17. Take your crust out of the fridge, and roll out your dough to about 1/4 inch thickness or until it’s as big as the pan you’ll be using (I usually use a rectangular pyrex)
  18. Fill your pot pie pan with the chicken-veggie mixture until it’s full but not overflowing because the crust will expand a bit
  19. Layer the crust over the mixture and tuck it into the sides — don’t worry about it being perfect. It will patch itself up a bit in the oven
  20. Make sure to cut a few of slits in top crust to allow for steam to escape or your pie may explode (really!)
  21. Bake at 375 for 45min to 1 hour, or until crust is golden brown and crispy

​Serve hot (if making later freeze or refrigerate the pot pie after putting on the top crust on and bake at same temp for an additional 15 min). Enjoy!

Advertisement

Cooking Under Quarantine — Curry In A Hurry!

Ingredients:

  • Boneless chicken breast or thighs (Substitutes: tofu), 1-2 lb, cut into chunks
  • Curry paste (green or red), 2-3 heaping tbsps
  • Fish sauce, 1 tbsp
  • Coconut milk, 1 can or 1.5 cups
  • Scallions, 1 bunch
  • Garlic, 2-3 tbsp or to taste
  • Onions, 1-2 small onions or 1 large onion
  • Carrots, 3-4 carrots
  • Bell pepper, 2 bell peppers
  • Potato, 2-3 potatoes
  • Peanut oil (or vegetable or canola — something neutral)
  • Thai chilies, Sambal Olek (chili paste) or other hot pepper (optional)
  • Cilantro (optional)
  • Rice (optional)

Directions:

  1. Chop some potatoes into 1/2 inch pieces, toss with a little bit of oil, salt and pepper, and roast in the oven for 20-25 minutes on 450
  2. While that’s going, cut your chicken into medium-sized chunks — you can also use already sliced chicken or chicken tenders, but I think it’s fun and rustic to DIY
  3. In order to get a good sear on the chicken, you should heat your wok or sauté pan until it’s very hot, then throw the chicken in with a little bit of neutral-flavored oil like canola
  4. While the chicken is browning, mince your garlic, scallions and chop your other veggies (onion, peppers, carrots
  5. Once the chicken is cooked, but not cooked to death, take out and reserve for later,  and toss veggies into the hot wok starting with the garlic to perfume the pan
  6. Once you’ve sweated the veggies, add the scallions and deglaze the pan with some fish sauce (or soy sauce)
  7. Add a few heaping spoonfuls of curry paste and make sure that it gets evenly distributed so that it gets incorporated throughout the dish
  8. After cooking the curry paste into the veggies for a few minutes, add your coconut milk and mix thoroughly, and this would also be the time to add some sambal olek chili paste or dried chilies if you like a spicy curry. Can skip this if you want.
  9. Simmer for a few minutes, then add the chicken back into the pan along with the roasted potatoes which should be done at this point. This would also be a time to add other starchy ingredients you might be using: roasted squash, pumpkin, sweet potato, tofu, etc.
  10. Simmer uncovered for about 10-15 min so that curry thickens up
  11. Serve immediately over noodles or rice and garnish with cilantro and Thai chilies, or put it in the fridge and eat it the next day. So delicious as leftovers — Yum!

Enjoy and let me know how yours turned out!

Cooking Under Quarantine

For the last couple of years, I’ve been heavily focused on my catering company, J2Food. While the current public health crisis is going on, there are less parties and events happening, but people have still got to eat, right?!? And since we’re all stuck inside, why don’t we cook together? Enter in our new cooking series — “Cooking Under Quarantine.” Each episode will feature delicious and easy-to-make recipes that you can make at home with accessible ingredients. Perfect for chefs of all levels!

For our first episode, we’re cooking up a classic chicken dish to celebrate Shabbat (Friday night). This delicious Chicken Marsala is an easy, one pot dish that comes together in under an hour! So, it’s also great for a weeknight dinner that you want to make a little more special. This recipe is also great for veal cutlets or even tofu or a meaty fish to make it vegetarian.

Have ideas for future recipes you’d like to see? Email us at jonsmoveablefeasts@gmail.com or info@jsquaredfood.com.

Bon Appetit from our kitchen to yours! Now, let’s get cooking! Follow along with the video below, or check out the recipe here.

Middle Eastern Night at Home

Photo Oct 15, 9 01 35 PM

The other night I was thinking about what to make for dinner on my way home, when I passed by one of the ubiquitous Halal carts. I don’t know why, but whenever I pass a Halal food cart, I always take a big sniff…it just smells so good! It immediately made me think of Middle Eastern flavors with lots of spices, citrus, and conversation. That night I made chicken shawarma for dinner with fixings, and instead of using store-bought dips, I decided to make my own–and it was so easy! Rustic lemon hummus consists of a quick trip to the pantry for most of the ingredients, and roasted eggplant babaghanoush will make your fellow diners think you’re a spice savant! Try these Middle Eastern spreads at home and you’ll never feel the need to head to the grocery the next time you want to eat some hummus.

Rustic Lemon Hummus

  • 1 can of chickpeas—canned chickpeas are super easy and always in my pantry, but dried chickpeas that you soak overnight are really the best for this recipe and will give you a cleaner flavor
  • 3 tablespoons of tahini paste
  • 2 lemons—juice of both, and the zest of one
  • 1 tablespoon of fresh parsley, chopped
  • 1 tablespoon of salt
  • 1 teaspoon of black pepper
  • 2 teaspoons of ground cumin
  • 3-4 garlic cloves, finely chopped
  • 1 teaspoon of paprika
  • Olive Oil
  1. Rinse the chickpeas off under cold water until you get rid of all of the gunk from the can off of the chickpeas
  2. In a food processor or blender–I only had my KitchenAid mixer available, so that’s what I used–add the chickpeas, tahini, lemon juice and zest, salt and pepper4
  3. Start to mix all of the ingredients on low to slowly break up the chickpeas until it becomes a thick paste5Photo Oct 15, 7 45 21 PM
  4. Add in the rest of the spices, and gradually add the oil as you increase the speed to mediumPhoto Oct 15, 7 47 05 PMPhoto Oct 15, 8 17 59 PM
  5. The hummus is done when it gets to your personal consistency preference—I like mine a bit chunky—great for pita chips!Photo Oct 15, 9 01 48 PM
  6. Spoon out into a bowl and eat with chips, pita, or use it was a topping for your favorite falafel. Hummus is also delicious as a spread or used in place of mayonnaise or mustard on sandwiches

Roasted Eggplant Babaghanoush

  • 1 large eggplant
  • 1 1/2 tablespoon of smoked paprika—this goes well with the roasted and charred eggplant, but regular paprika works just as well
  • 1 1/2 tablespoon of cumin—add the extra teaspoon if you don’t have smoked paprika. The cumin has a natural smokiness that can compensate
  • 4 garlic cloves, grated
  • 1 1/2 tablespoons of salt
  • 2 teaspoons of black pepper
  • 1 tablespoon fo fresh parsley, chopped
  • Olive Oil
  • Juice of 1 lemon
  • 2 tablespoons of tahini paste
  • 1/4 of an onion, grated
  • Hot sauce (to taste)—I like mine spicy, but this dip is delicious mild as well
  1. Preheat the oven to 425 degrees fahrenheit1
  2. Cut your eggplant in half lengthwise—Resist the urge to peel it at this point! The peel will not only help keep moisture in the eggplant flesh, but also hold it together in the oven.
  3. Use a fork or sharp paring knife to poke holes into the eggplant skin all over2
  4. Rub the flesh side with olive oil and season with 1/2 tablespoon of salt, 1 teaspoon of pepper, 1/2 tablespoon of paprika and 1/2 tablespoon of cumin
  5. Roast the eggplant for 20-25 minutes until the skin is charred and the flesh becomes slightly creamy and the outside if browned—you want the skin to get black10
  6. Once the eggplant has cooled a bit, but still hot, use a knife or fork to remove the charred skin—it should come off very easily
  7. Discard the skin and spoon the flesh into the bowl of a mixer or food processor11
  8. Pulse together the eggplant with the remaining ingredients until it comes together in a thick dip—feel free to blend it as much as you’d likePhoto Oct 15, 8 21 40 PM
  9. Serve similarly to the hummus, and garnish with a squeeze of lemon juice and extra parsley, and enjoy—One of my favorite ways to consume the eggplant is to make sabich, an Iraqi sandwich that consists of hard boiled eggs and fried eggplant on fresh pita bread. Babaghanoush would be a wonderful substitute for the traditional fried eggplant, and maybe add some salty feta cheese to give the sandwich a rich umami flavor22

All I know is that both of these spreads are absolutely delicious, and are perfect for any dinner party or even an afternoon snack. You can also feel free to customize your hummus and babaghanoush—substitute cilantro for the parsley for a more Mexican version, top your hummus with some mushrooms sautéed with zhatar spice, or make a festive zucchini version of babaghanoush and spread it on some thick toast and top with avocado. Yummy! I love to simply serve them with some homemade pita chips!

Recipe: Roasted Vegetable Lasagna

Sorry I’ve been away for a few weeks, but work’s been crazy! This recipe is actually inspired by all of the craziness. I wanted something that was not only delicious, but also comforting. This lasagna is packed full of roasted vegetables, so it’s also a healthy dinner to serve your family. This recipe might seem like it has a lot of steps, but all of them are simple and can be multitasked. So if you want to feed a crowd, or have a lot of leftovers–which are delicious!–try this recipe for Roasted Vegetable Lasagna.DSC00340DSC00341

Ingredients:

  • 28 oz can of crushed tomatoes—my favorite brand is San Marzano for its inherent sweetness, but any brand should be fine
  • ½ teaspoon of crushed red pepper flakes
  • 2 ½ teaspoons of dried oreganoDSC00369
  • 1 tin of anchovy filets—it’s important that the anchovies are packed in oil as opposed to water since you want to flavor and richness of the oil to help flavor the sauce. Flat filets are also easier for melting into the oilDSC00368
  • 4-5 medium garlic cloves, roughly chopped
  • 1 pound of grape tomatoes—quartered whole tomatoes or cherry tomatoes could work in this dish too, but grape tomatoes are a nice size and roast beautifully in the oven
  • Salt and pepper
  • 1 pound of cremini mushrooms, halved or quartered depending on size
  • 2 small to medium zucchini, cut into half moons
  • 2 small to medium yellow squash, cut into half moons
  • 1 green pepper, sliced into strips
  • 1 large onion, chopped roughly
  • 1 pound of ricotta cheese—it might be tempting to use low fat here, but use whole milk ricotta—trust me, you’ll taste the difference!
  • 1 cup of Parmesan cheese—shredded or grated as long as you’d eat it on your pasta
  • 2 eggs
  • 10 oz package of frozen chopped spinach, thawed and drained—Make sure you squeeze as much water out of the spinach as you can
  • 1 box of oven ready lasagna noodles
  • 1 bag of shredded mozzarella—one of those Italian blends works too
  • 1 small ball of fresh mozzarella (optional)
  • Olive oil

To Cook:

  1. Preheat oven to 400 degreesDSC00345
  2. Toss tomatoes with 1 tablespoon of oil, 1 teaspoon of oregano and salt, and ½ teaspoon of black pepper
  3. Spread tomatoes on a sheet pan and roast for 15-20 minutesDSC00343DSC00344
  4. At the same time, use a second, larger sheet pan for the zucchini, squash, pepper and onion and increase to 2 tablespoons of oil, 1 tablespoon of salt, 2 teaspoons of oregano, and 1 teaspoon of pepper
  5. Roast the veggies for around 30 minutes, while you prepare the rest of the components for the lasagna
  6. Drop the heat to 375 degrees when the veggies come out of the ovenDSC00363DSC00362
  7. While the veggies are in the oven, add enough olive oil to a big sauté pan to coat the bottom and heat on medium-high heatDSC00370
  8. Add anchovies to the pan and break them up with a back of a wooden spoon—Don’t skip this step! Even if you don’t like anchovies, the high heat will melt the filets into the oil and it will give needed background and depth to your sauceDSC00371
  9. Once the anchovy is melted, add the garlic and brown for about a minute or twoDSC00372
  10. Add the mushrooms—it’s important for mushrooms to be spread out for them to brown evenly. If they’re too crowded in the pan, then they’ll start to steam and turn rubberyDSC00373
  11. Once the mushrooms have cooked, season with a teaspoon of salt, ½ teaspoon of black pepper,½ teaspoon of oreganoDSC00375
  12. Add the crushed tomatoes to the pan and stir—you want the seasonings to be evenly spread throughoutDSC00374
  13. Reduce the heat to medium low, and simmer until the roasted tomatoes are ready to come out of the oven, and then transfer tomatoes to the sauce
  14. Continue to simmer for another 5 minutes
  15. While the sauce is finishing up, you can work on the ricotta layerDSC00364DSC00365DSC00366
  16. In a large bowl, add ricotta cheese, parmesan, eggs, and spinach, as well as a teaspoon of salt and ½ teaspoon of pepperDSC00367
  17. Whisk all the ingredients together for about 3-4 minutes
  18. Time to assemble the layers! In a 9×13 baking dish, spoon a bit of the tomato sauce on the bottom of the dish
  19. Add the lasagna noodles to the dish in a single layer all the way across—I shingled a little and also got creative by using one noodle that I cracked to fill in empty crevicesDSC00378
  20. The next layer should be some more tomato sauce
  21. Next up is a layer of the roasted vegetables
  22. After the vegetables should be a layer of the ricotta mixture—don’t skimp on the ricotta!DSC00377
  23. After the ricotta comes the cheese layer—add about ¼ of the bag of mozzarella cheese over the ricottaDSC00379
  24. Repeat the layering another 3 times, and top with a layer of noodlesDSC00380
  25. For the final layer, add a thick layer of tomato sauce all over the top, followed by the rest of the cheese, and a handful of parmesan—for my top layer, I actually like to use some fresh mozzarella since it melts so beautifully and makes for a beautiful presentation
  26. I place the whole thing onto a larger sheet tray so that if there’s spillage, it doesn’t go all over the oven floorDSC00383
  27. Bake in the oven at 375 degrees, uncovered, for 30-35 minutes

DSC00384Let it cool for at least 5-10 minutes before you cut into it. In fact, lasagna is a great make-ahead dish that you can keep in the fridge for up to 2 days before heating it. If you plan to refrigerate, make sure you add an additional 10-12 minutes to the cooking time. Also, this makes for a pretty saucy lasagna, but if you want you can reserve some extra sauce and spoon it over the top of each piece as it’s served, and garnish with some extra parmesan. Now who wouldn’t want a piece of that beauty? Buon Appetito!

Homemade Pita Chips

One of my favorite things to do in the kitchen is to experiment, and, of course, make my own version of restaurant dishes at home. Earlier in the day, I had gotten some Indian food for lunch, and of course eaten some fluffy, warm naan bread. The best part of naan—for me at least—is that you can use it to mop up the delicious curries and sauces. So, I asked myself, “What can I dip into my leftover lamb sauce?” Then it hit me—pita! But, plain pita is boring, so what about pita chips? These were so easy to make it’s ridiculous. Make these pita chips at home, and you’ll never feel like buying them at the store again. This recipe yields 18 chips, but feel free to make much, much more!

  • 3 whole pita breads
  • 1 tablespoon of chopped fresh parsley–I happened to have fresh herbs for another recipe, but dried herbs would work just as well
  • 1 tablespoon of chopped fresh rosemary
  • zest of 1 lemon
  • 2 teaspoons of salt
  • 1 teaspoon of black pepper
  • 3 tablespoons of vegetable oil
  1. Cut each pita in half lengthwiseDSC00243
  2. Cut each half into 3 equal sized wedgesDSC00242
  3. Mix the parsley, rosemary, lemon zest, salt and pepper with the oil
  4. Let the herb oil mixture sit for about 15 minutes, and set the oven to 300 degreesDSC00246
  5. Toss the pita triangles with the herb oil to lightly coat, and arrange in a single layer on a baking sheet
  6. Bake the pita chips for about 20-22 minutes, or until they are browned and crisped upDSC00256
  7. Allow the chips to cool before consuming with hummus, guacamole, onion dip, or delicious braising liquid from lamb shanks!DSC00259

Recipe: Mediterranean Inspired Lamb Flatbread

The other day I was in the mood to make some fish tacos at home, but the local market I went to only had these small onion flatbreads. So, I decided to scrap the idea for the night. The  flatbreads actually turned out deliciously for my “new” tacos—or really chalupas maybe—and I ended up having a few of them leftover. So I thought of what I could do with a flatbread and was feeling in a very Mediterranean mood. I felt this was a very appropriate recipe since I’ve dedicated the last couple of weeks of blog posts to my recent vacation in the Middle East, and decided to do a fusion of Greek and Israeli cuisines.

These (not so mini!) lamb flatbreads were an experiment, but I knew the flavor combinations would mesh well together. The spicy lamb mixture, the creamy and tangy feta sauce, the briny pickled red onions and the soft, chewy onion flatbreads make a killer combination for dinner, appetizers or even to entertain!

Ingredients:

  • 1 lb. of ground lamb
  • 8 oz block of Feta cheese–I’m going to echo the Barefoot Contessa by saying that you should make sure to use a quality feta in your dish—preferably Greek or Bulgarian
  • 1/2 cup of lemon juice
  • 1 cup of Greek yogurt, plain
  • 1 teaspoon of mint, dried
  • 6 large garlic cloves (or 8-9 small cloves)
  • 2 teaspoons of black pepper
  • (optional) Balsamic vinegar
  • 1/2 teaspoon Cumin
  • 1 teaspoon Oregano
  • 7-8 dried red chilies
  • 1/2 can of pitted Black olives
  • 1 teaspoon Olive oil
  • 1 large red onion
  • 1 tablespoon and 2 teaspoons of salt
  • 1 tablespoon Sugar
  • 1/2 cup of apple cider vinegar
  • 1/2 teaspoon of crushed red pepper flakes

Feta sauce:

  1. In the food processor, add the 3/4 of the feta cheese, lemon juice, yogurt, mint, 1 large or 2 small garlic cloves, and 1 teaspoon of black pepper
  2. Whir it up until the feta is completely broken up, but the sauce still has some consistency to it—I like my sauce to still have some body to it, but blend to your own preference
  3. Taste for seasoning!—I don’t add any salt since the feta is already so salty, but everyone has a different palette.

Pickled red onions:

  1. Peel and slice the red onion thinly and place into a sieve or pasta strainer with small holes
  2. In a jar or bowl—whatever canister you’d like to use to make your onions, I use a mason jar for my leftover—pour the sugar, tablespoon of salt and crushed red pepper
  3. Cover with water and fill the jar, but leave enough room for the onions as well. Stir to dissolve
  4. Add the vinegar—plain white vinegar is alright as well. Even rice wine vinegar could make these delicious for a banh mi sandwich
  5. Boil a few cups of water in a kettle or on the stove, and when the water comes to a boil, pour over the onions
  6. Place the par-blanched onions into the sugar-salt bowl. There should be enough water/vinegar mixture to cover all of the onionsPhoto May 18, 11 48 35 PM
  7. Leave for at least one hour, but I left mine most of the dayPhoto May 18, 11 50 55 PM.jpg

Lamb mixture:

  1. In your food processor—no worries if it has residual sauce, it’s all going on the same dish—finely chop the olives, chilis, and remaining garlic
  2. Mix together the lamb, salt, cumin, oregano, chile-olive-garlic mixture, olive oil, and the rest of the pepper in a bowl—use your hands to really get the meat to absorb the marinadePhoto May 18, 8 42 24 PM.jpg
  3. Don’t mix the mixture too much or you might make the meat tough when it eventually cooks
  4. Let the meat sit and absorb the spices and marinade ingredients for at least 30-45 minutes and up to overnight

To assemble the flatbreads:Photo May 18, 11 33 11 PM.jpg

  1. Lay flatbreads flat on a baking sheet—a pita or even naan bread would be a good substitute. Just make sure you use a bread that has a large flat surface and has some heft to itPhoto May 18, 11 35 25 PM.jpg
  2. Spoon some feta sauce on the bread and spread around the surface with a spoon to almost the edge—I put a good amount of sauce, but don’t use it all!Photo May 18, 11 38 00 PM.jpg
  3. Using your hands, spread the equal amounts of the lamb mixture onto each flatbread and form into semi thick layer—at first I was going to cook the lamb first, but actually ended up forgetting to. By the time I remembered, it has already started cooking and the fat from the lamb ends up absorbed by the bread and flavored the whole dish amazinglyPhoto May 18, 11 38 40 PM
  4. Sprinkle some feta over the top of the lamb, and slide these babies into the ovenPhoto May 18, 11 47 18 PM
  5. Bake in the oven at 375 degrees for about 10 minutes—some ovens vary so if your oven tends to get super high, maybe stay on 350 insteadPhoto May 19, 12 05 53 AM
  6. Remove from oven and let rest for a couple of minutes Photo May 19, 12 05 55 AM
  7. Scatter some picked red onions all over the flatbreads after it comes out of the ovenPhoto May 19, 12 07 49 AM.jpg
  8. Crumble some fresh feta over the top, as well as a few dollops of feta sauce
  9. This last step is purely optional, but I thought it gives it a wonderful fruity afternoon and a bit of panache. Pour a little bit of thick balsamic vinegar over the top to garnish. I used a deliciously thick grapefruit, white balsamic that I had in the pantryPhoto May 19, 12 09 44 AM.jpg
  10. Slice with a pizza cutter and enjoy! Απολαύστε το γεύμα σας!

The Secret to Perfectly Fluffy Scrambled Eggs

When I asked people what their favorite breakfast food was, I got a lot of answers—French toast, pancakes, oatmeal, smoothies, Cheerios, etc. The most common answer I got was eggs. The incredible, edible egg is a common, but delicious ingredient. It can top your burger to give you that runny yolk that adds a new level of decadence, be incorporated into a cake batter, baked into a quiche for company, or just hard-boiled. Personally, I love a great plate of soft scrambled eggs. It makes a fabulous breakfast, or a simple, weekday dinner. There are a lot of methods that people use to get their eggs perfectly scrambled—some with sour cream, milk, oil—I am an egg purist. The secret to my perfectly fluffy scrambled eggs: extra egg…and patience. This recipe takes some time, but it’s worth it!

Ingredients:

3-4 eggs

1 tablespoon (or ⅛ of a stick of butter)

Salt + Pepper

Cooking Steps:

image1

  1. Crack 2-3 eggs into a bowl.
  2. Crack the last egg and add just the yolk into the bowl—you can save the egg white, maybe whip it for a meringue or incorporate it into a protein shake. While egg yolks may have a higher amount of cholesterol, they also contain lots of vitamins and iron. The extra yolk in this dish not only keeps the eggs moist and soft, but also helps it keep its distinctive yellow color.
  3. Add a pinch of salt and black pepper to the eggs.image3image2
  4. Using a fork, beat the eggs in a counter-clockwise direction from top to bottom. If it helps, tilt the bowl as you whip the eggs in the circular motion. Mixing the eggs this way will also help with the fluffy texture.image4
  5. In a medium sauté pan, add your butter and heat on lowimage5
  6. When the butter starts to melt, add your egg mixture to the pan
  7. Using a rubber spatula scrape the bottom and sides of the panimage6
  8. Keep cooking, continually moving the eggs around in the pan for 5-10 minutes. The eggs will start to solidify and come together, just make sure to constantly mix it upimage7
  9. Once the eggs are cooked, but still shiny and look slightly wet, turn the heat off and get your toast or sides ready—it might seem raw, but the eggs are cooked and safe to eat.image8
  10. Sprinkle a pinch of sea salt on the eggs to finish them off. The mixture will be fluffy, moist and you don’t need cheese with these eggs since they are so soft and luxurious. A nice addition might be some fresh herbs though, like dill or parsley. Yum!image10