I love coming up with new ways to cook with some of my favorite ingredients, especially comfort foods. To me, a big wok full of curry is super comforting and was one of the dishes I made all the time when I moved into my first solo apartment. It’s warm, earthy, spicy and makes me feel good all over. Plus, it’s amazing for leftovers! So, when Mama Lam’s, a local food vendor making and selling their own Malaysian Curry Paste that I had the pleasure of meeting at the annual Queens Taste, event contacted me about partnering up, I was excited. I couldn’t wait to try cooking with their homemade, Malaysian curry paste and curating a couple of dishes to use their product in.
I decided to create a curry themed meal featuring Mama Lam’s Curry Paste two ways—a Pistachio Crusted Curry Salmon and a Curry Noodles with Crispy Tofu. Check out the recipes below and also watch my YouTube cooking demo here: https://www.youtube.com/watch?v=1PCoQ8uLQYU.

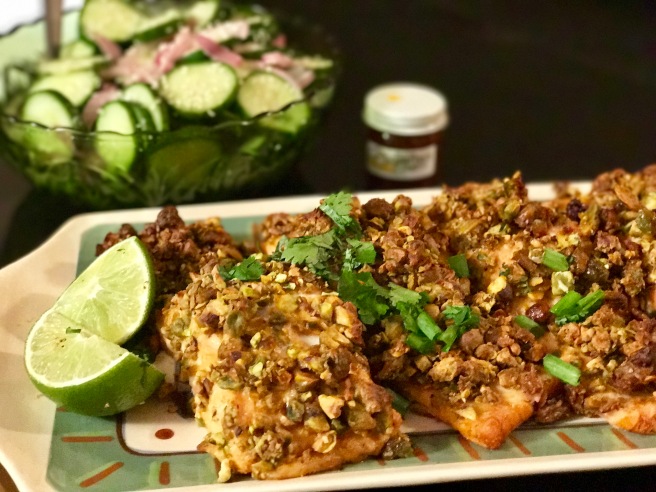
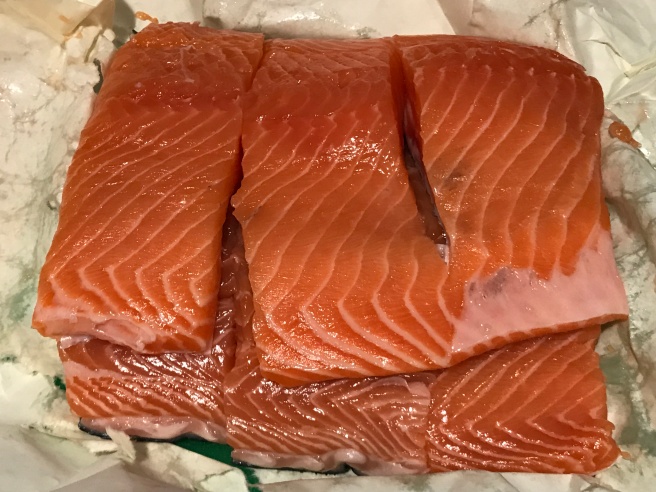
Pistachio Crusted Curry Salmon
- 4-6 salmon filets (skin on)
- 2 cloves garlic, chopped finely
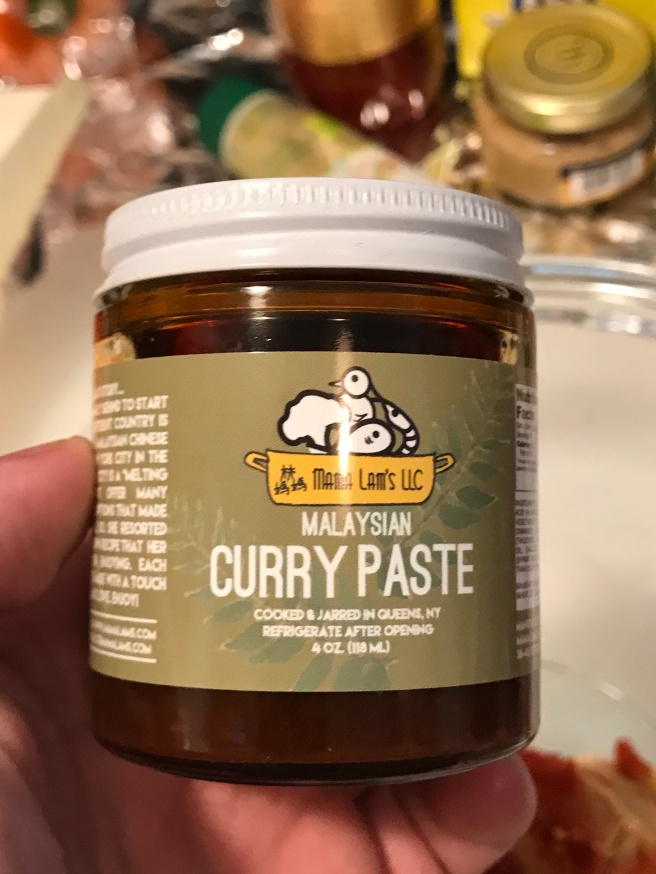
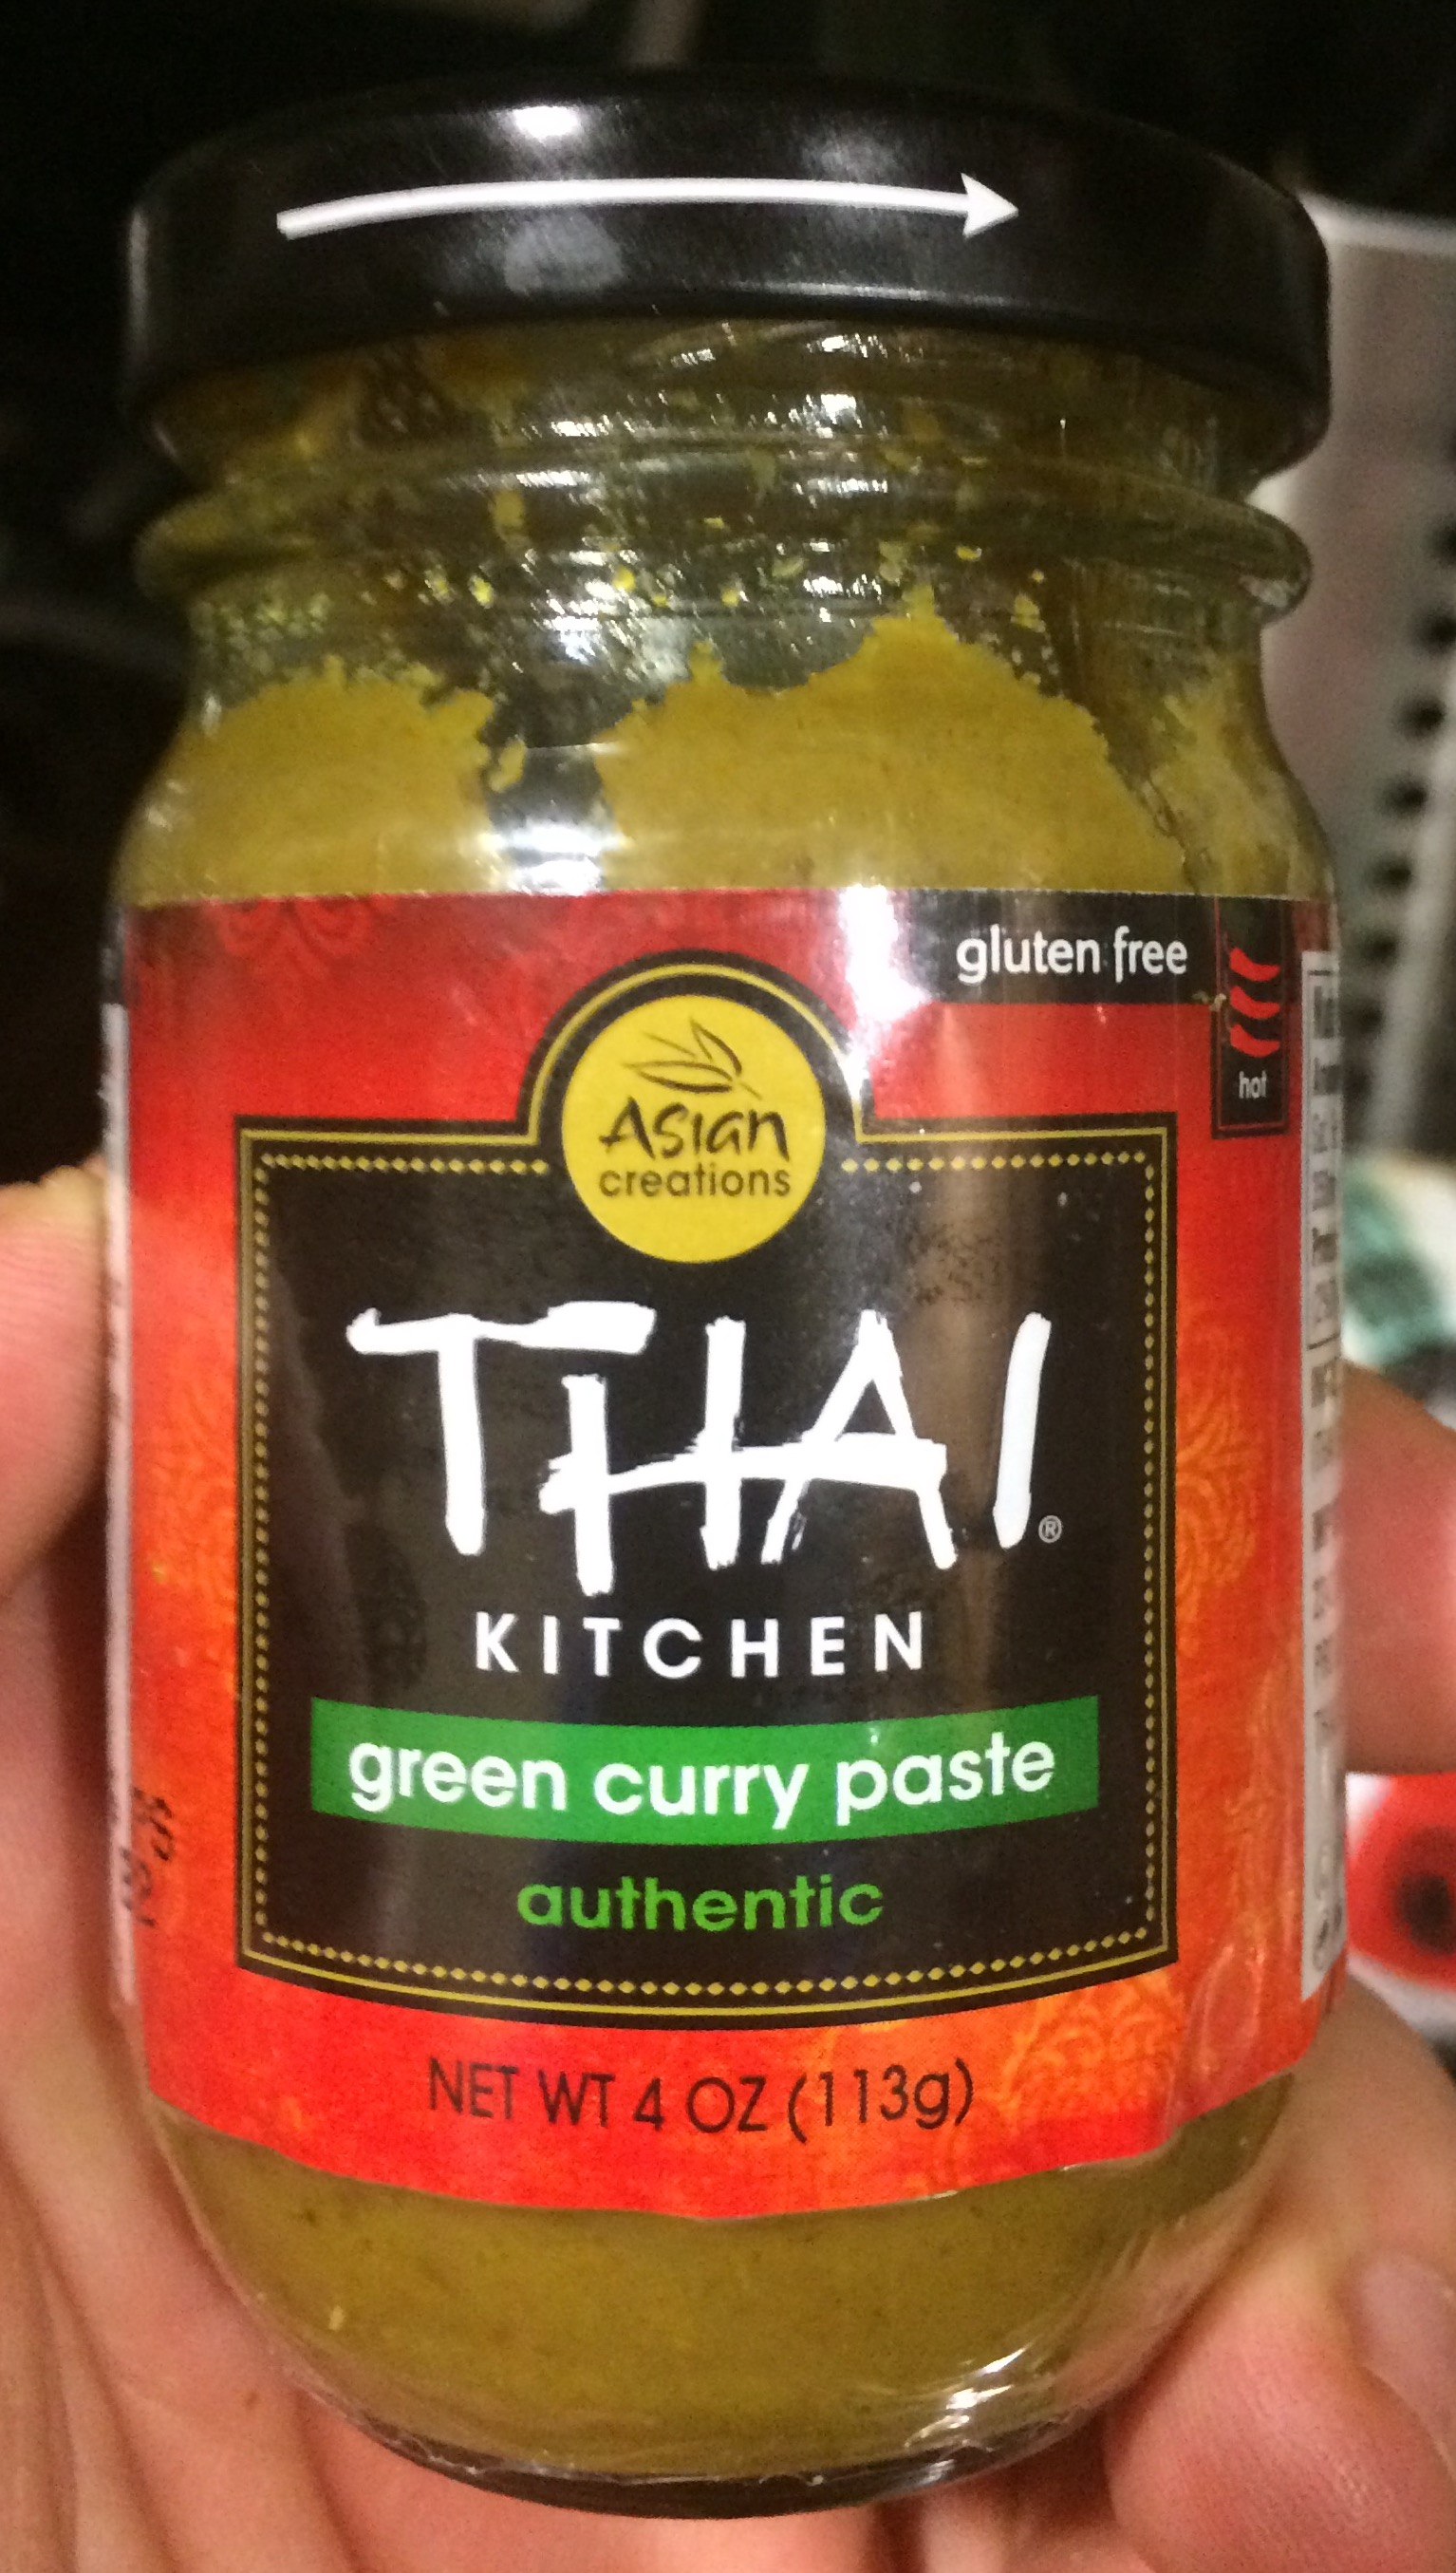
- 1/2 jar of Mama Lam’s curry paste
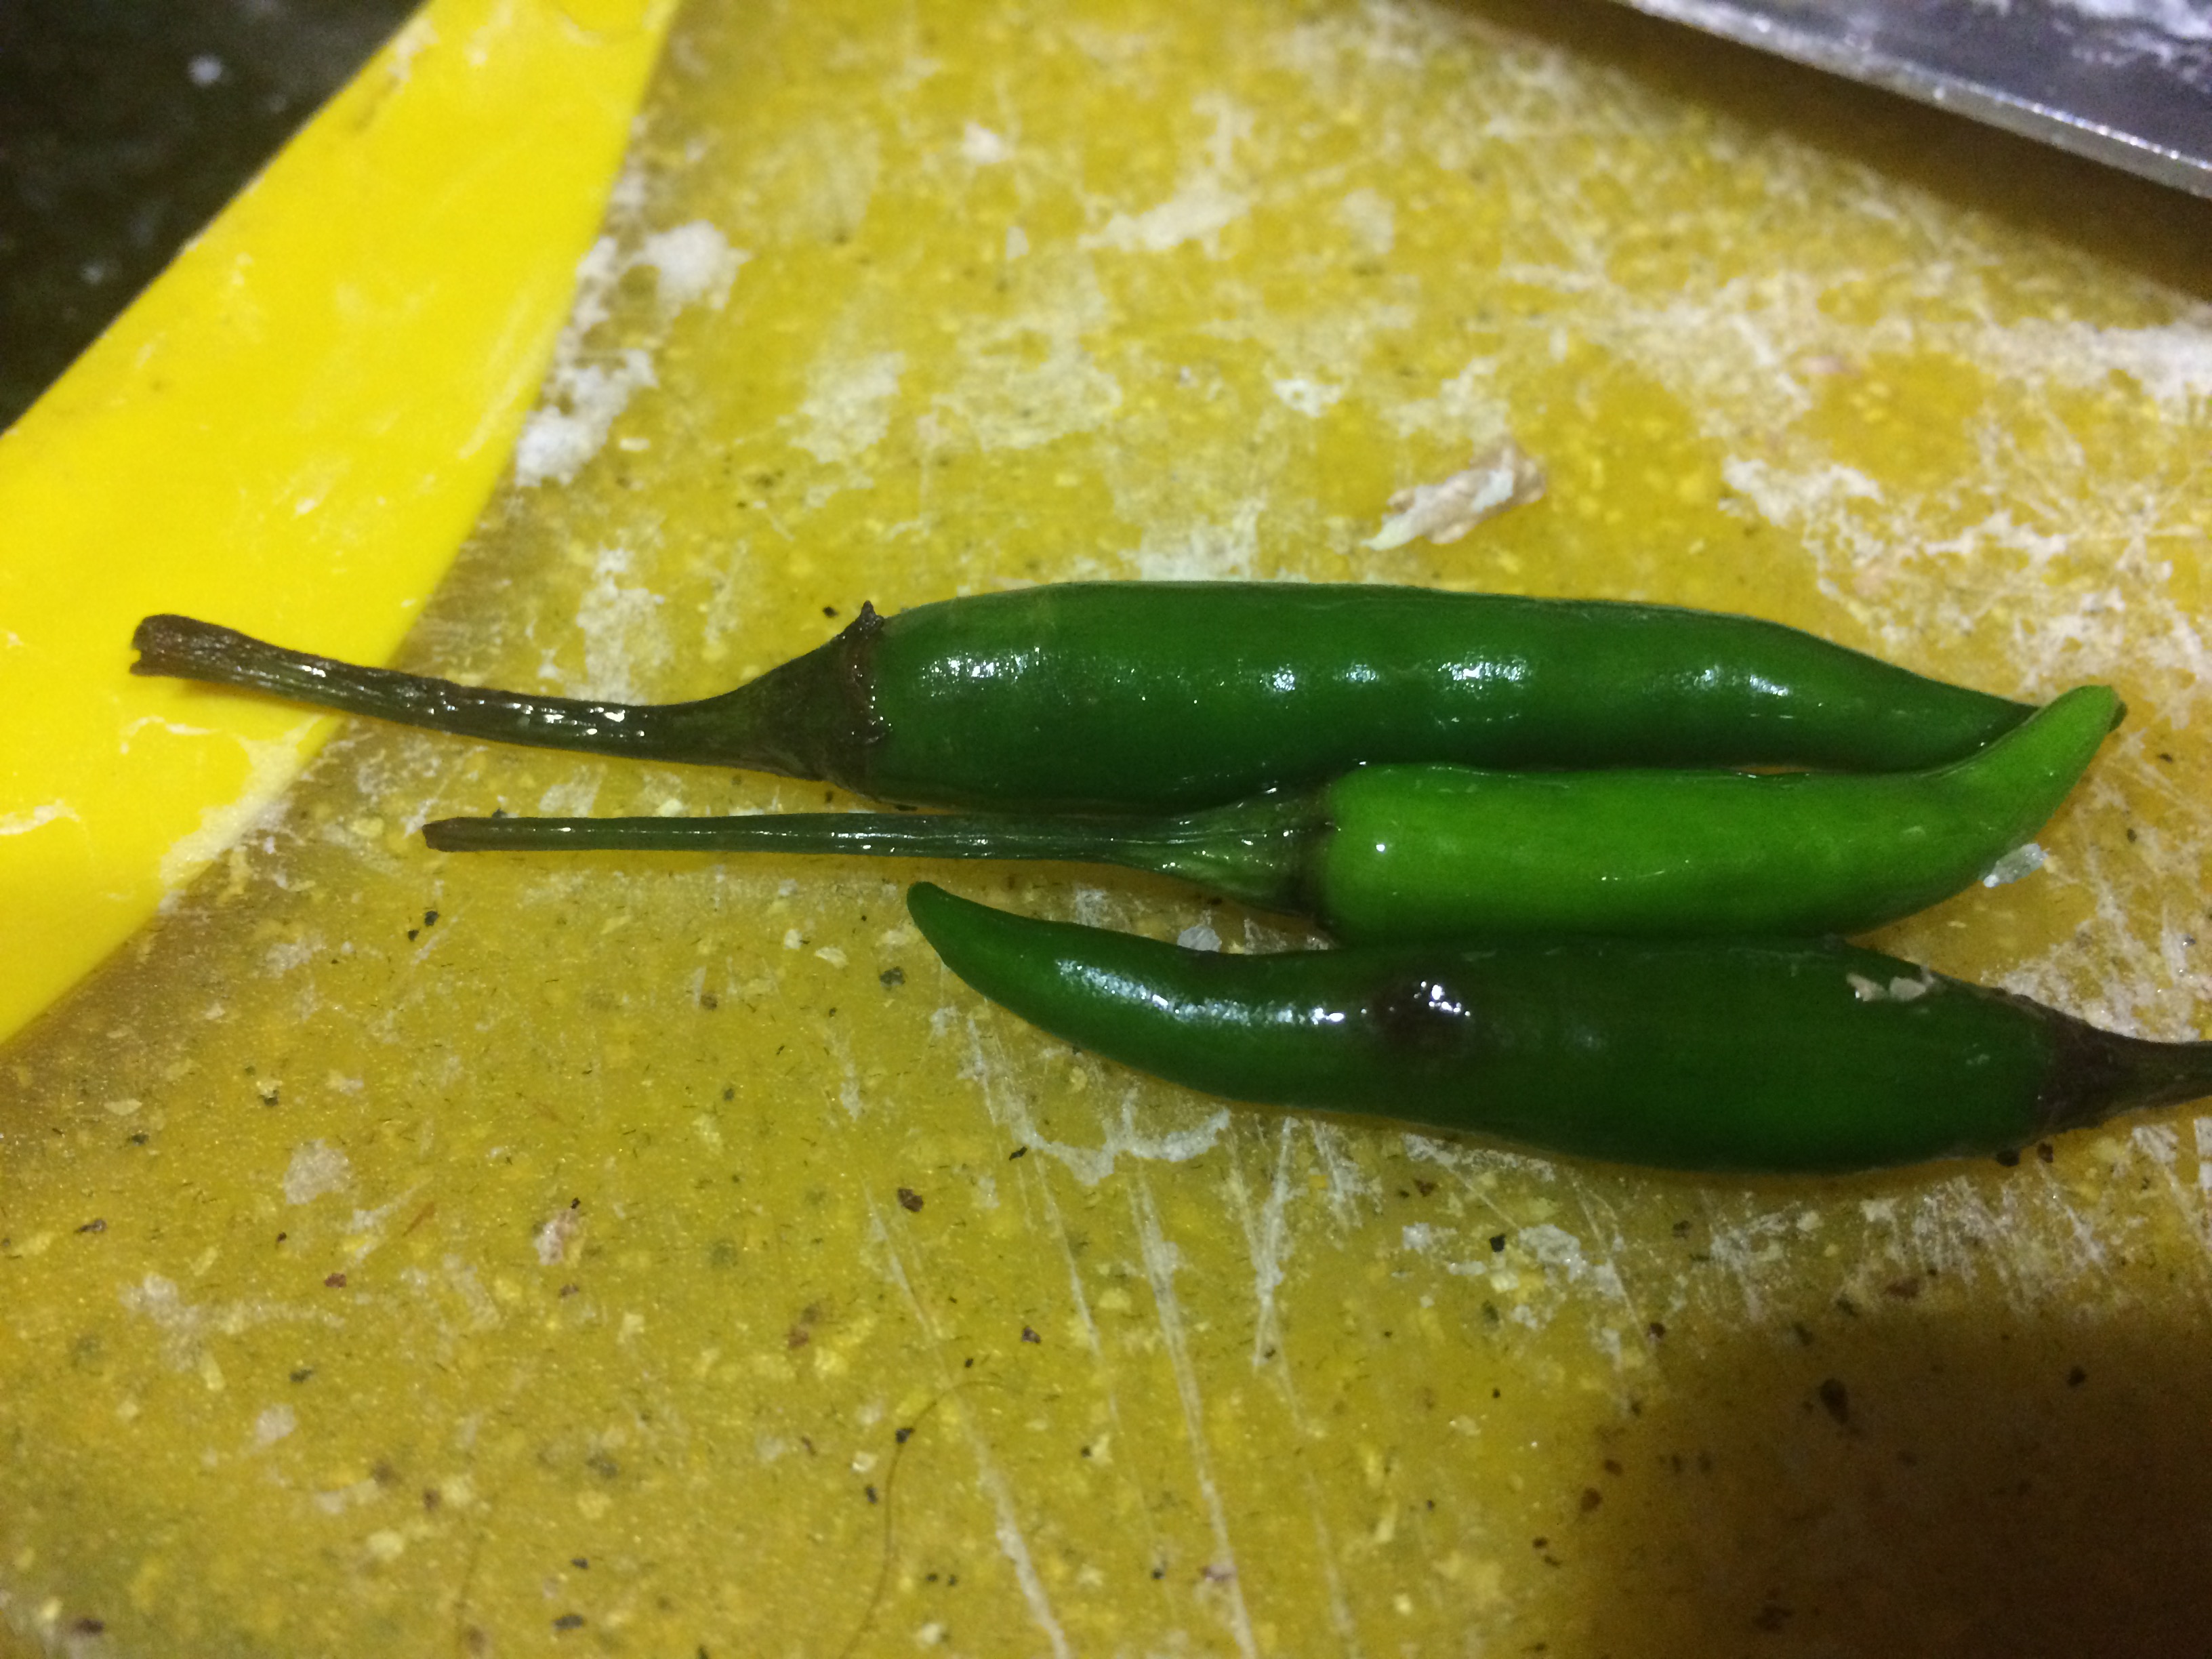
- 1 tbsp Sambal Olek or another Southeast Asian chili sauce—Sriracha works fine.
- I recommend not skipping this ingredient, even if you don’t like spicy food. The fish has a warming heat and it is very much tempered by the coconut milk and acidity of the lime juice
- 1/2 can of coconut milk
- 2 tbsp of olive oil
- 1 tbsp of ginger, chopped
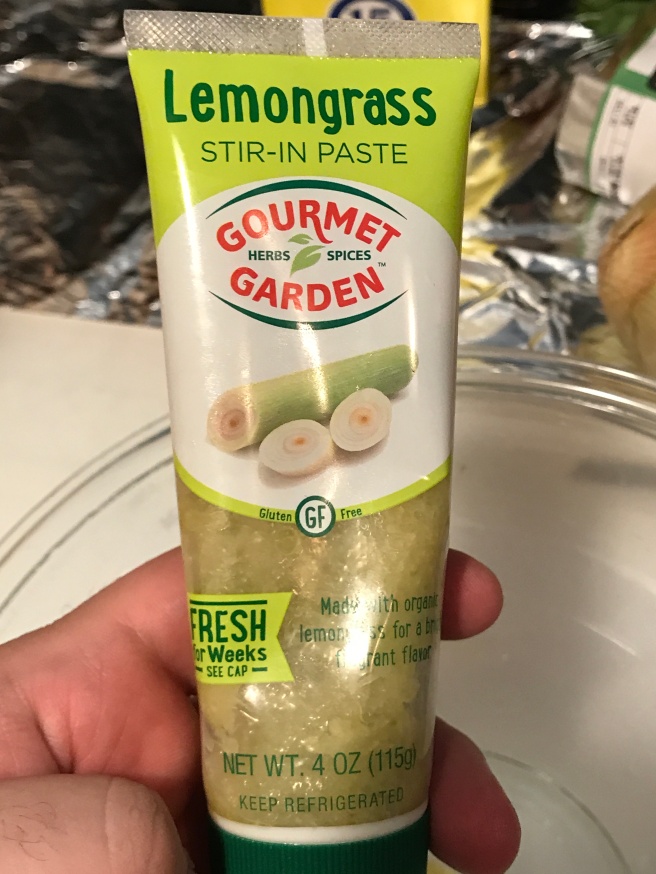
- 1 stalk of lemongrass, cut into pieces–you can also use 1/2 tbsp of chopped lemongrass from a tube. You’ll find this near the fresh herbs in the market
- Juice of 2 limes
- 2 cups of roasted pistachios, shell removed
- 1 tbsp salt
- 1/2 tbsp of black pepper
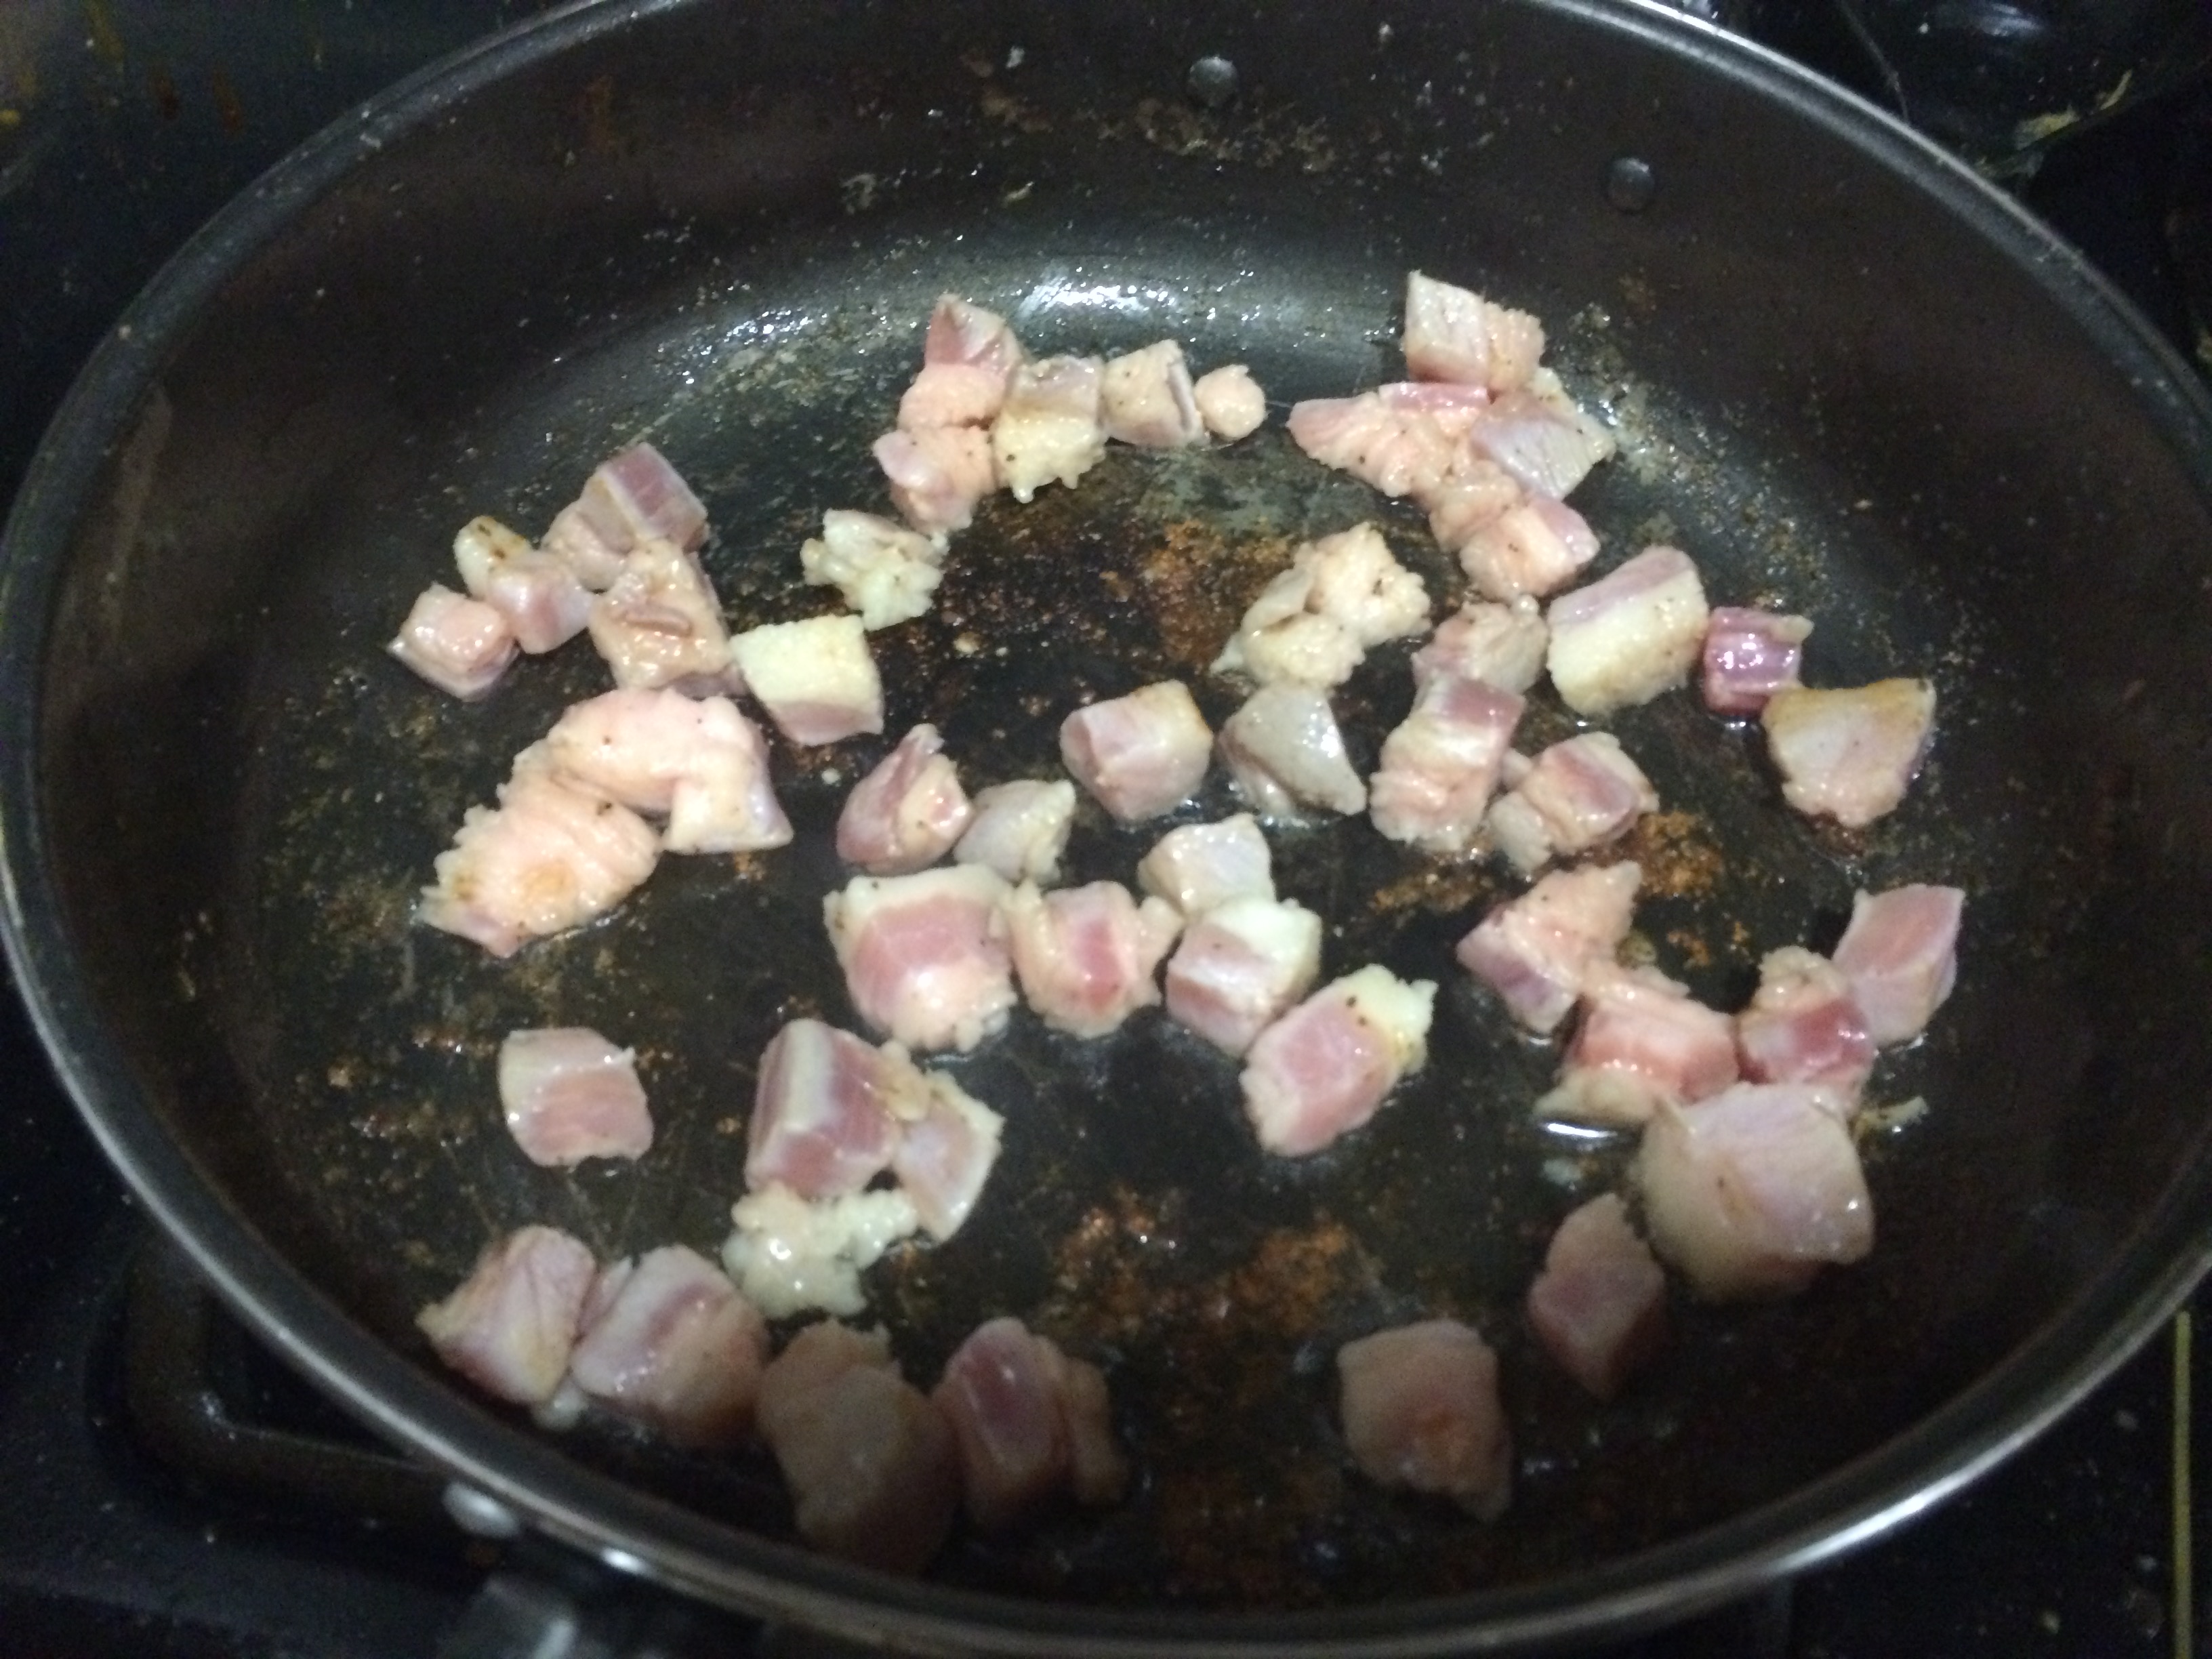
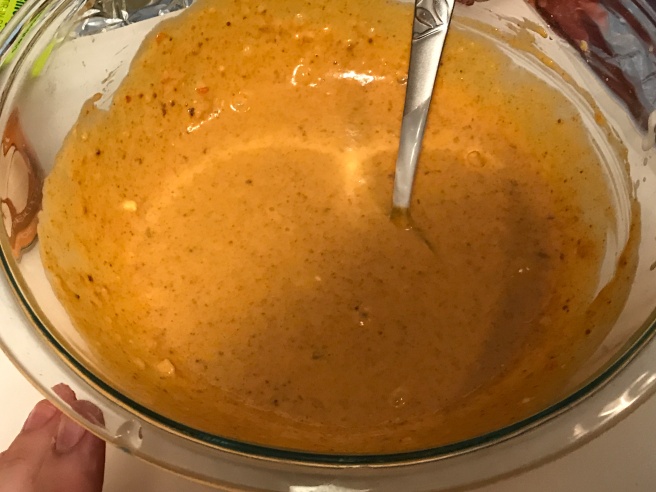
- Create a marinade with the chili sauce, ginger, garlic, lime juice, coconut milk, lemongrass, oil, salt and pepper
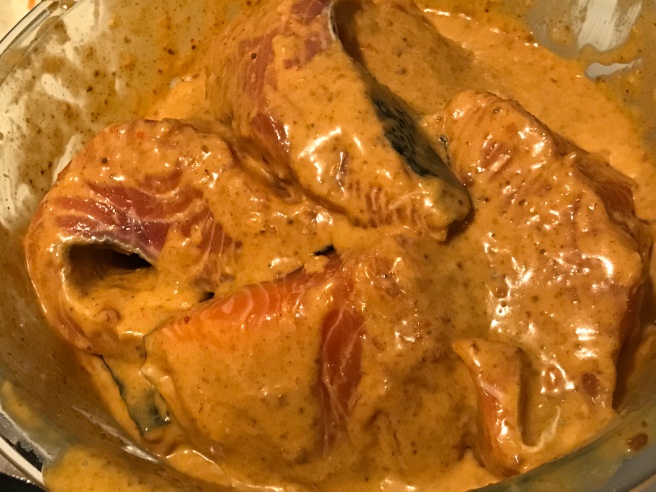
- Marinade the salmon for at least an hour and up to 4 hours
- Preheat oven to 400 degrees F
- Crush the pistachios with either your hands or a mallet. A rolling pin works well too—this is very cathartic and a great way to take out your aggression. Ha!
- After the fish has soaked, dip the salmon into the pistachios and coat on sides and top with the nuts
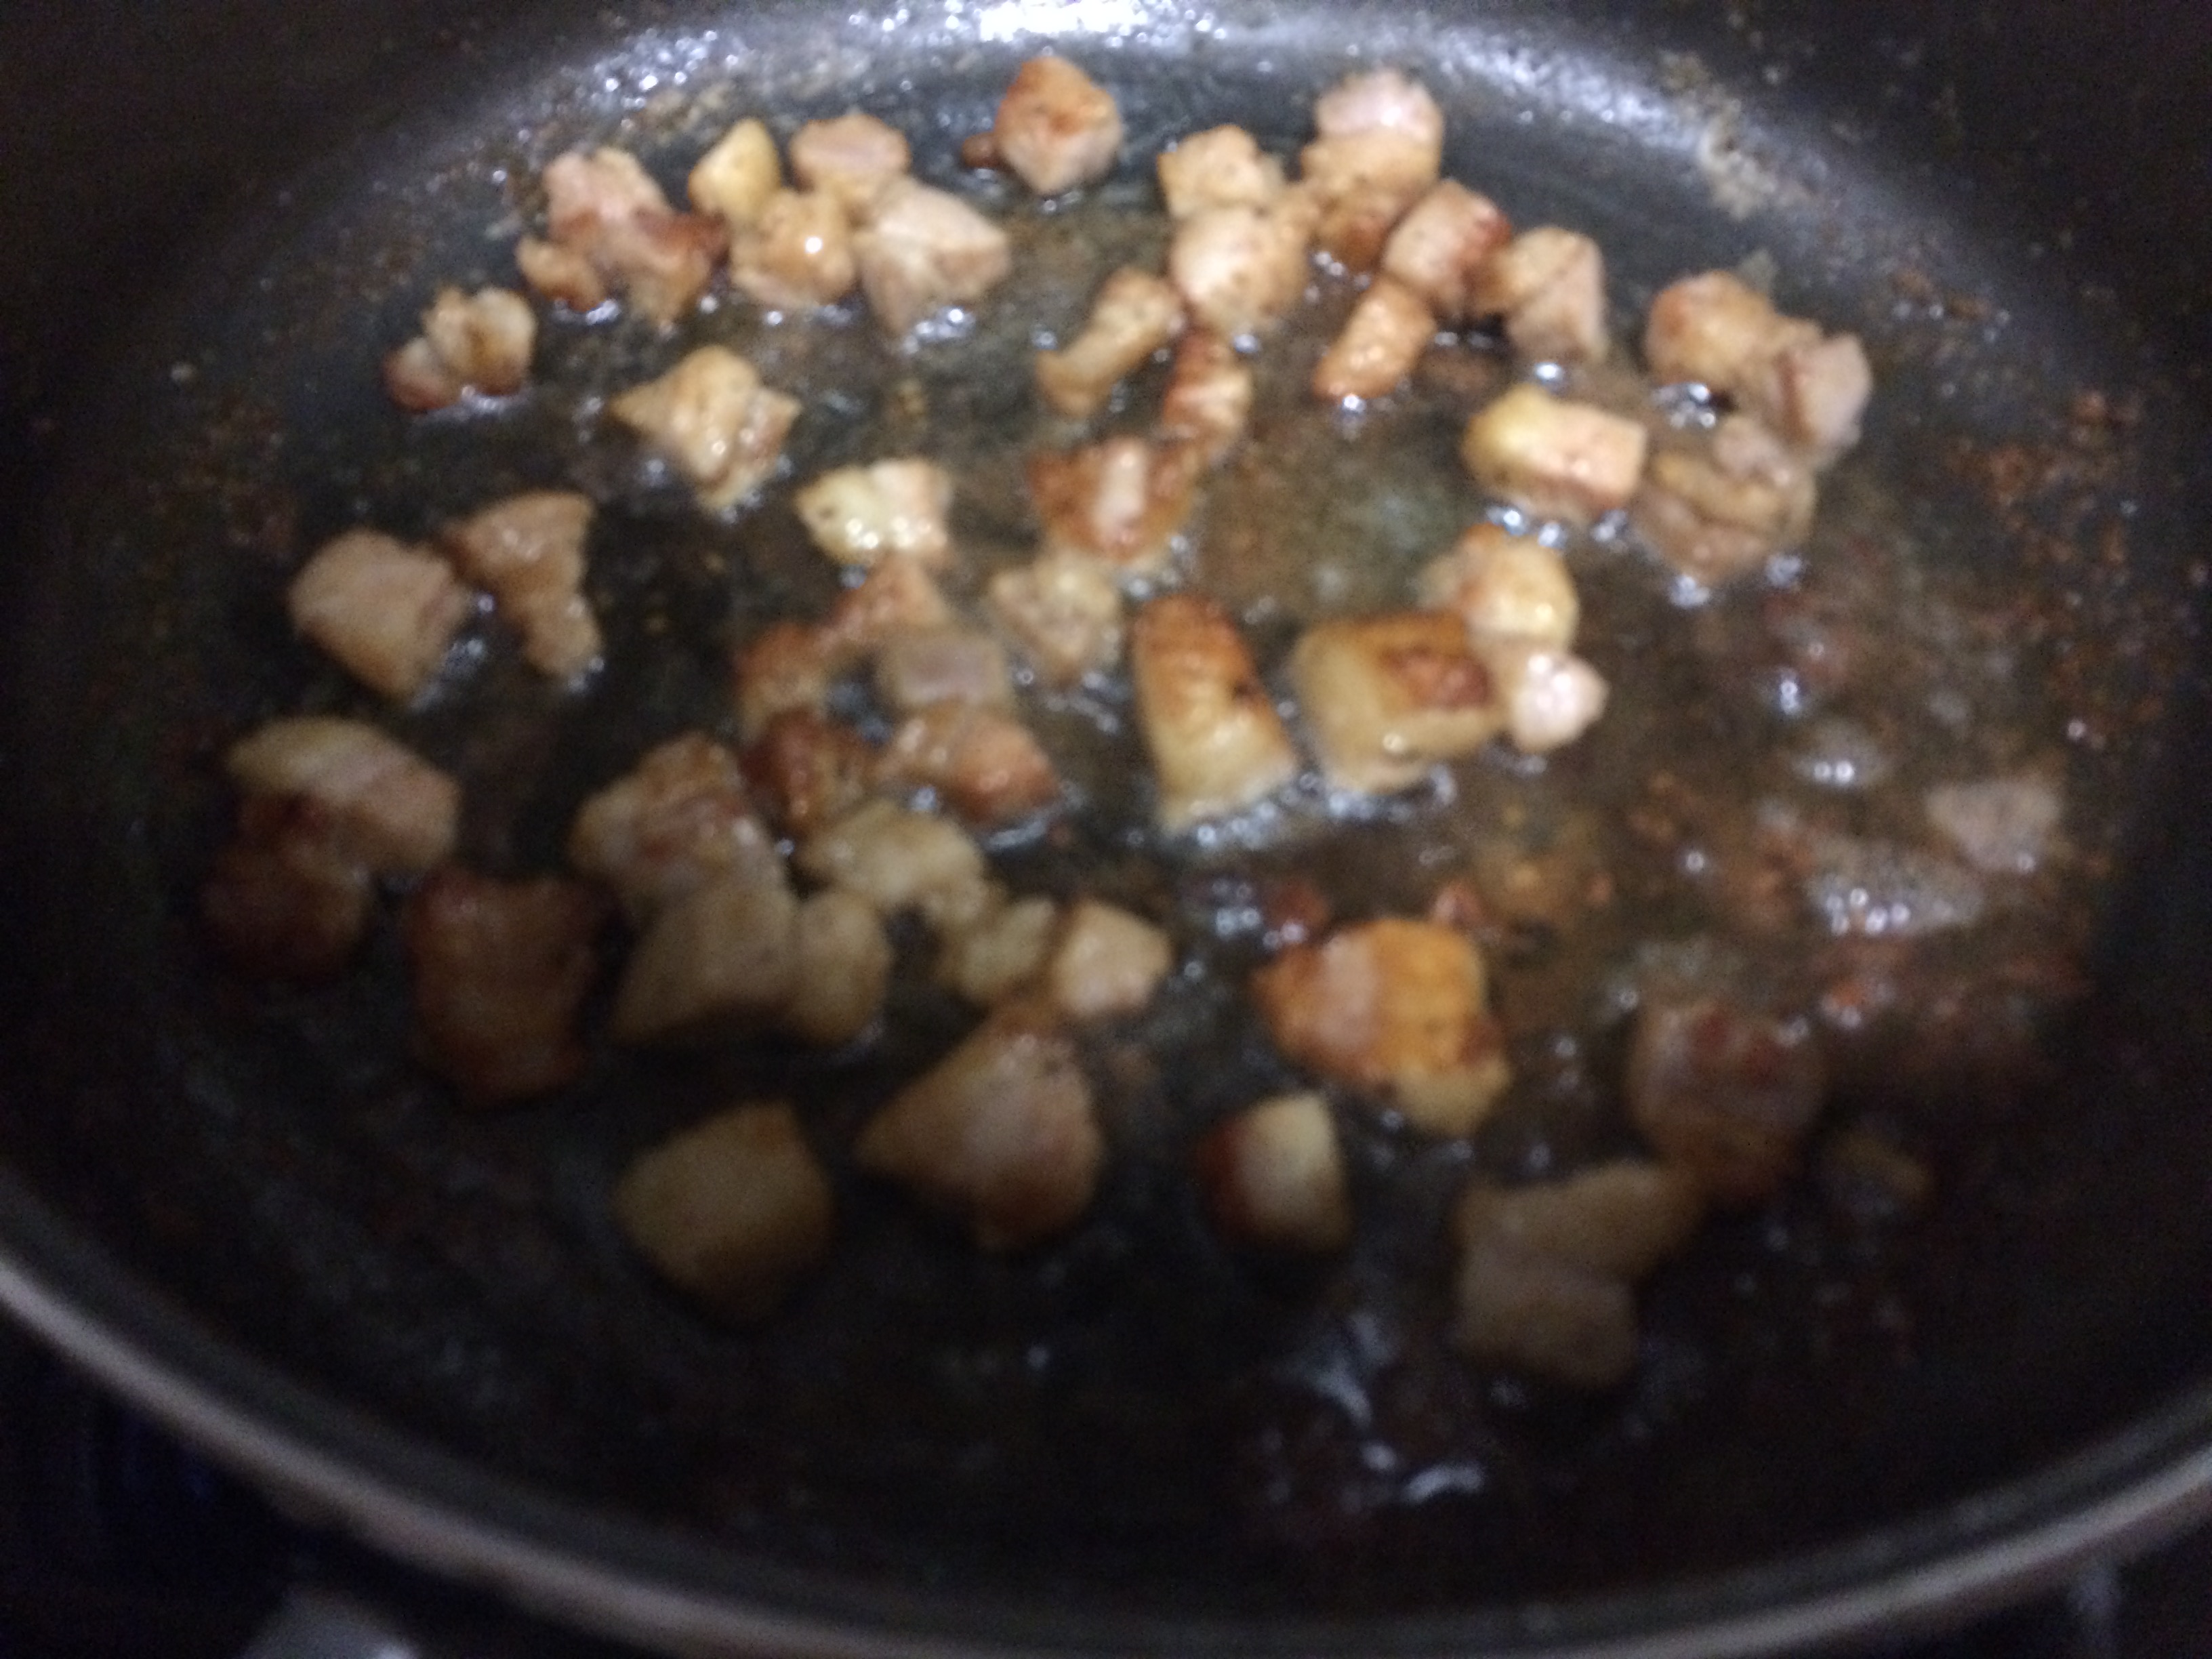
- Place the salmon skin side down on a greased baking pan and bake for 20 minutes until the crust is set—The fish should be cooked through, but still a bit pink in the center and very moist. It will continue cooking for a few minutes once it comes out of the oven
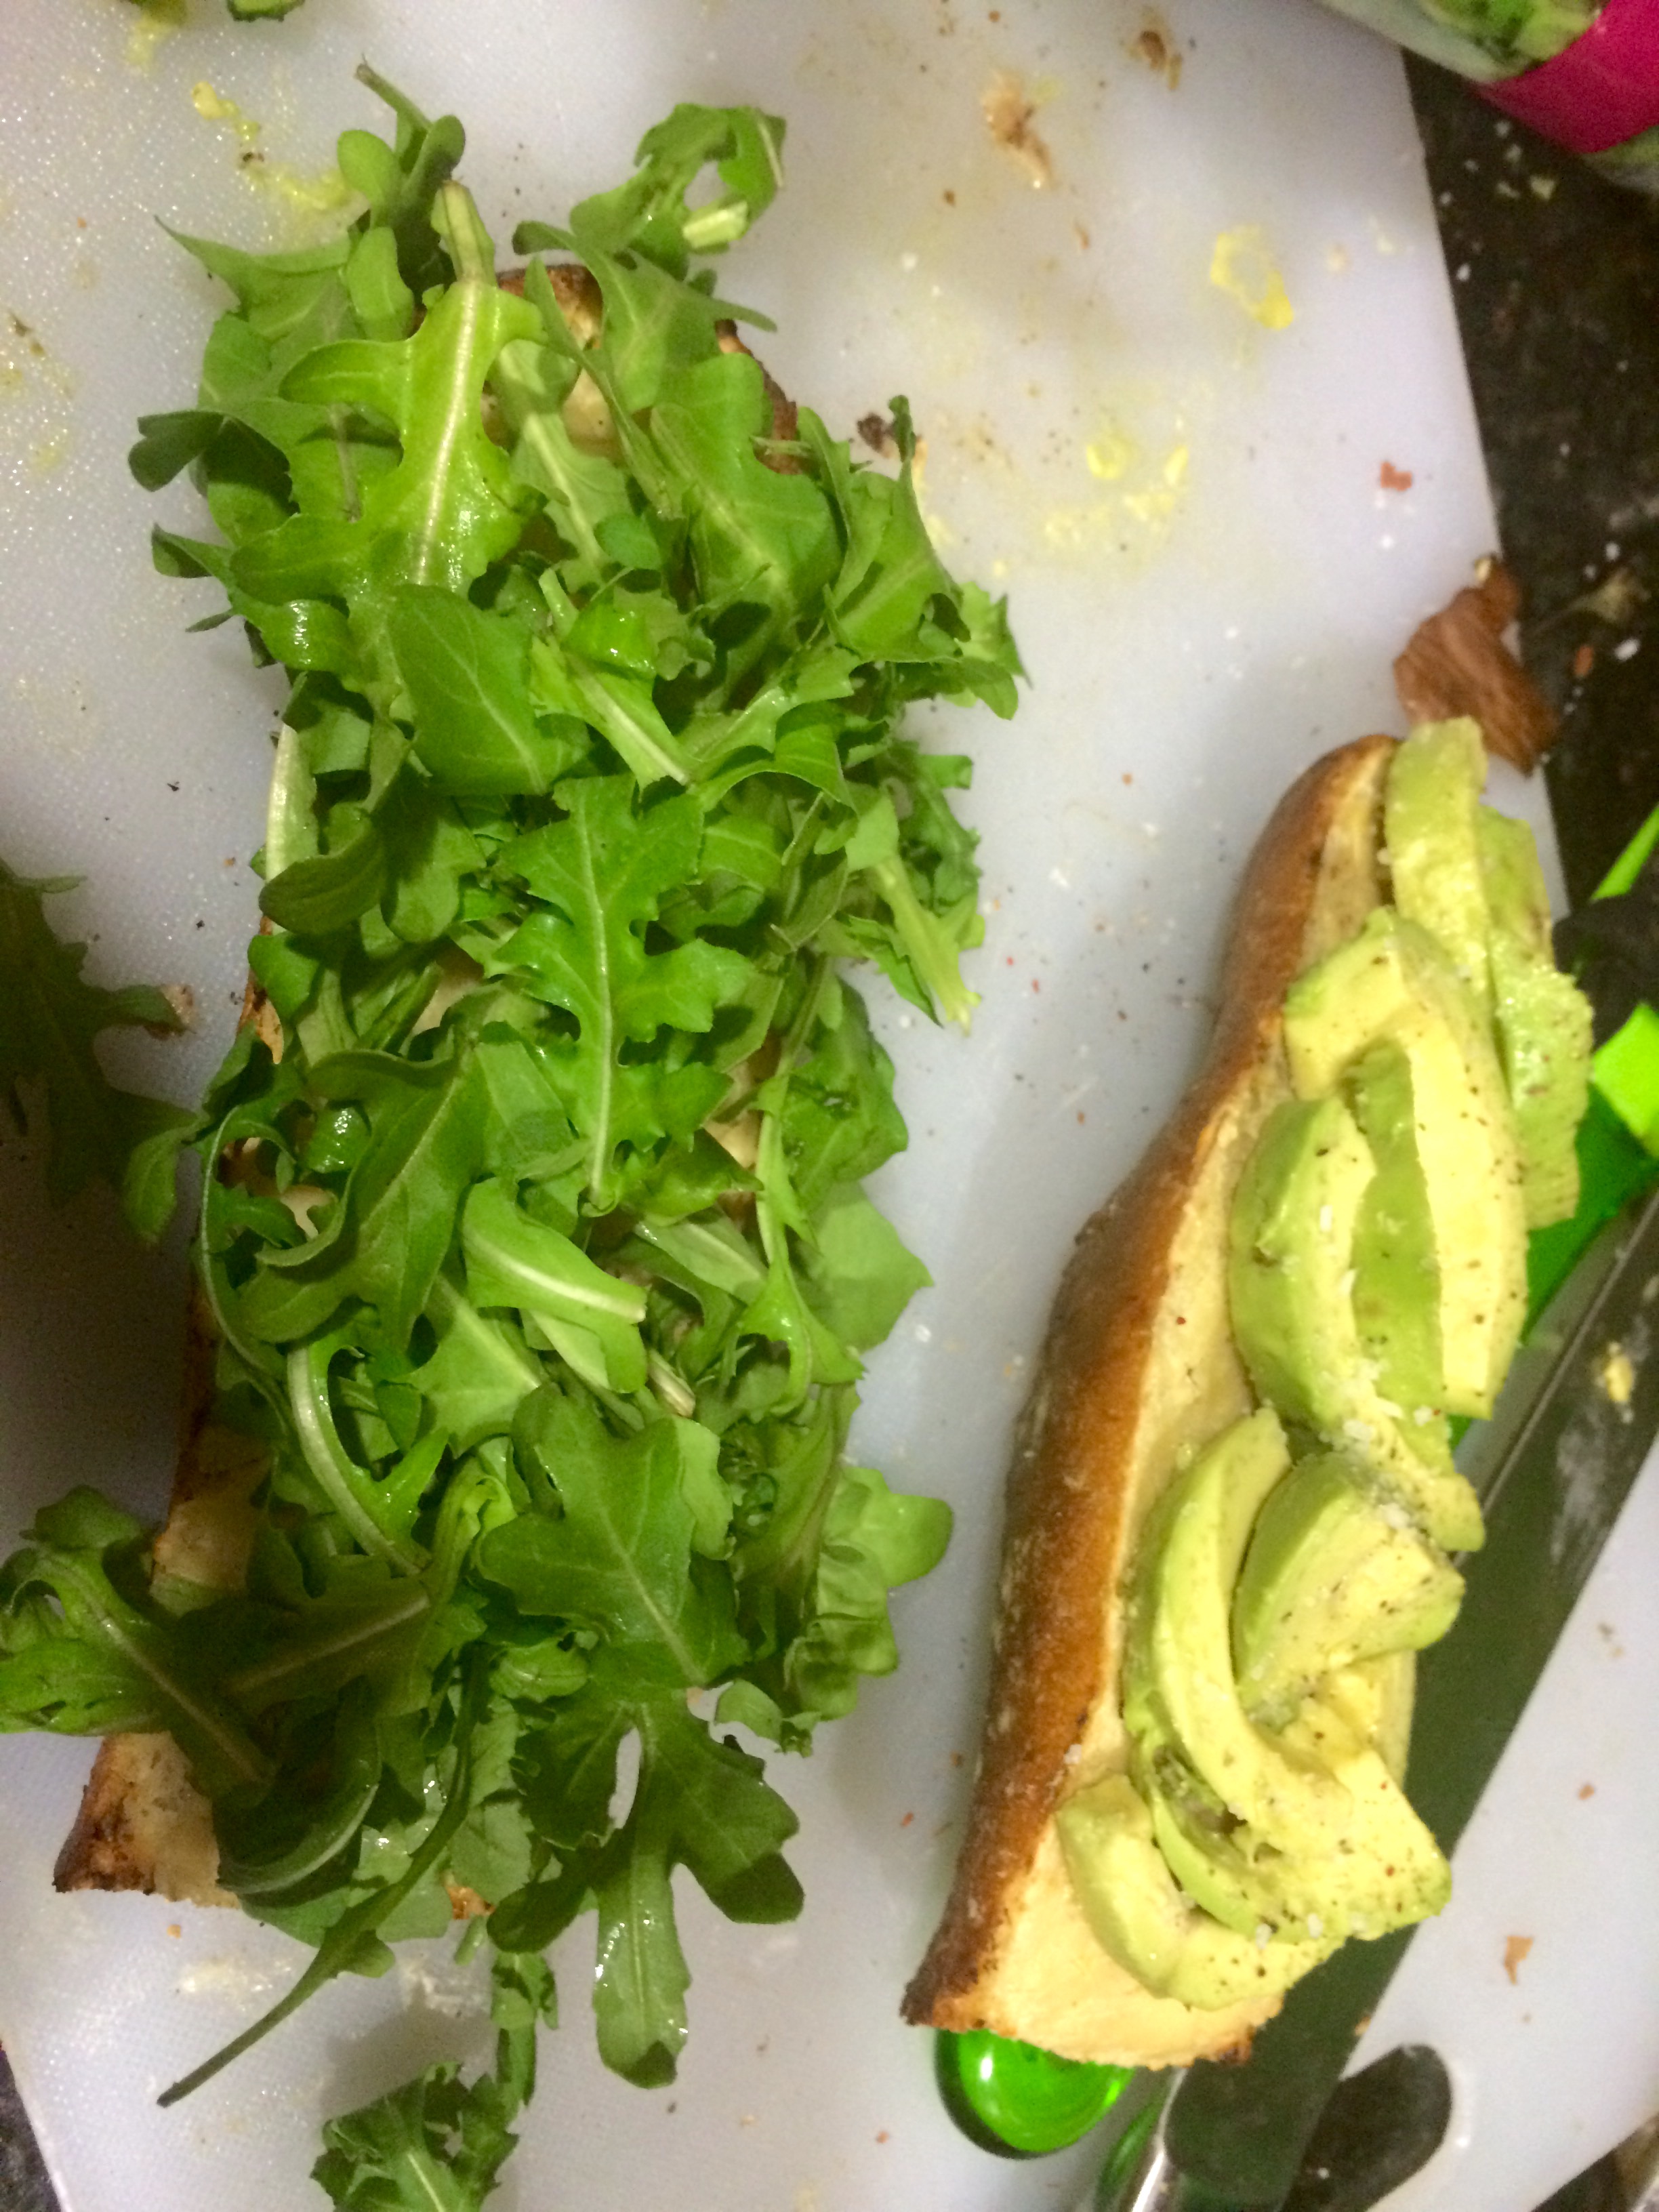
- Garnish with fresh parsley or cilantro and a squeeze of lime juice over the top

- This fish is delicious served all on its own with a fresh salad or some roasted asparagus, but is even better with some Curry Noodles!
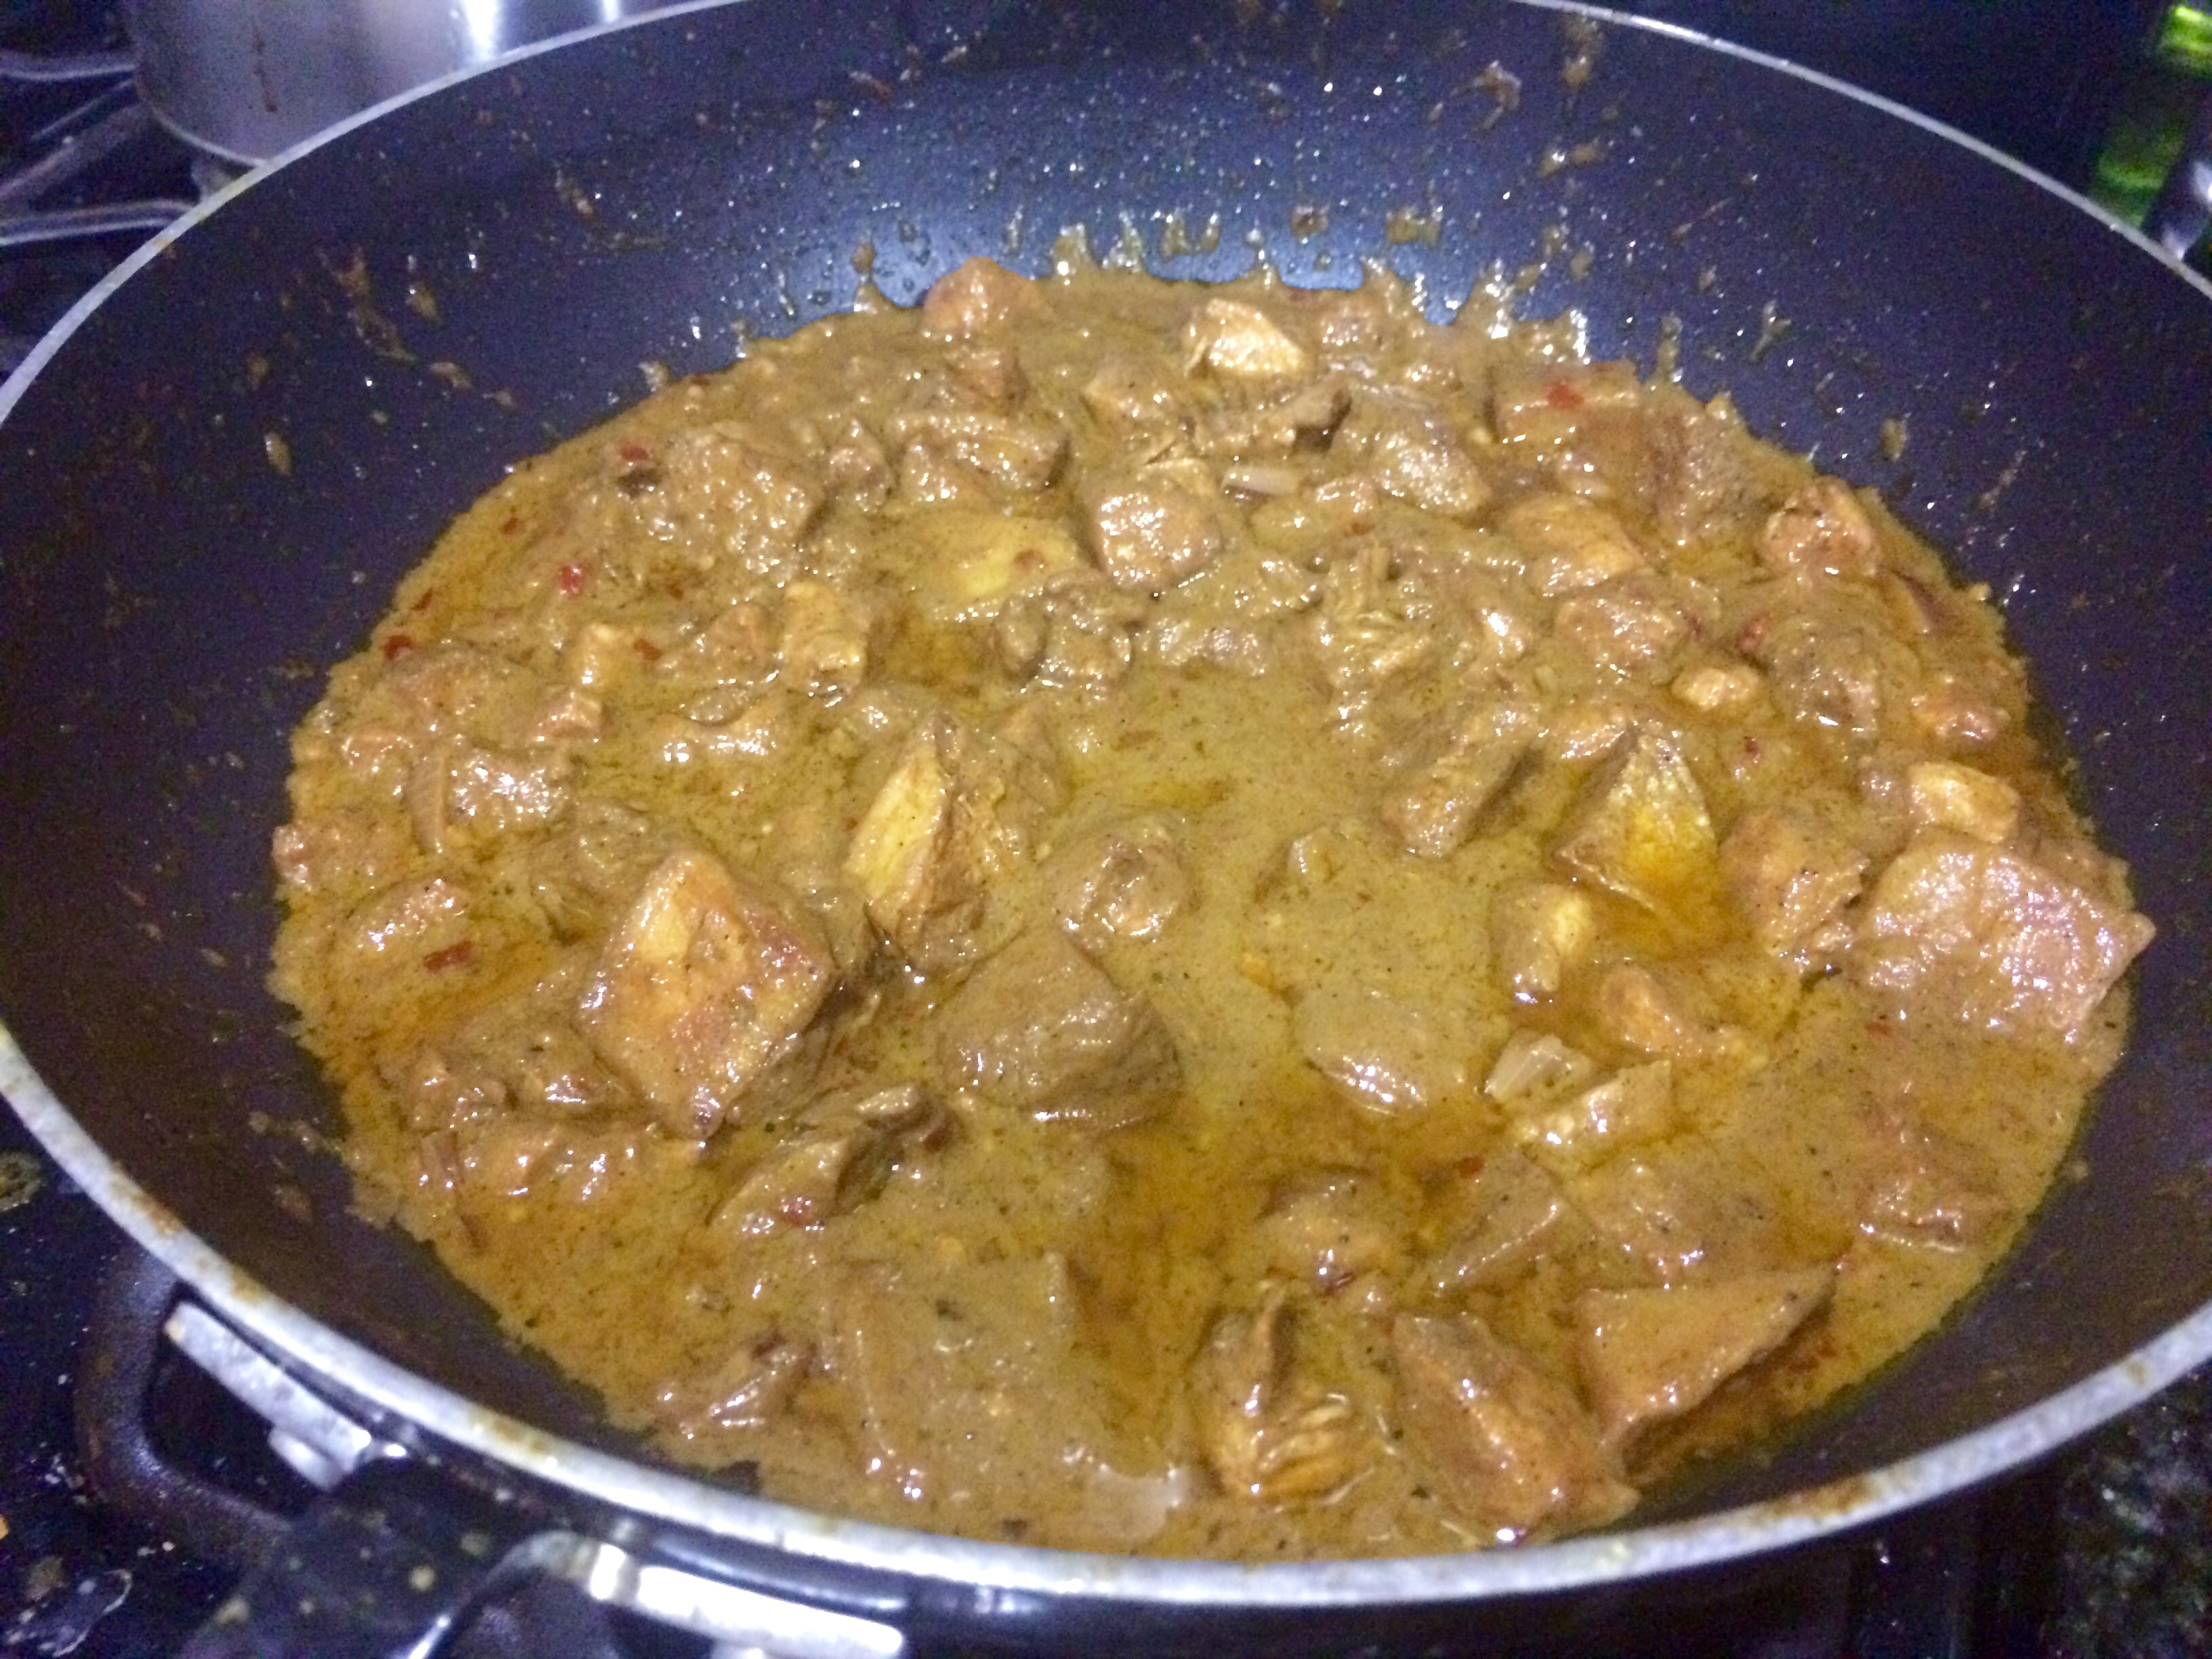
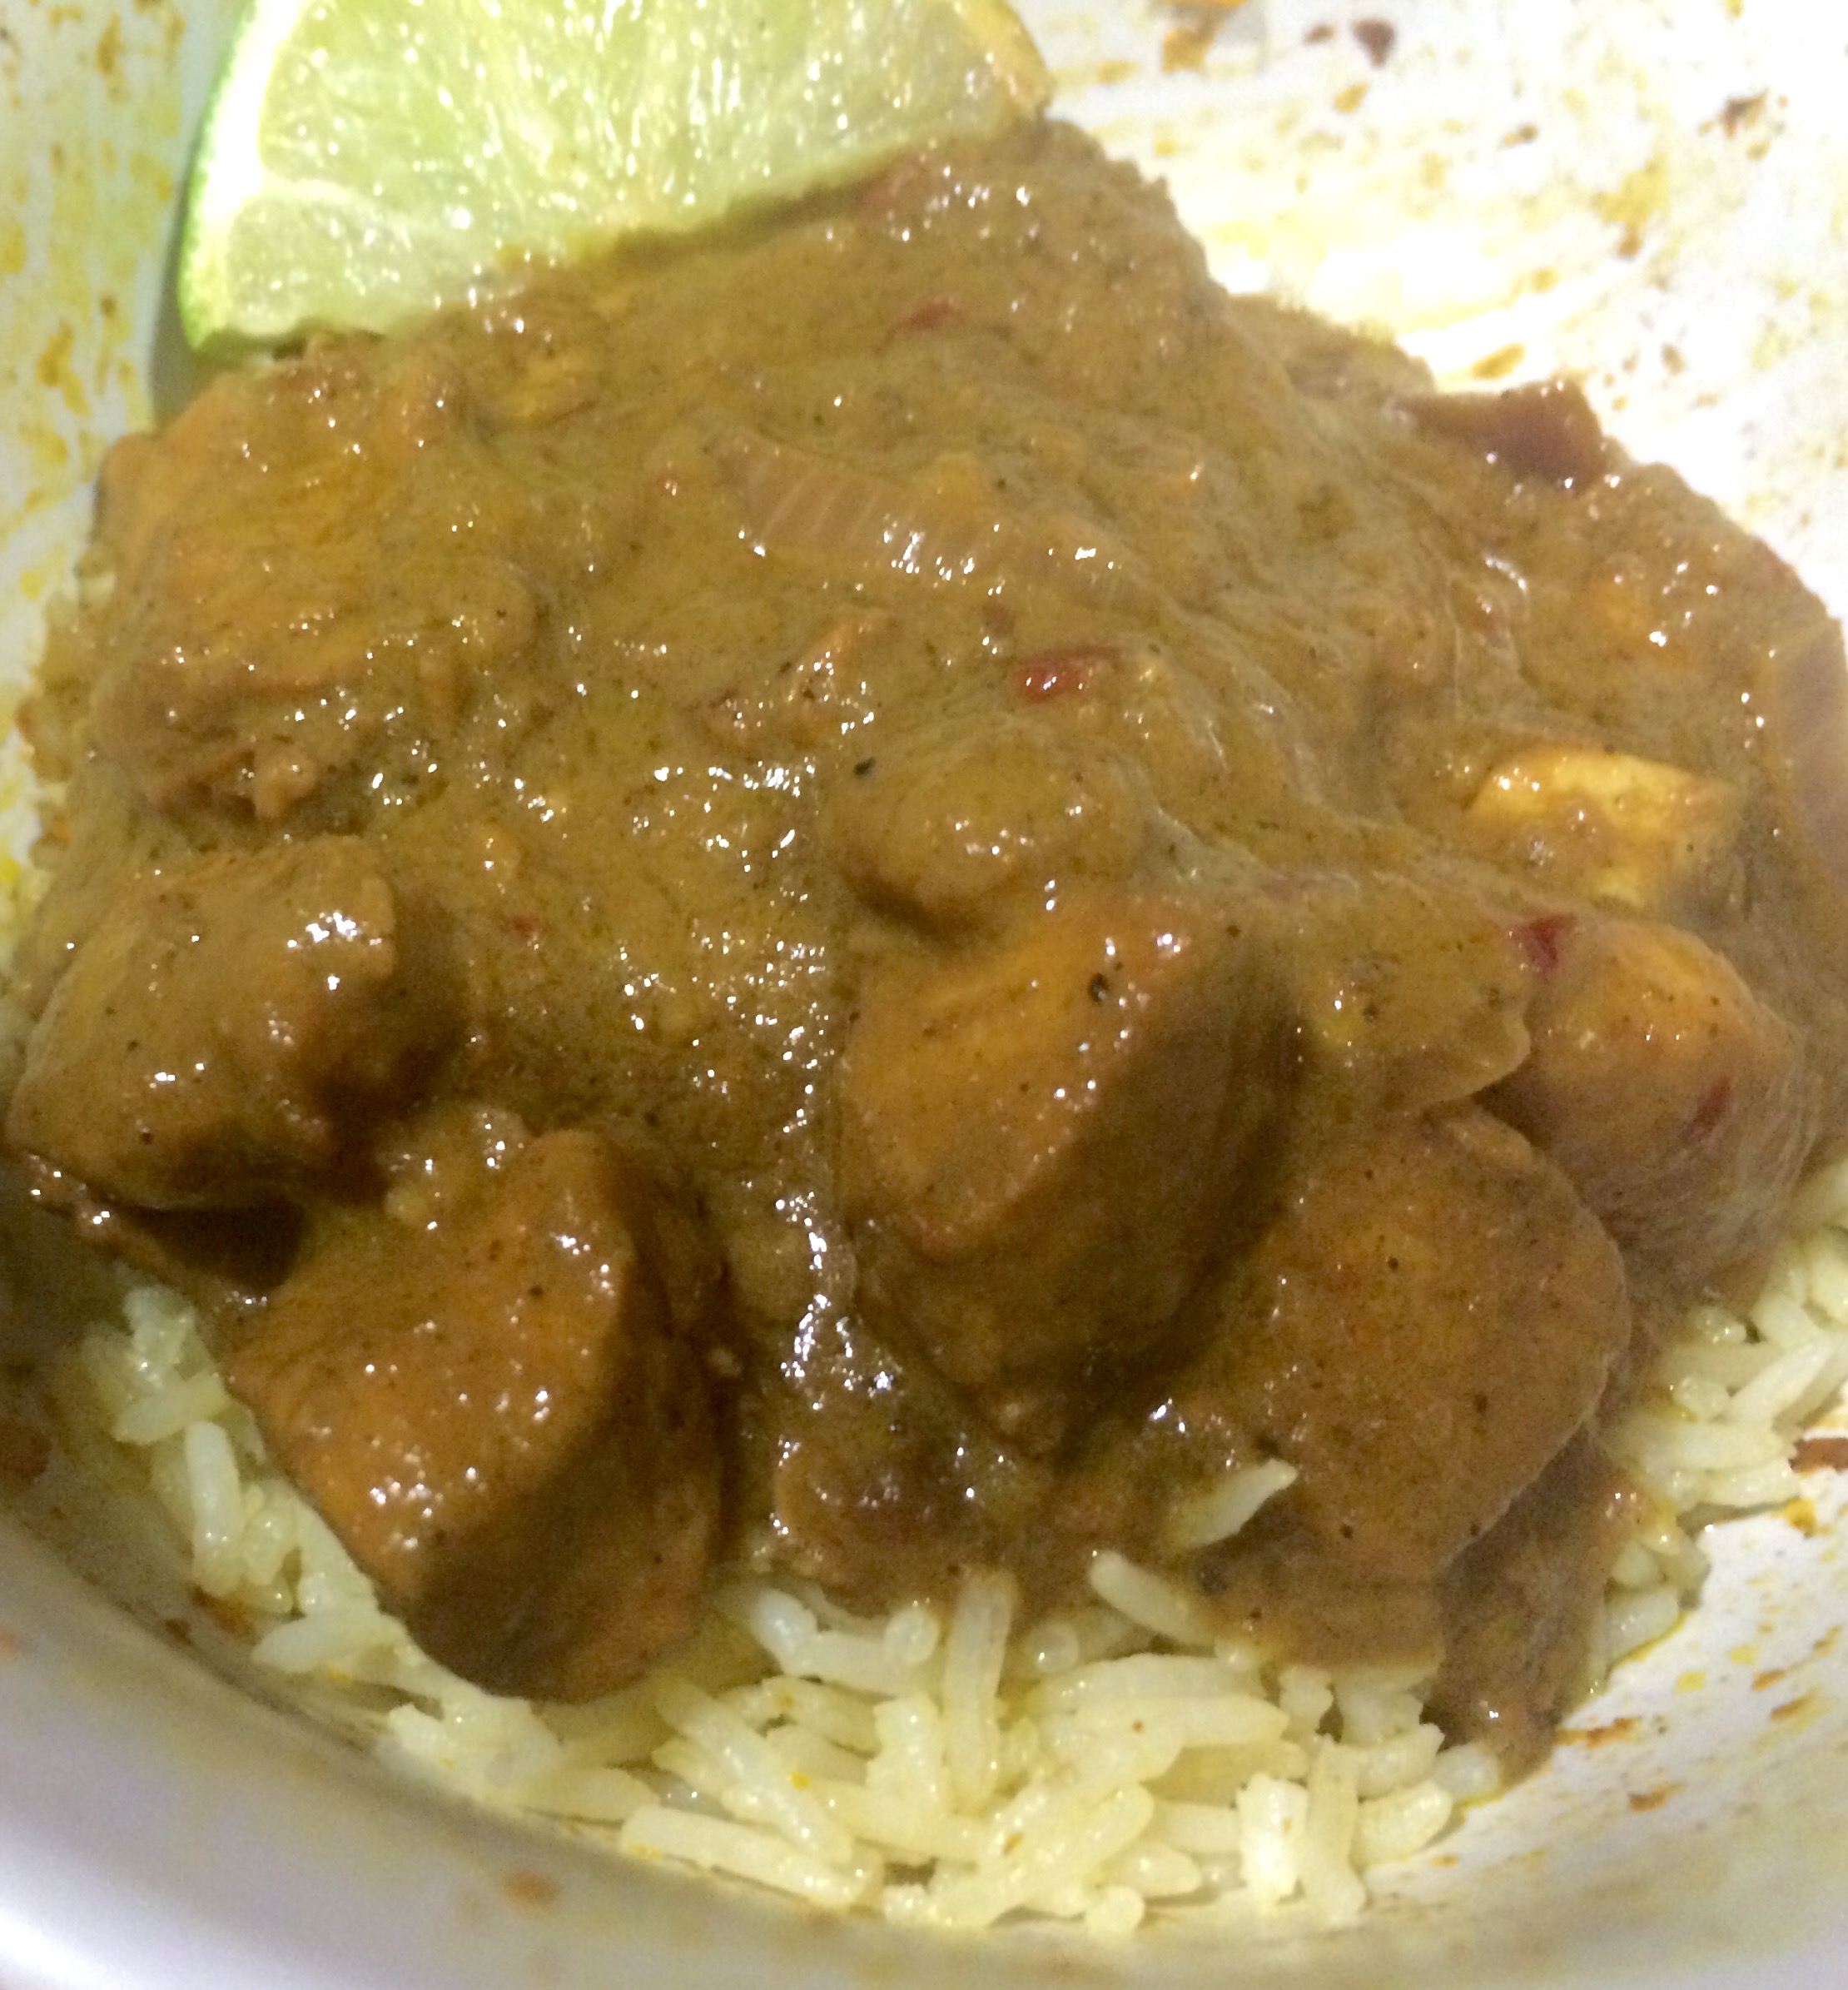
Curry Noodles with Crispy Tofu
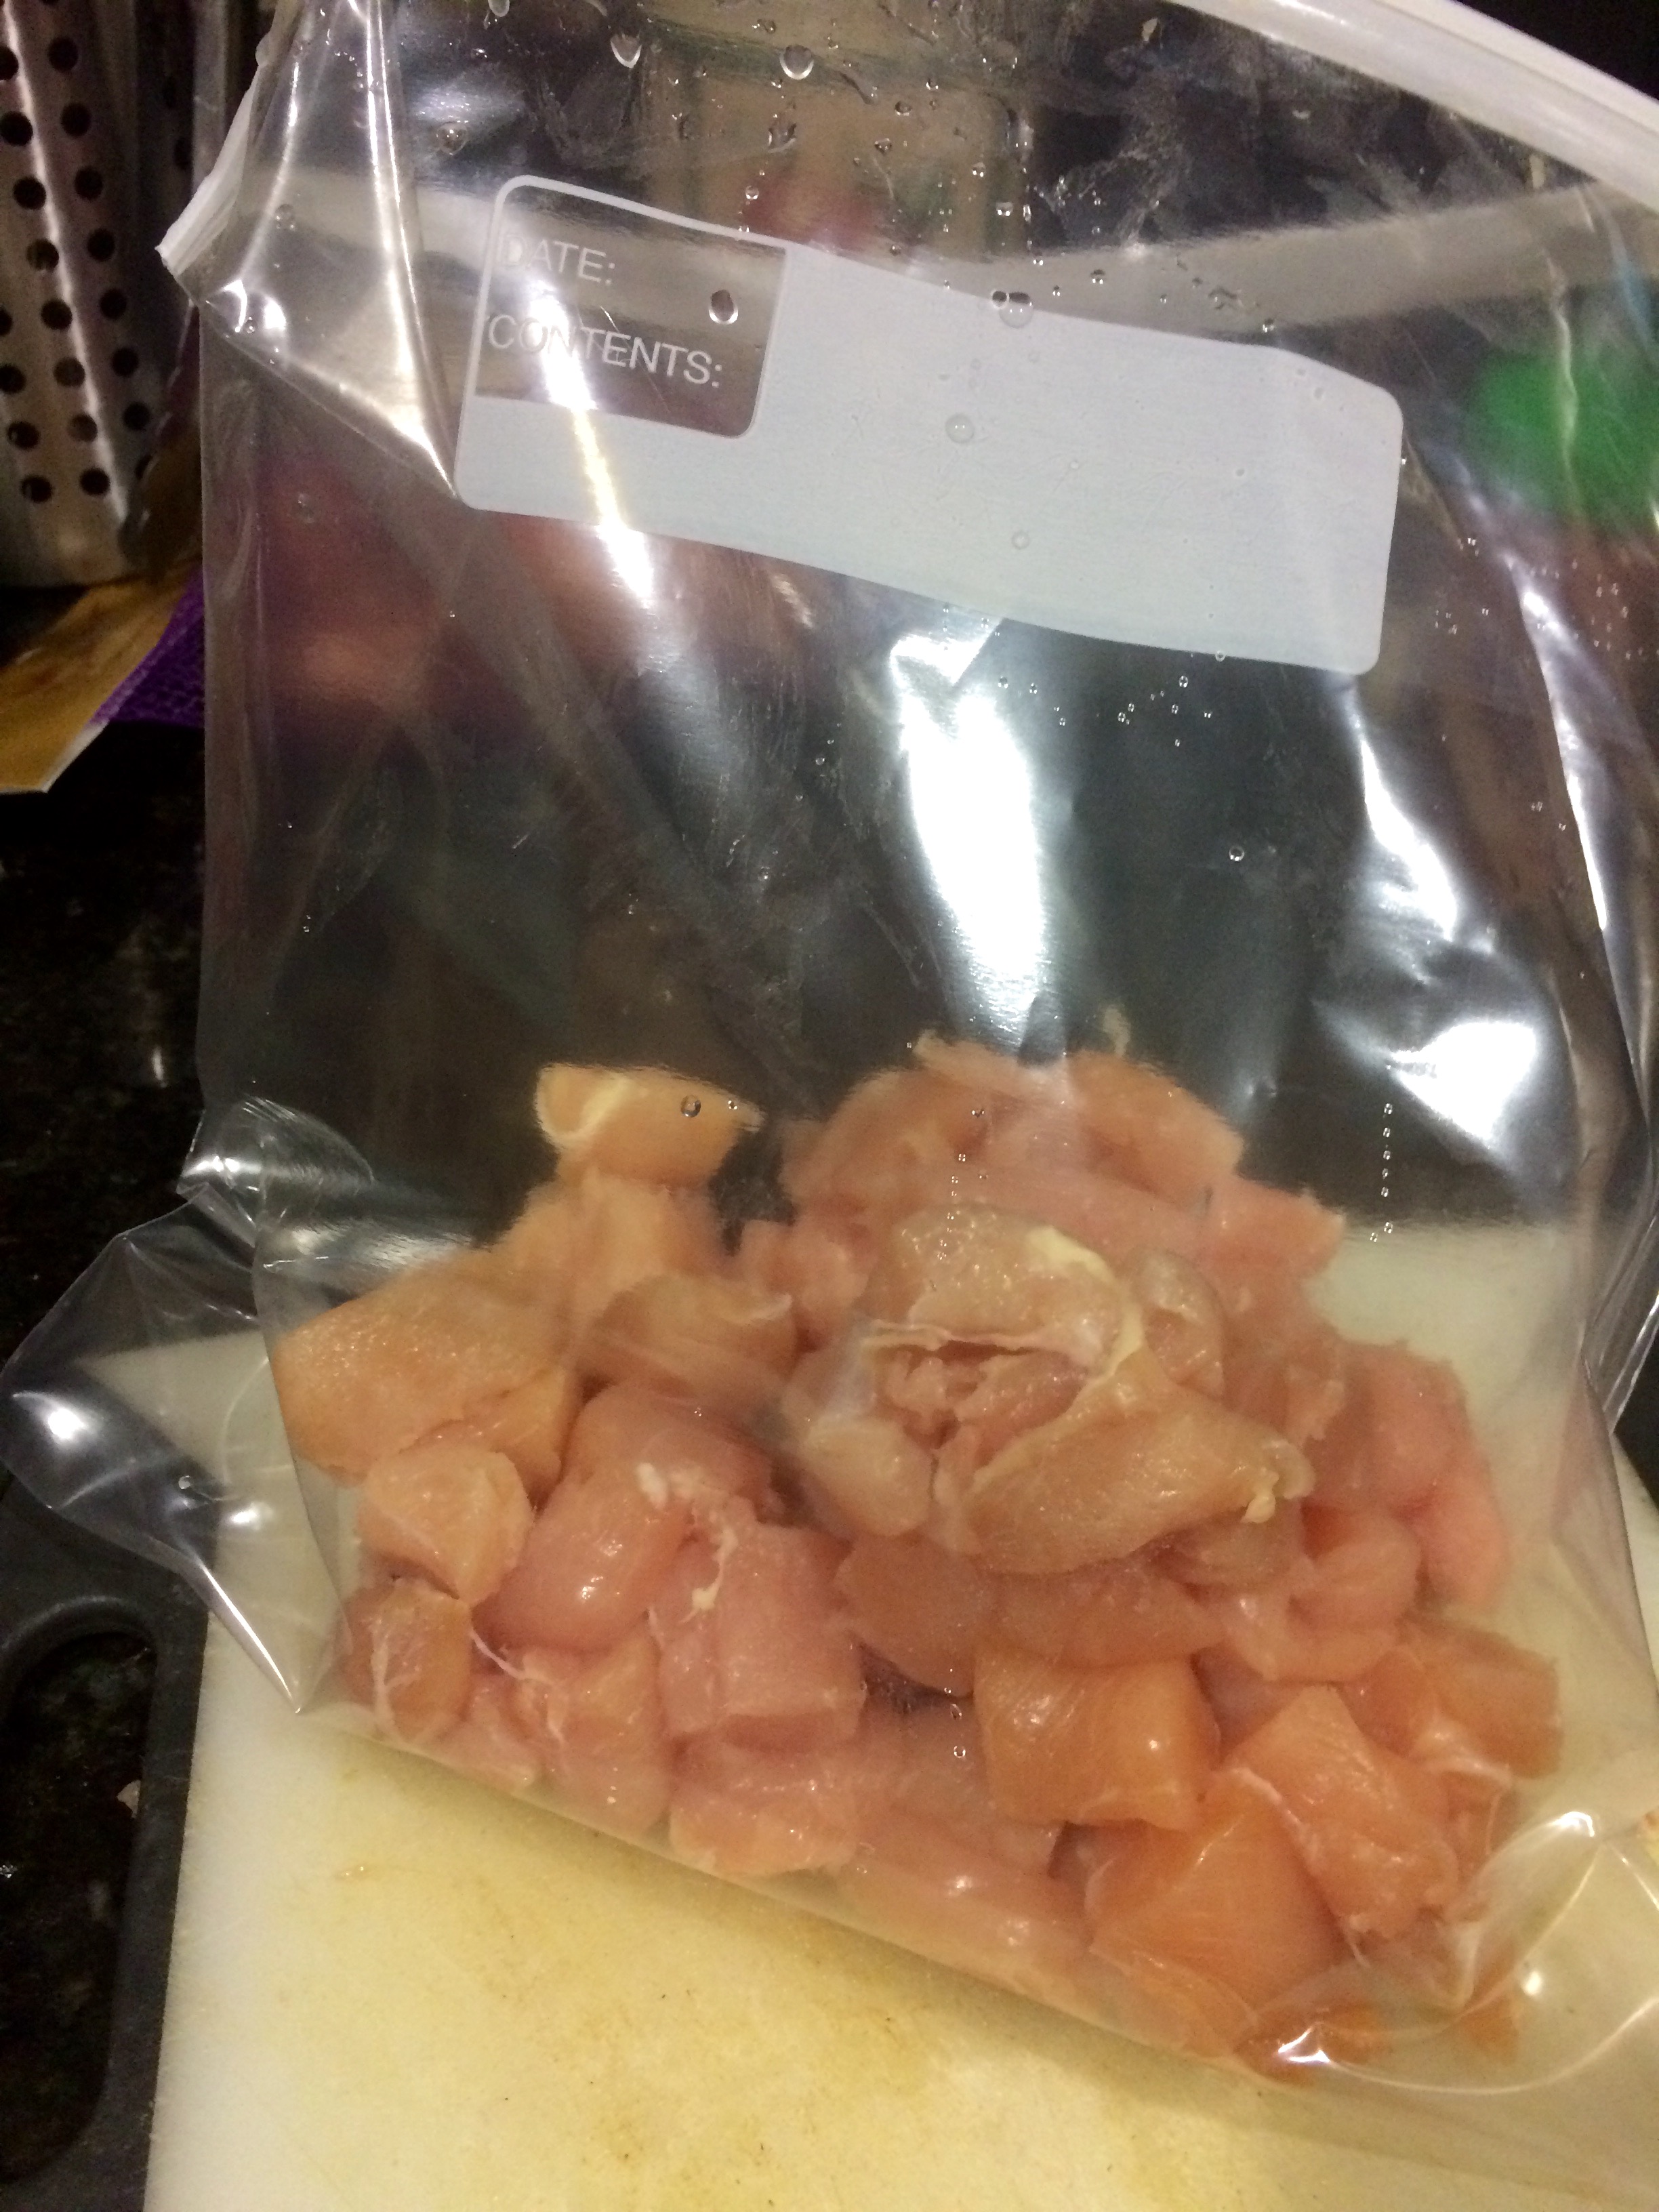
- 1 package of firm tofu, 14oz
- 1 pound of broad rice noodles
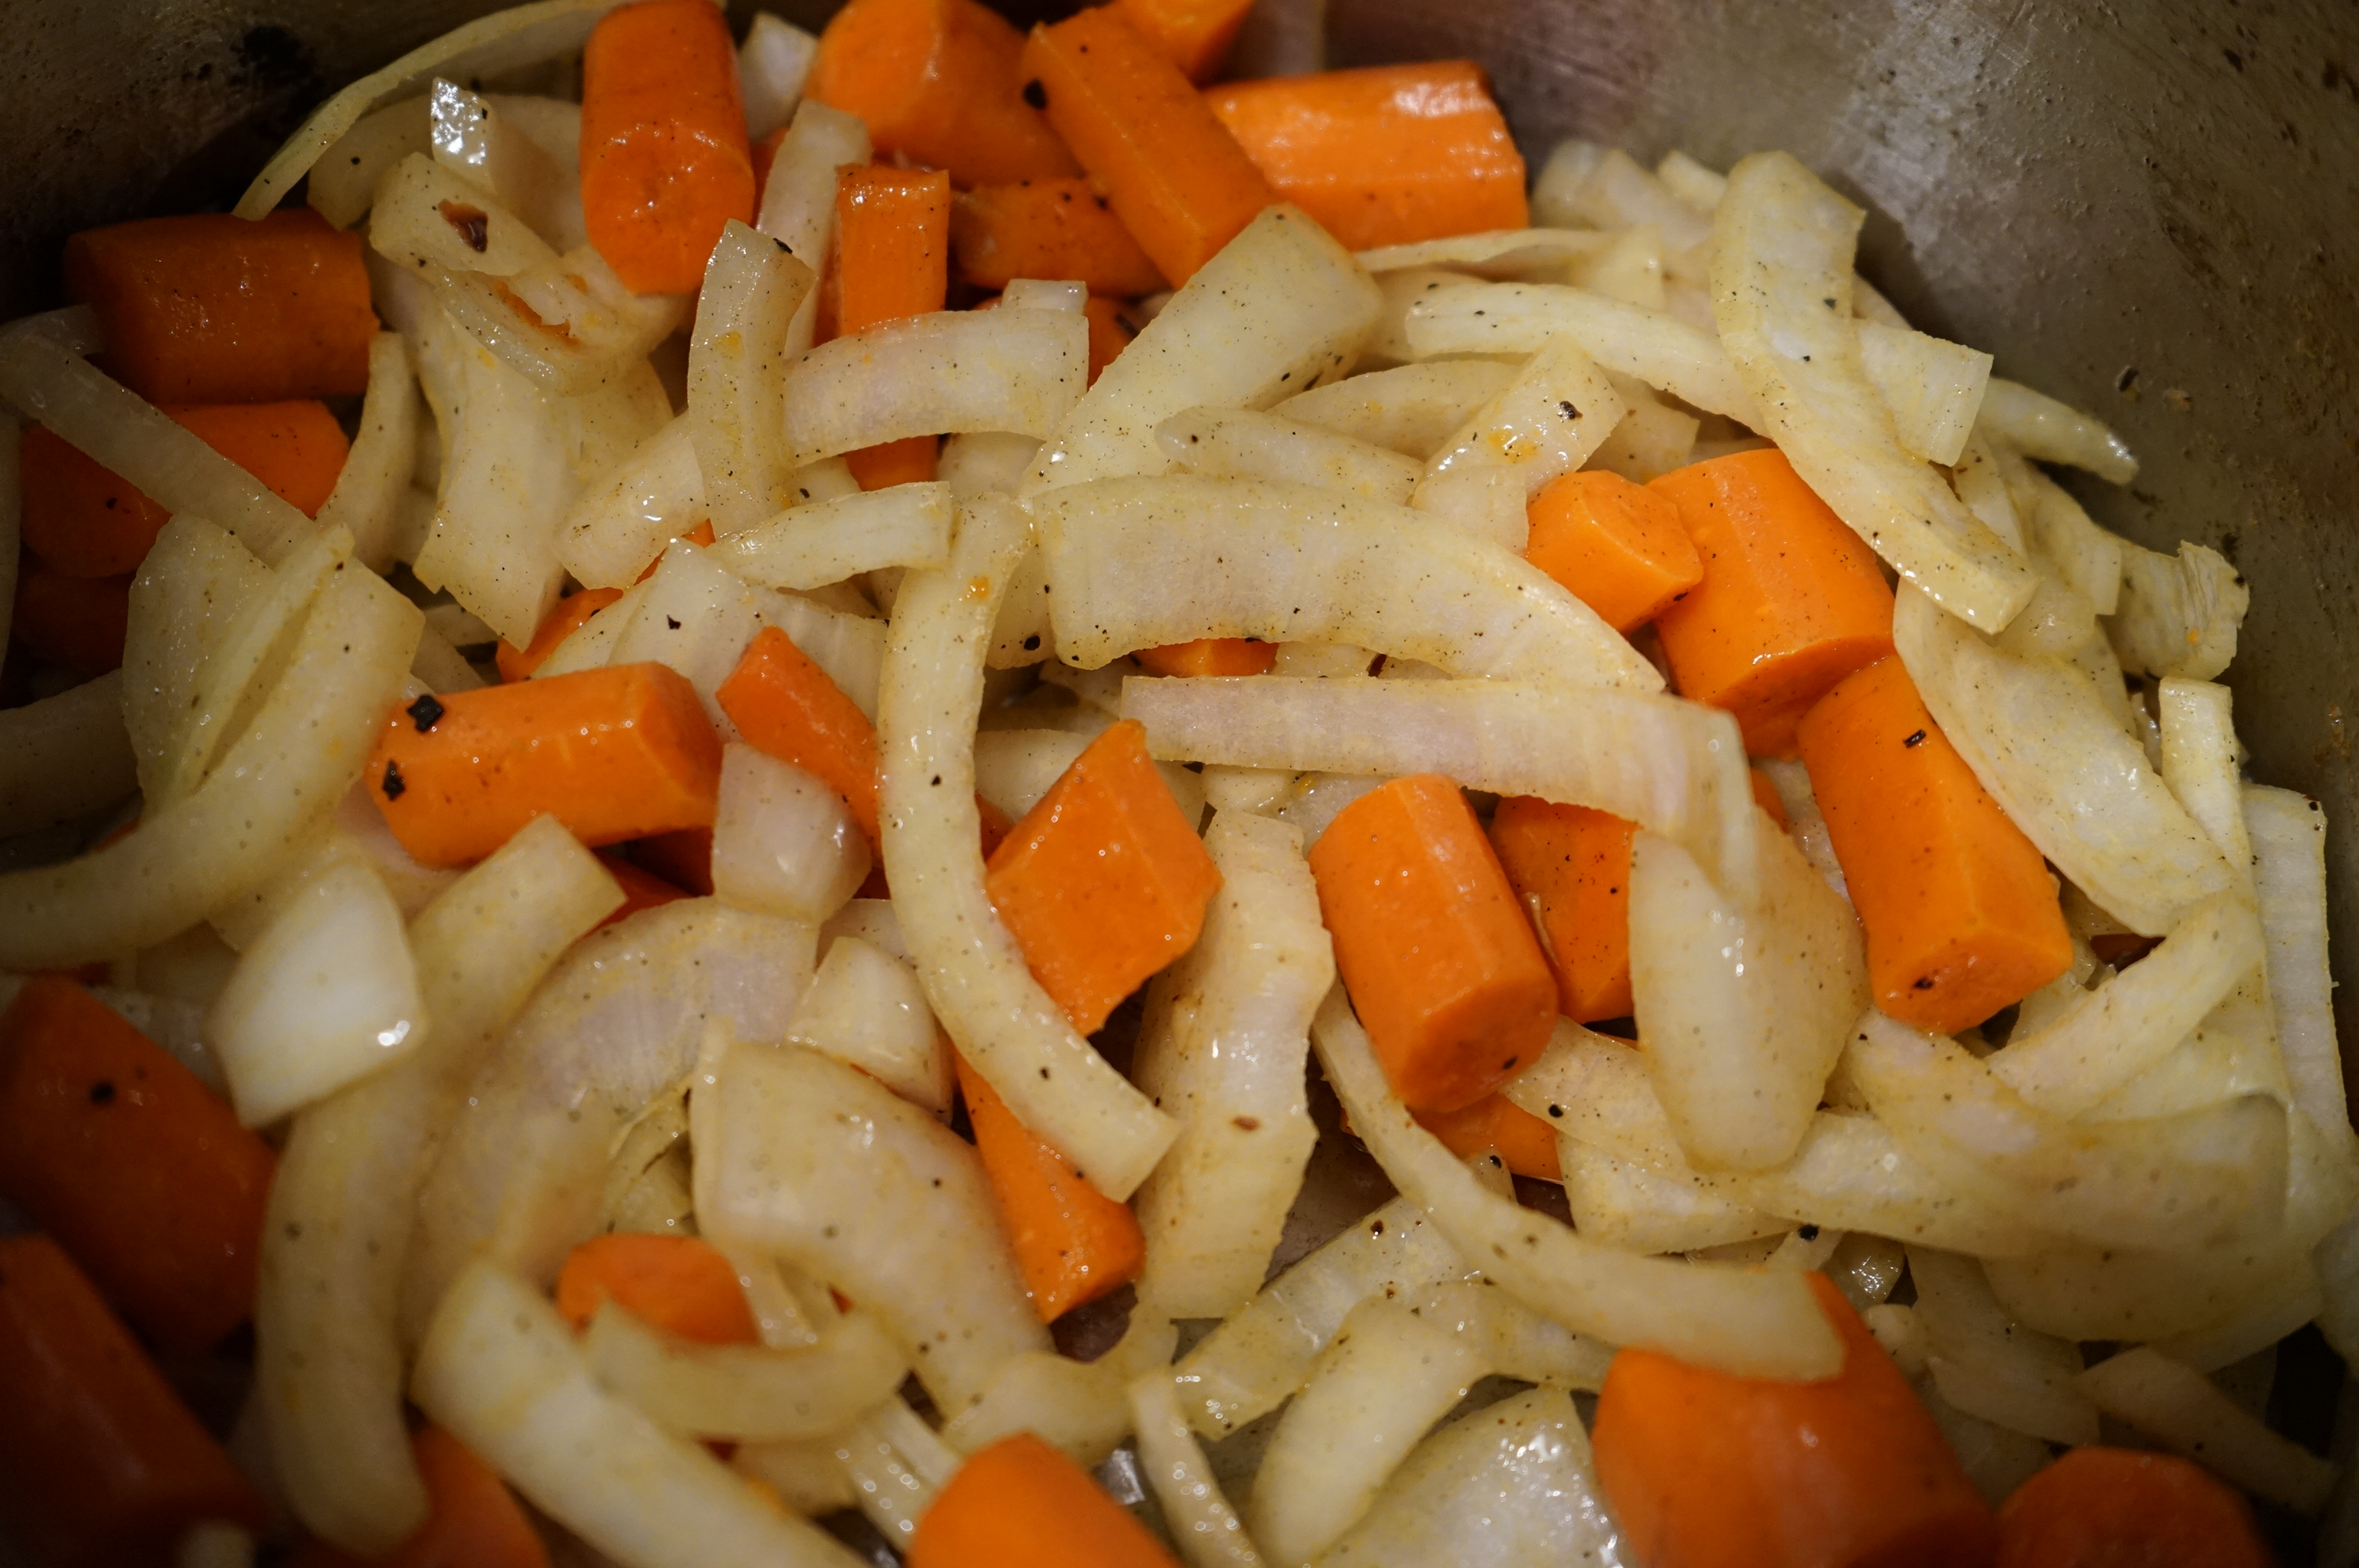
- 2 bell peppers, chopped
- 2 yellow onions, chopped
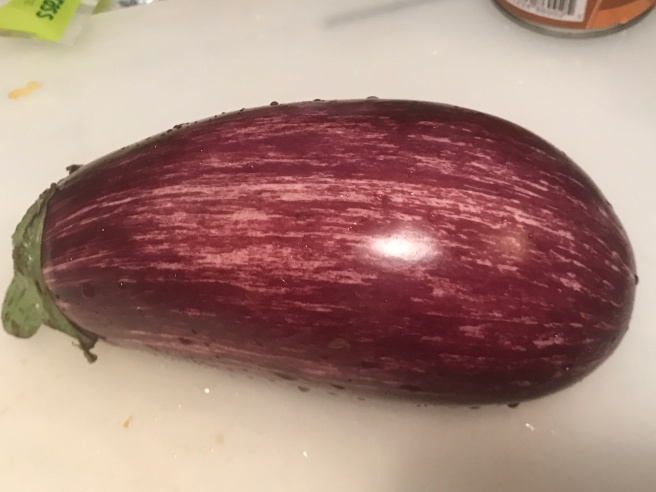
- 1 eggplant—chopped into bite sized pieces. I love to use Japanese or graffiti eggplant for this dish not only because of the beautiful color, but also because it has less water in it than an Italian eggplant, so it’ll be sweeter and stay firmer when cooked down
- 3-4 cloves of garlic, chopped
- 1 tbsp of fish sauce
- 1/2 jar of Mama Lam’s curry paste
- 1 tbsp of Sambal Olek chili sauce
- 1 bunch of scallions, chopped (reserve some for garnish)—also called green onion or spring onion in some supermarkets
- 1 can of coconut milk—do not use reduced fat as the texture and thickness of the sauce will be off. Plus, coconut milk is a healthy fat
- Vegetable or peanut oil—any high heat oil will do such as canola, corn, grapeseed oil, etc.


- The first step of this dish is to make the crispy tofu—who doesn’t like their tofu crispy?


- Tofu has a lot of water, which is why it usually tastes bland. In fact, the biggest mistake that most cooks make when handling tofu is not getting rid of the excess water. This will never work! Even if you just want to marinade the tofu you’ll still need to do this step

- Put the tofu between two paper towels and press. Repeat this process 2-3 times, and then let the tofu sit between the towels for at least 20 minutes to really draw out the moisture
- Heat up your wok until it starts to smoke a little, then add the oil. It’s important that you don’t add your oil before this as you don’t want it to bubble up and burn you
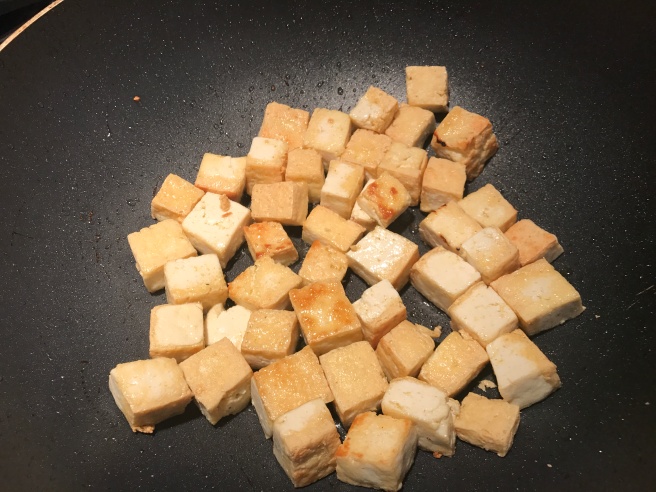
- Add the tofu to the wok and spread it out in a single layer—you should hear it sizzle. If there’s no sizzle, then your wok isn’t hot enough and your tofu will steam instead of crisp up
- Let the tofu cook on one side for a couple min, then mix it up and repeat this process a few times until it’s crispy on all sides. This shouldn’t take longer than 10 minutes or so
- Put your tofu on a plate and place aside for later on
- Heat your wok back up on the stove while you get the rest of your ingredients ready
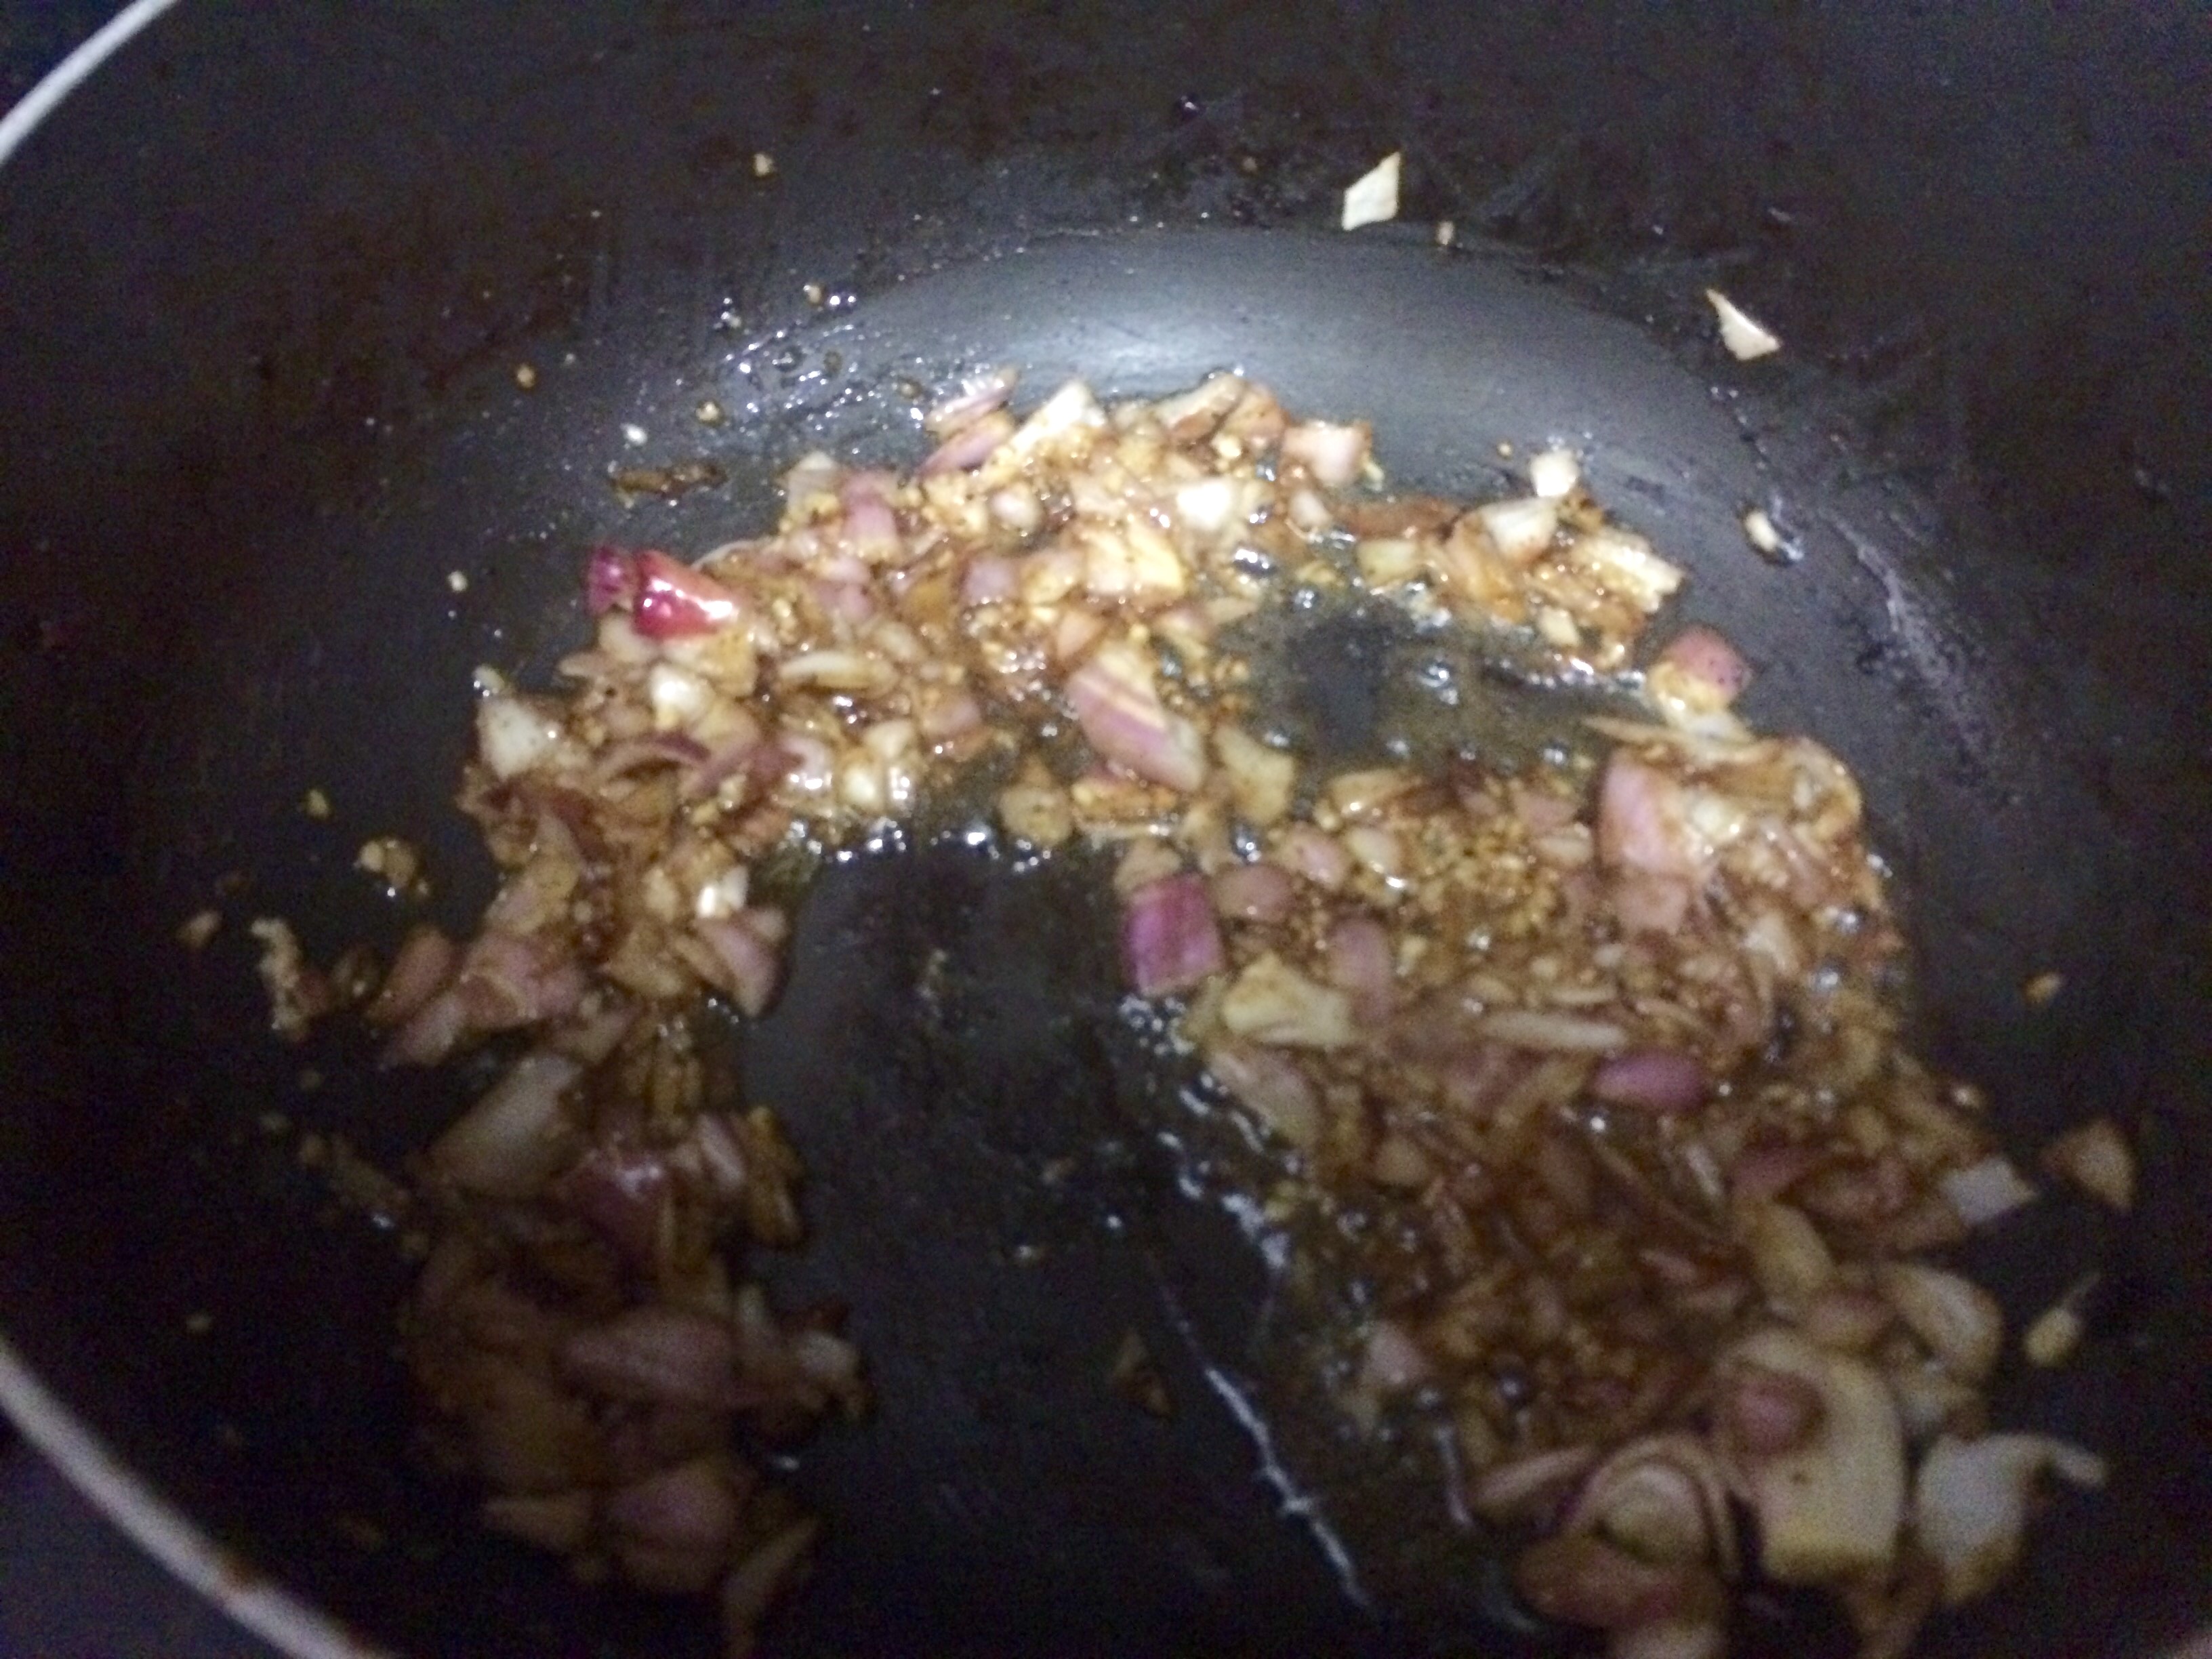
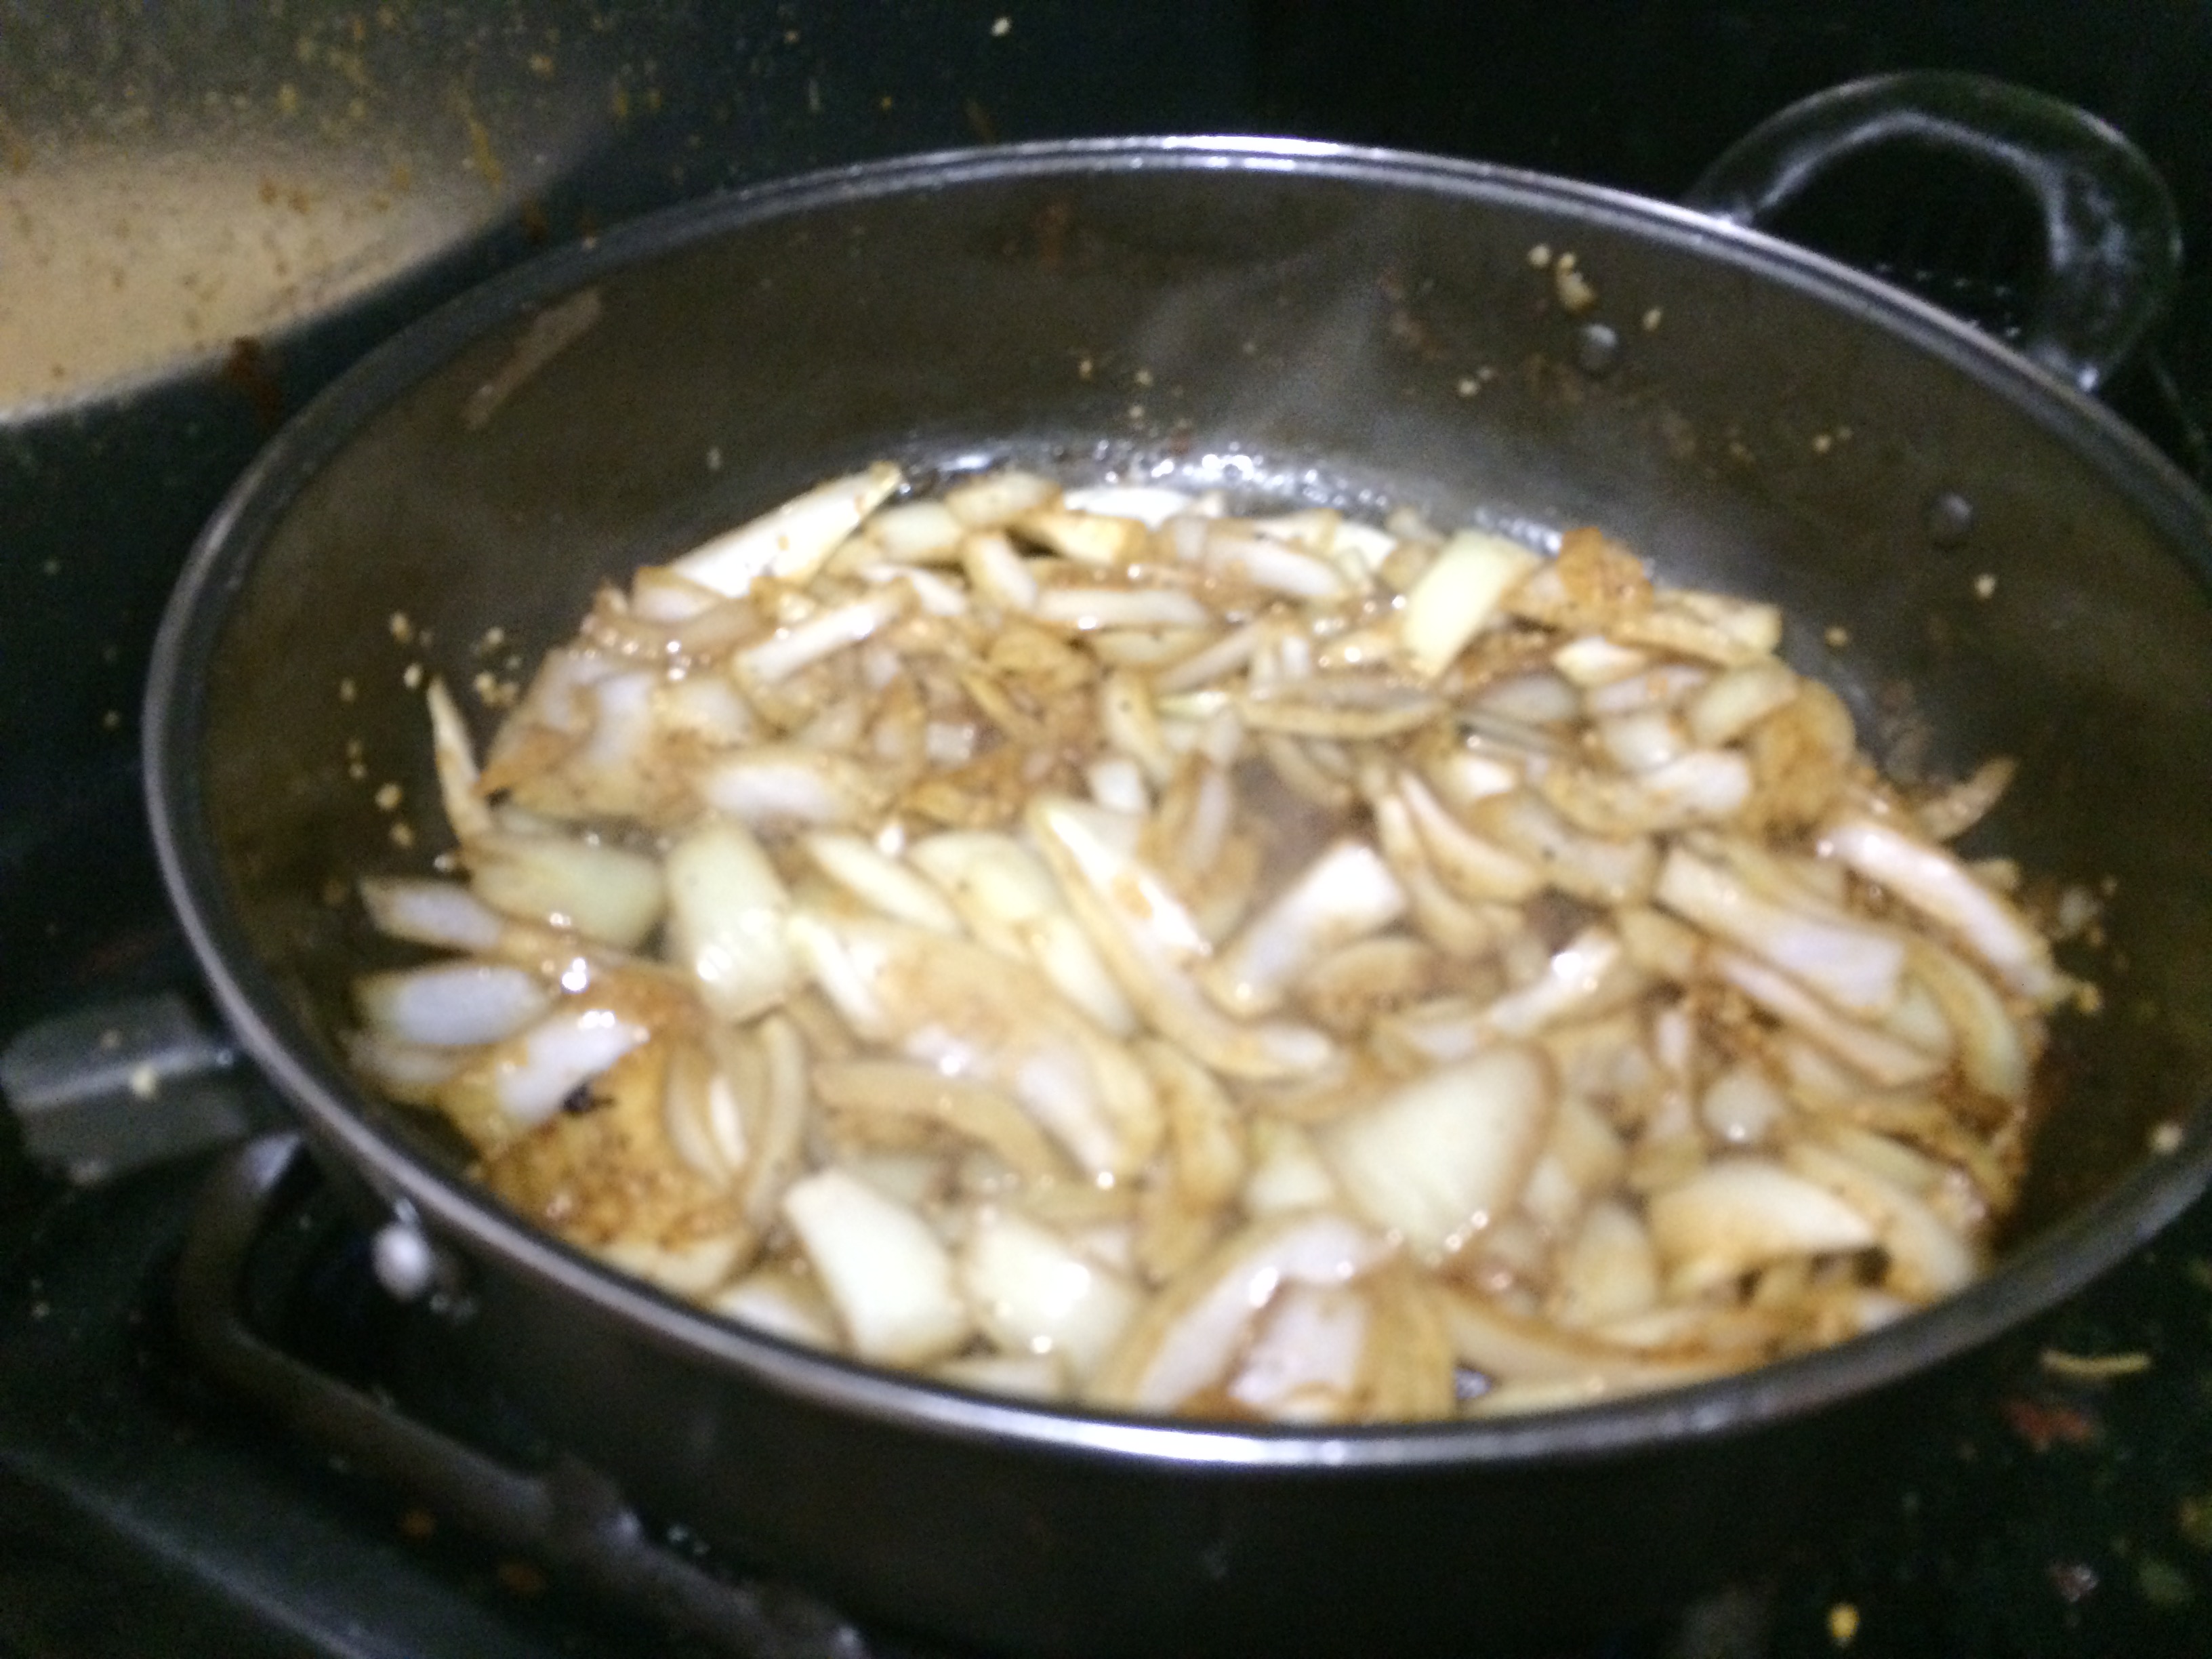
- Add some more oil, then add the garlic, ginger and scallions—this is the holy trinity of Asian dishes!
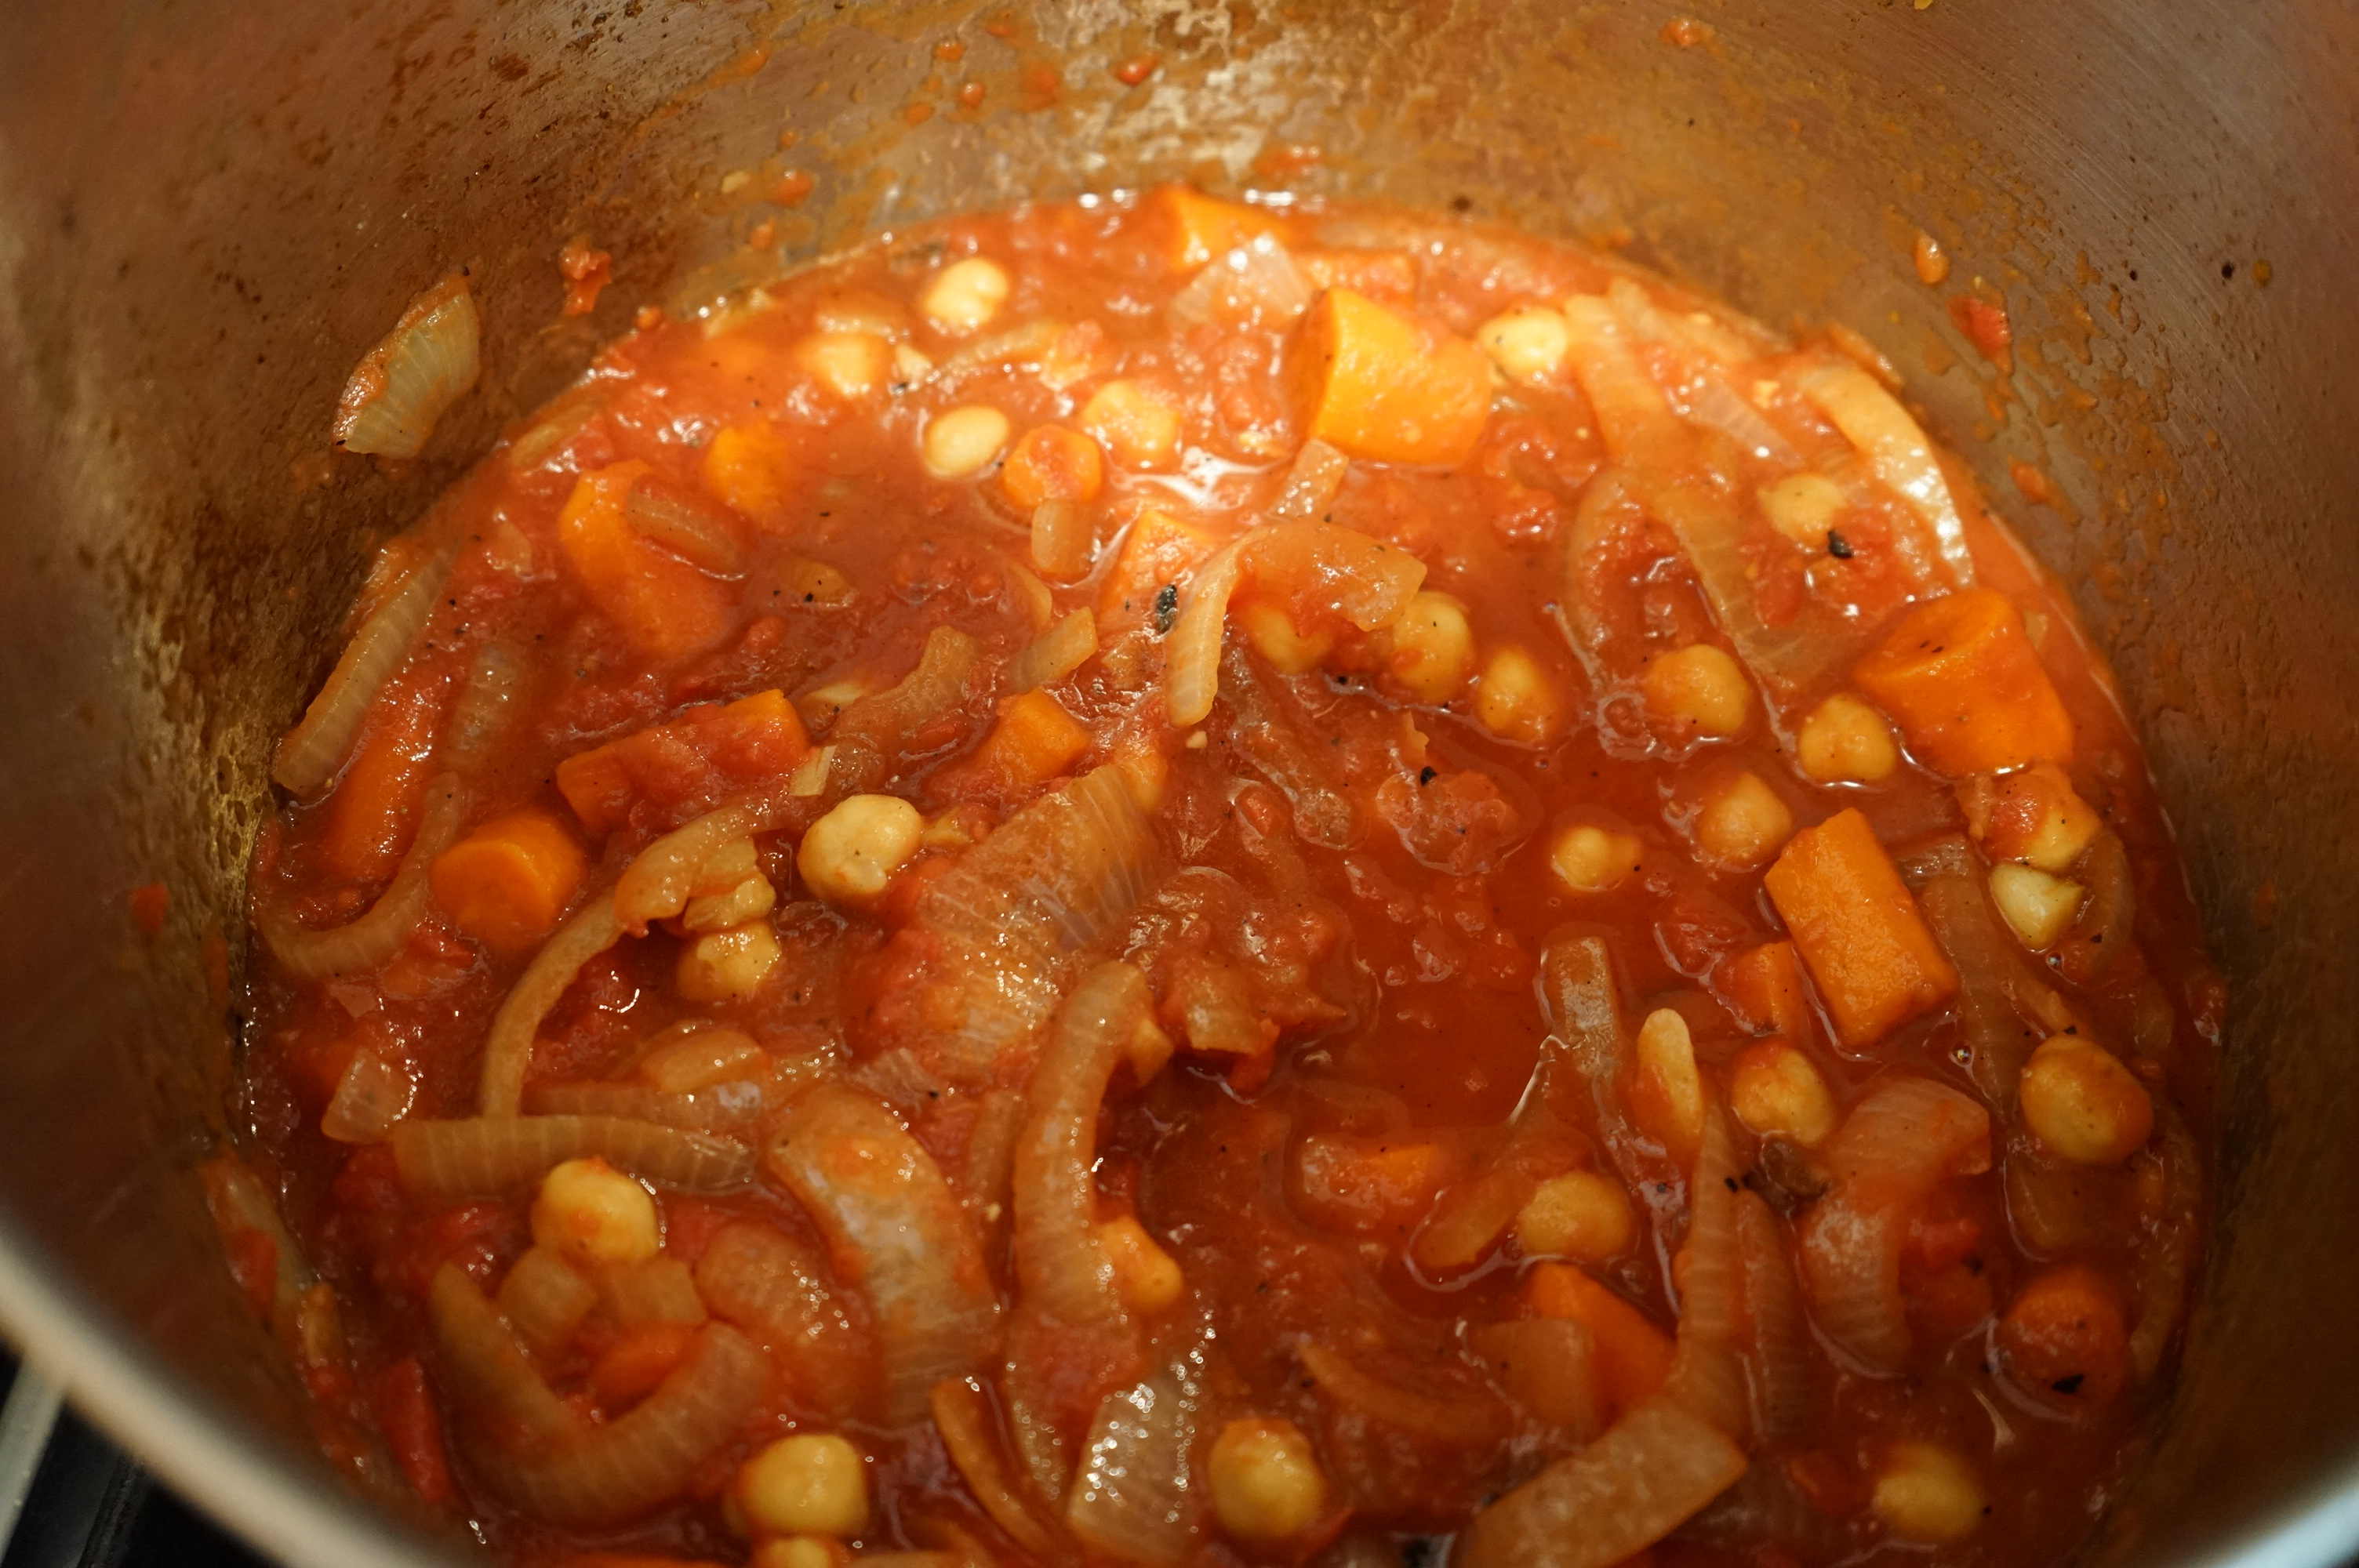
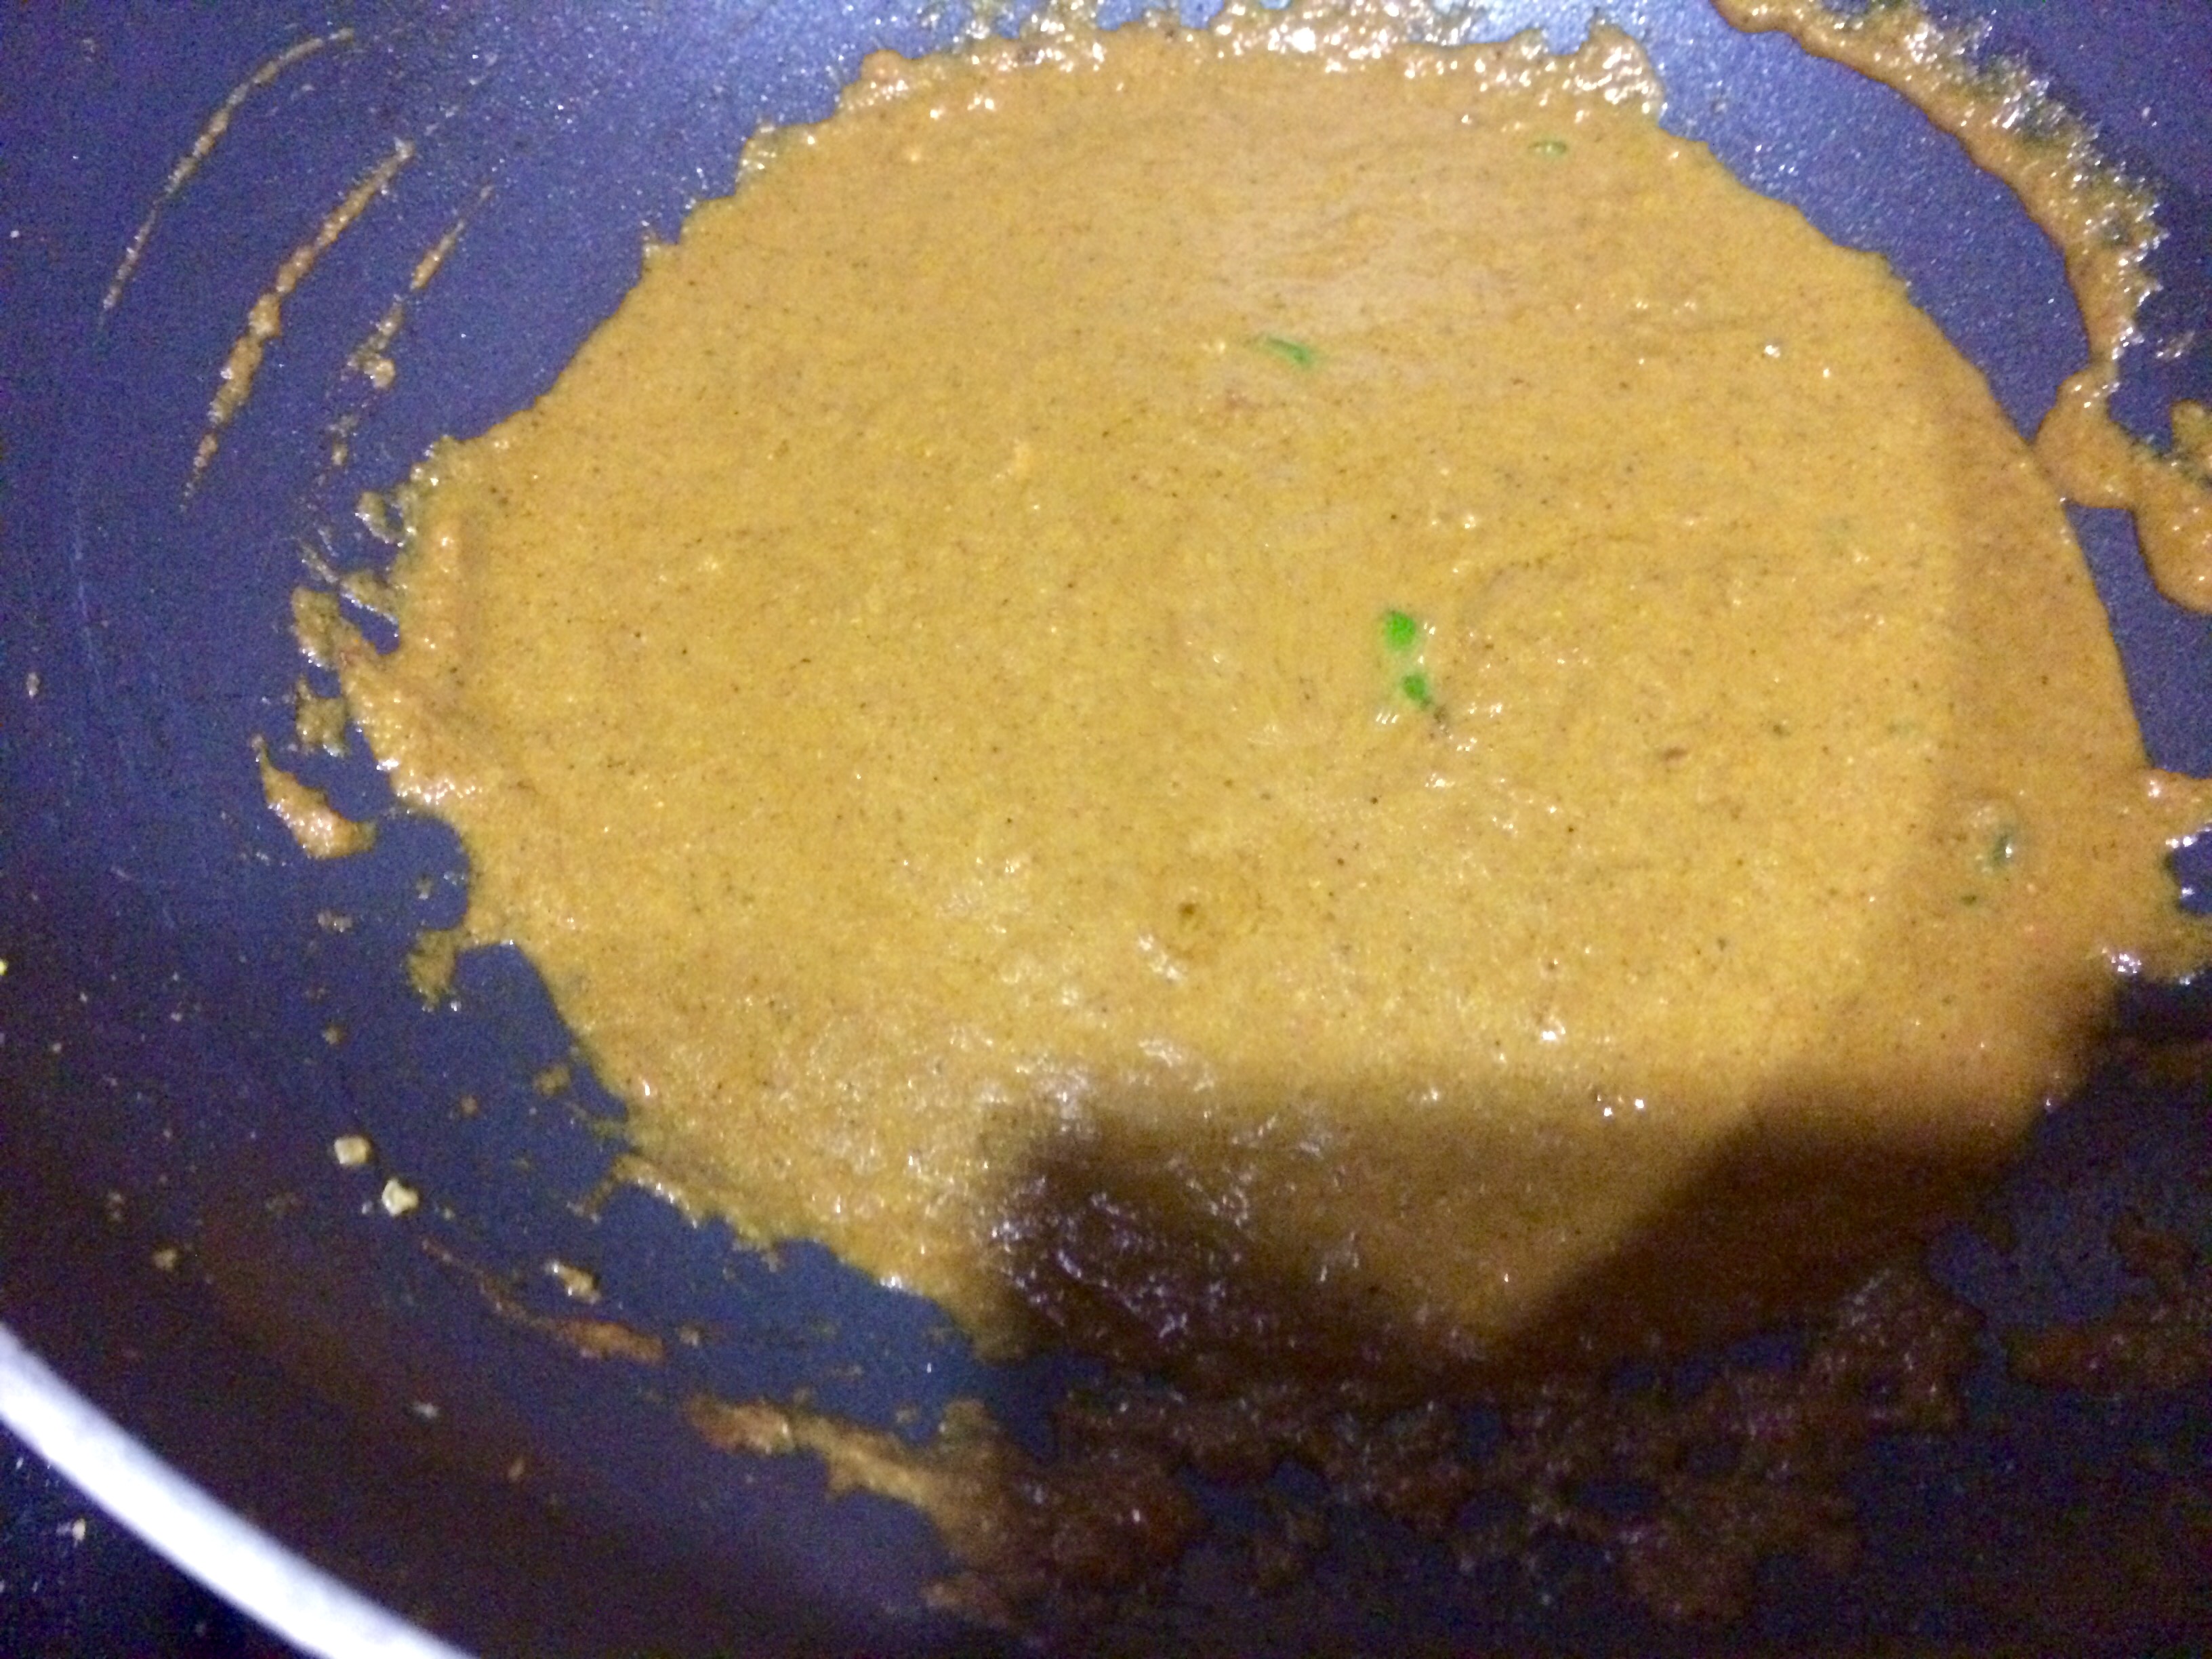
- Let these sauté for a minute, then add the curry paste and heat through, followed by the onions, peppers and eggplant
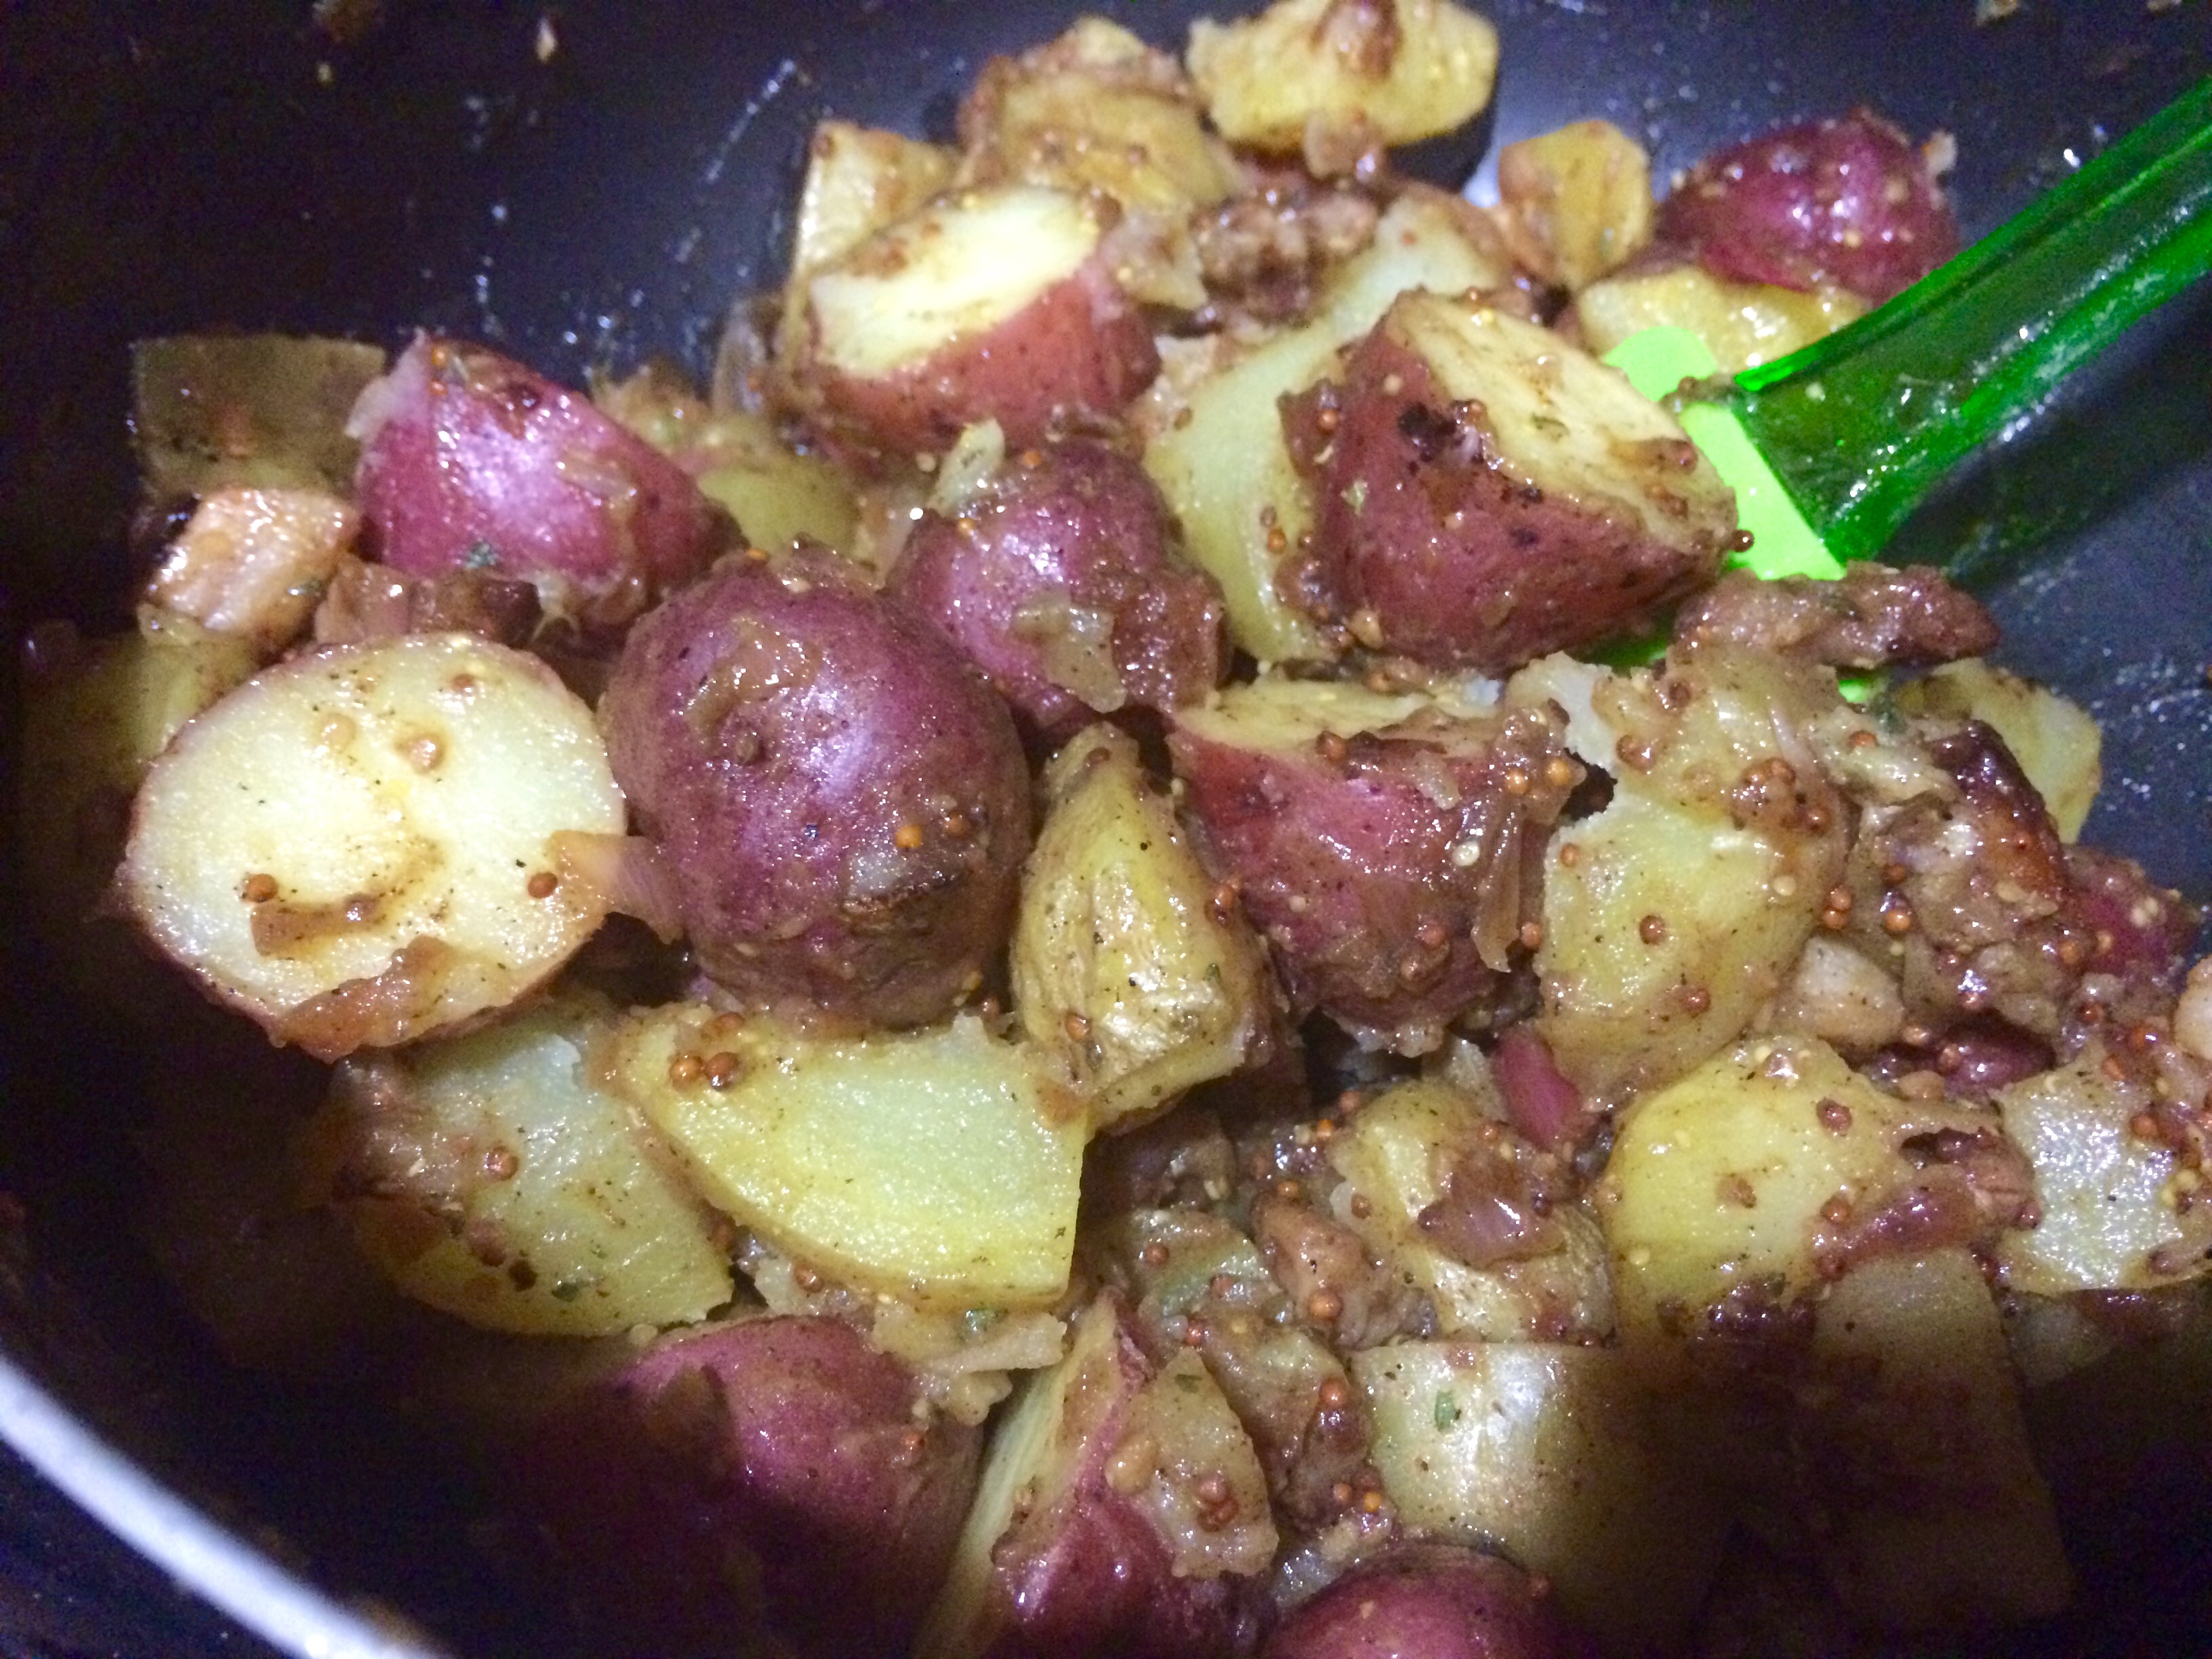
- Let the veggies cook for a few minutes, then add the fish sauce, chili sauce and coconut milk and stir until it becomes a homogenized sauce
- Cook the curry for at least 10 minutes or longer depending on how thick you like your sauce—as it cooks the flavors of the salty fish sauce, spicy chilis, earthy curry and more will concentrate
- Meanwhile, drop the rice noodles into some salted boiling water—off the heat—and let soak for 5 minutes
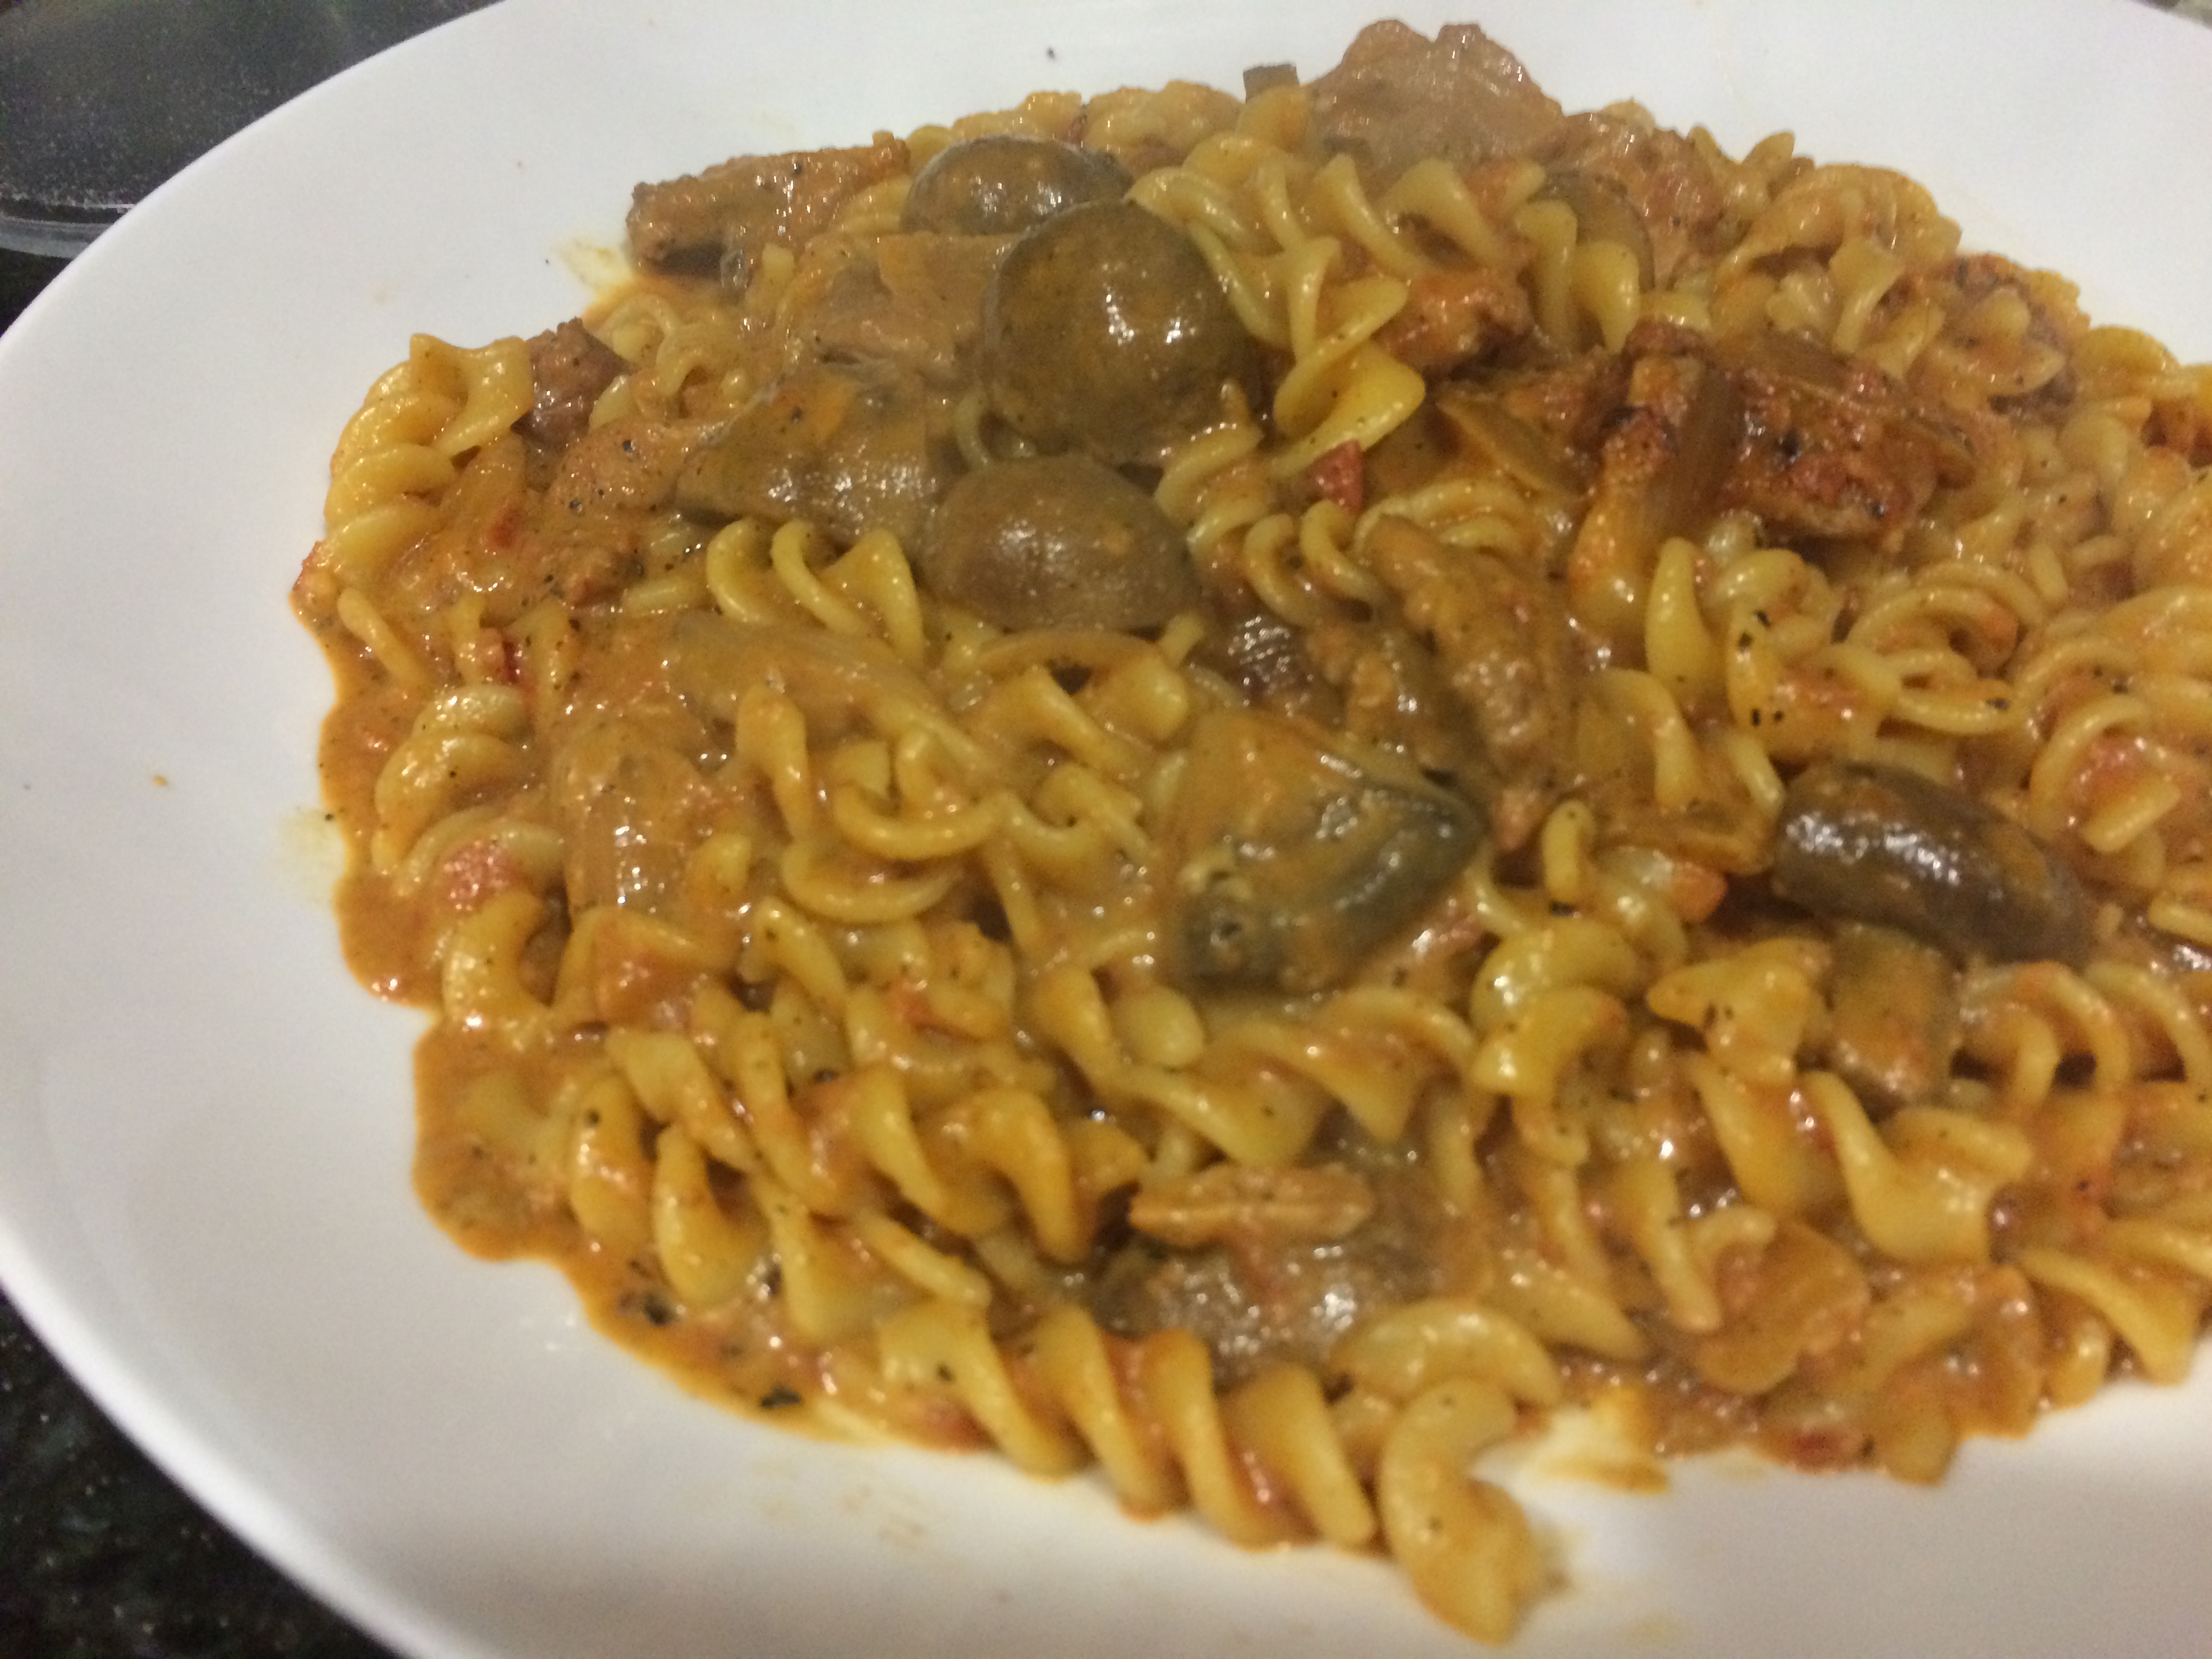
- Add the par-cooked noodles to the curry and toss together in the wok
- Let the noodles and curry cook together as the noodles absorb the sauce and meld together into one cohesive dish
- Garnish with the crispy tofu, fresh cilantro, chopped scallions, and some chopped peanuts or pistachios if you’d like to tie the two dishes together even more
- Eat while still hot or add some sesame oil and have as a cold salad the next day for lunch. Yum!
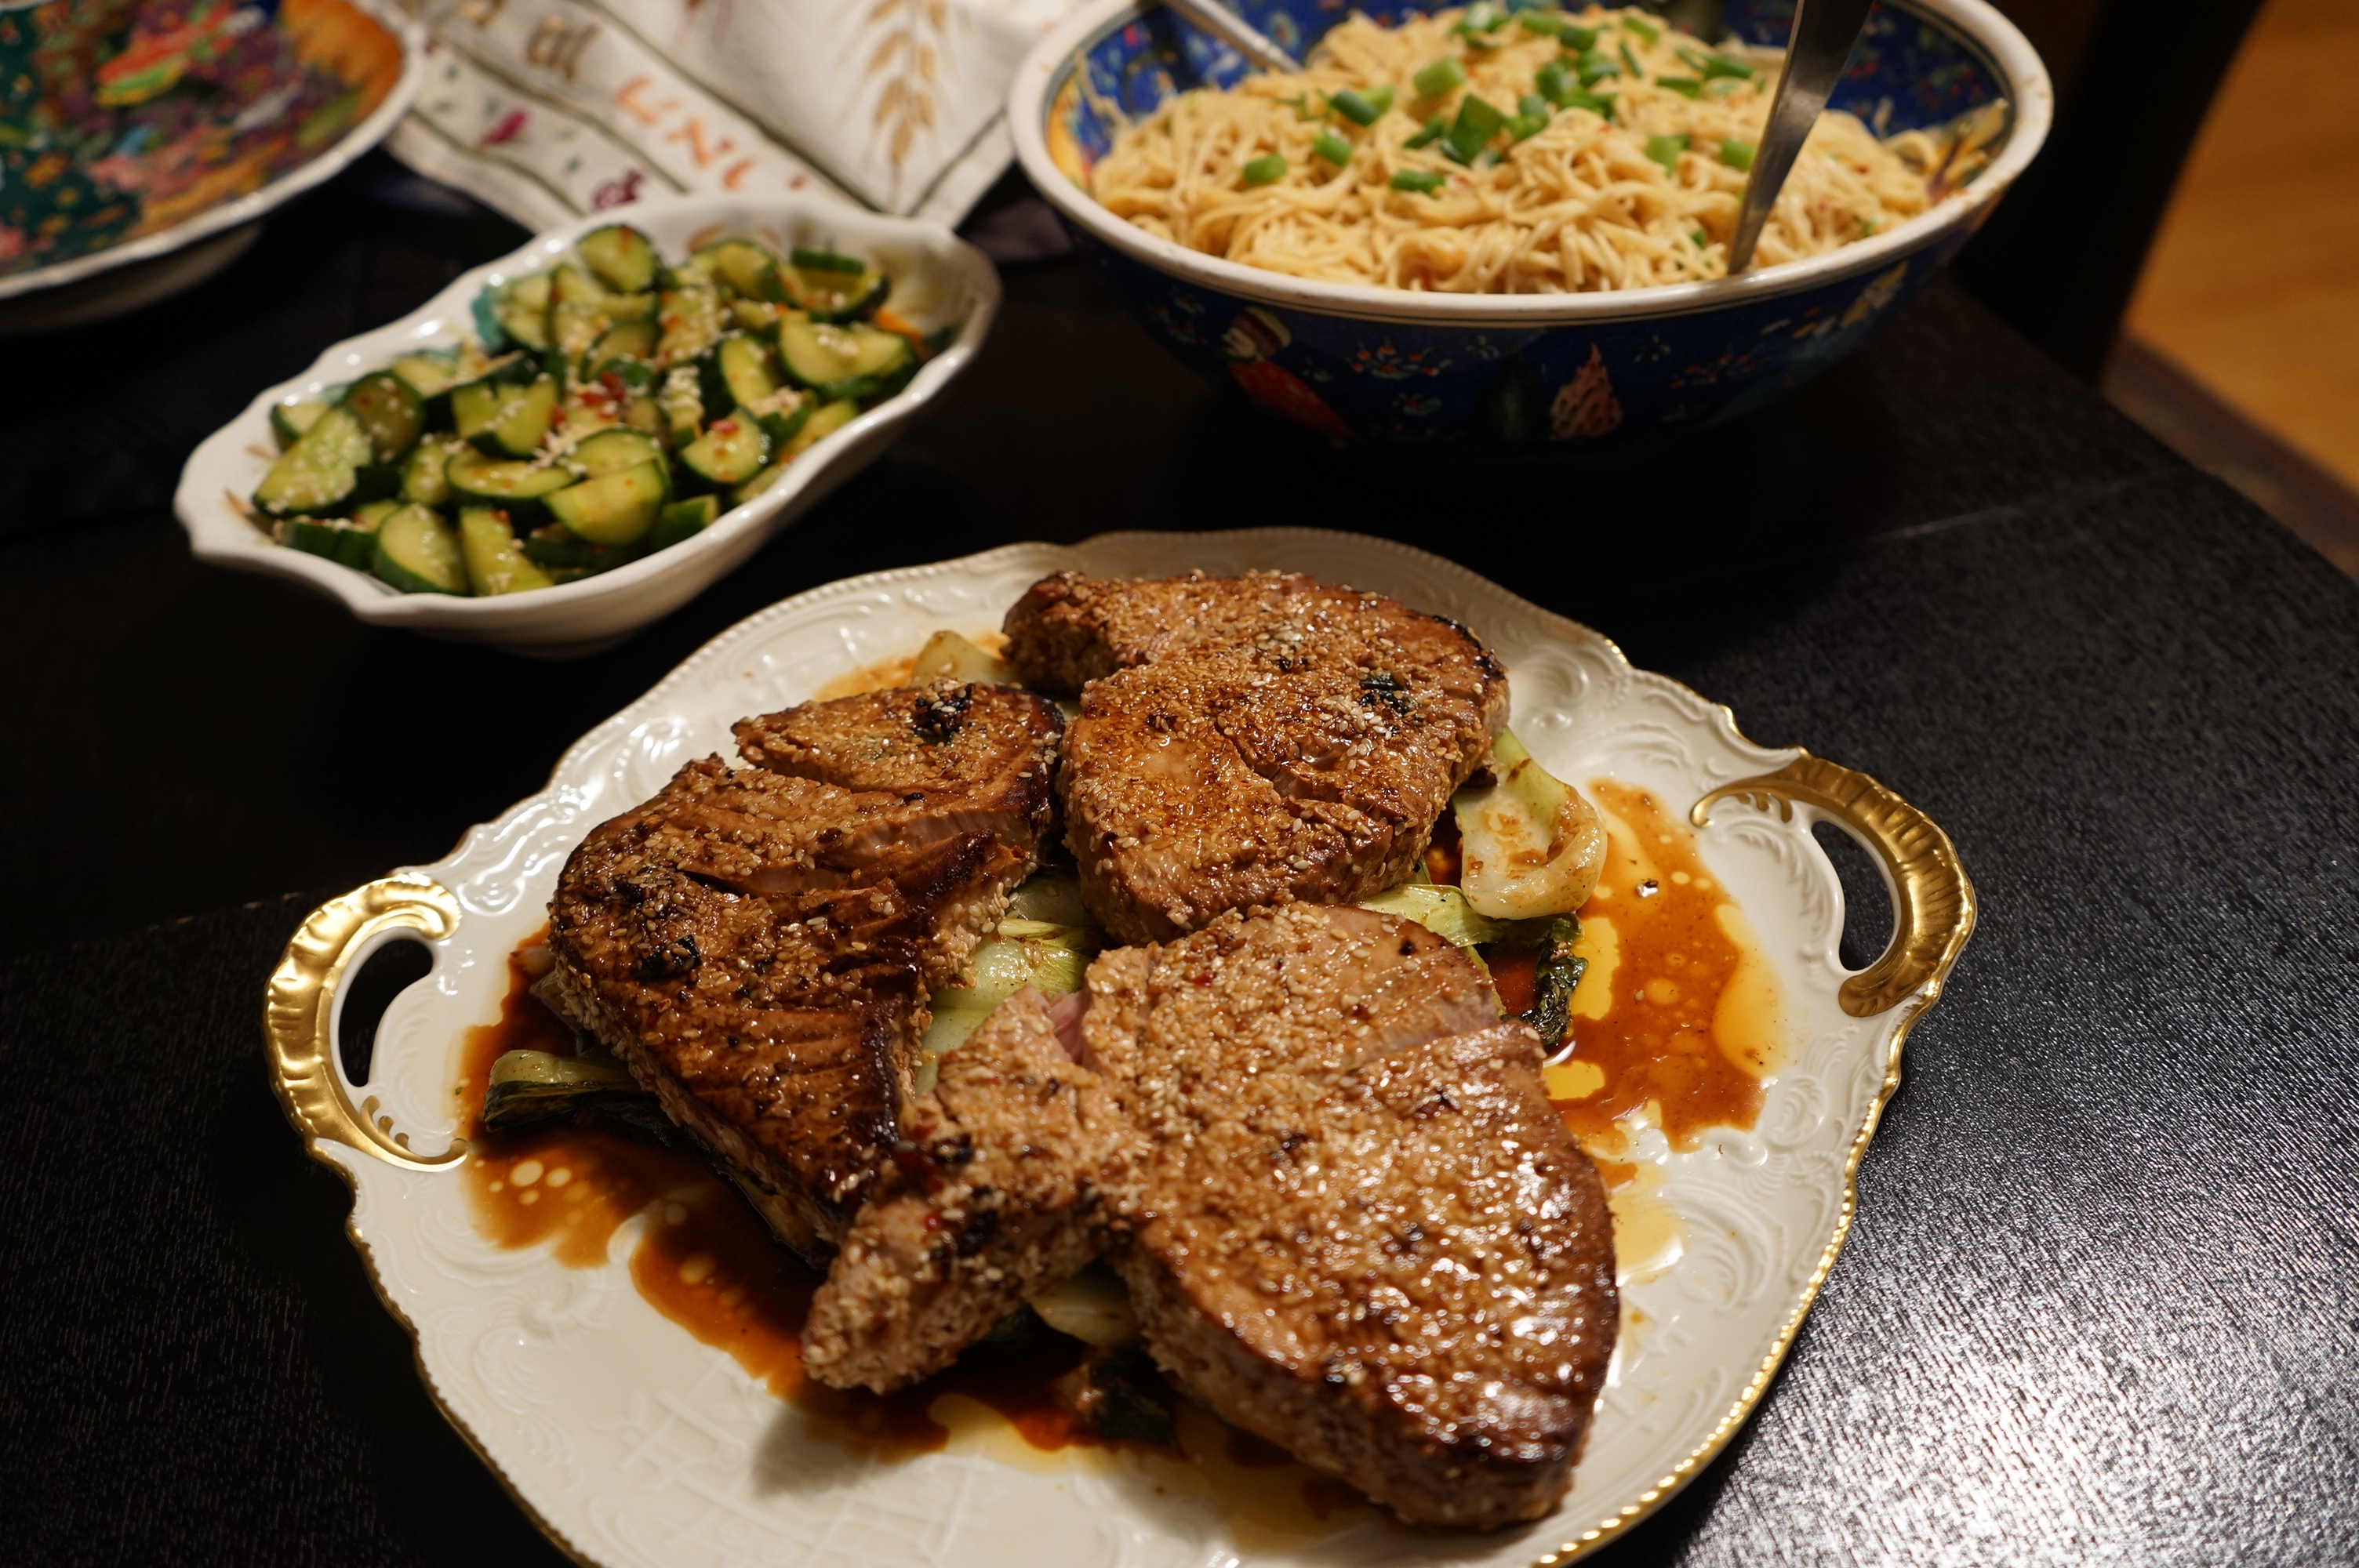
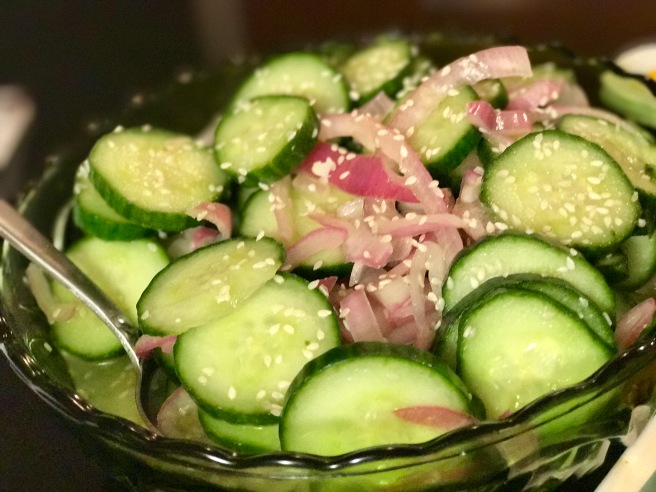
Enjoy these dishes together with a Spicy Asian Cucumber Salad for a fabulous Southeast Asian inspired dinner at home.
You can order Mama Lam’s delicious Curry Paste here: https://www.mamalams.com/shop-1/curry-sau
To watch the cooking demo for these recipes, click here or watch below.